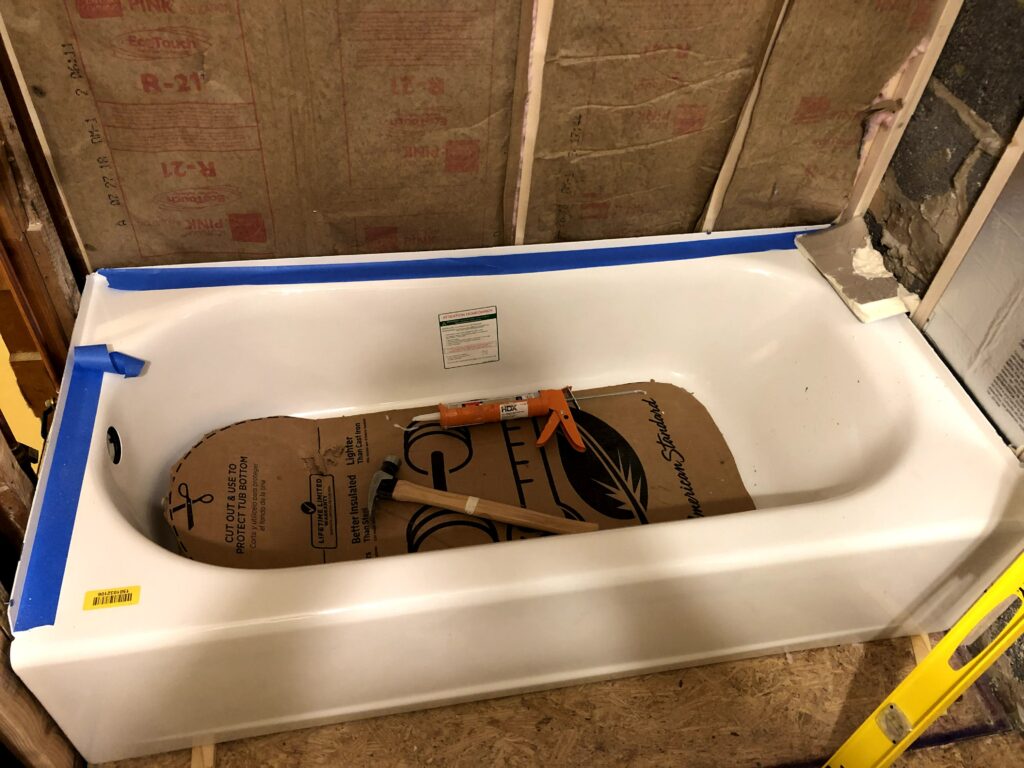
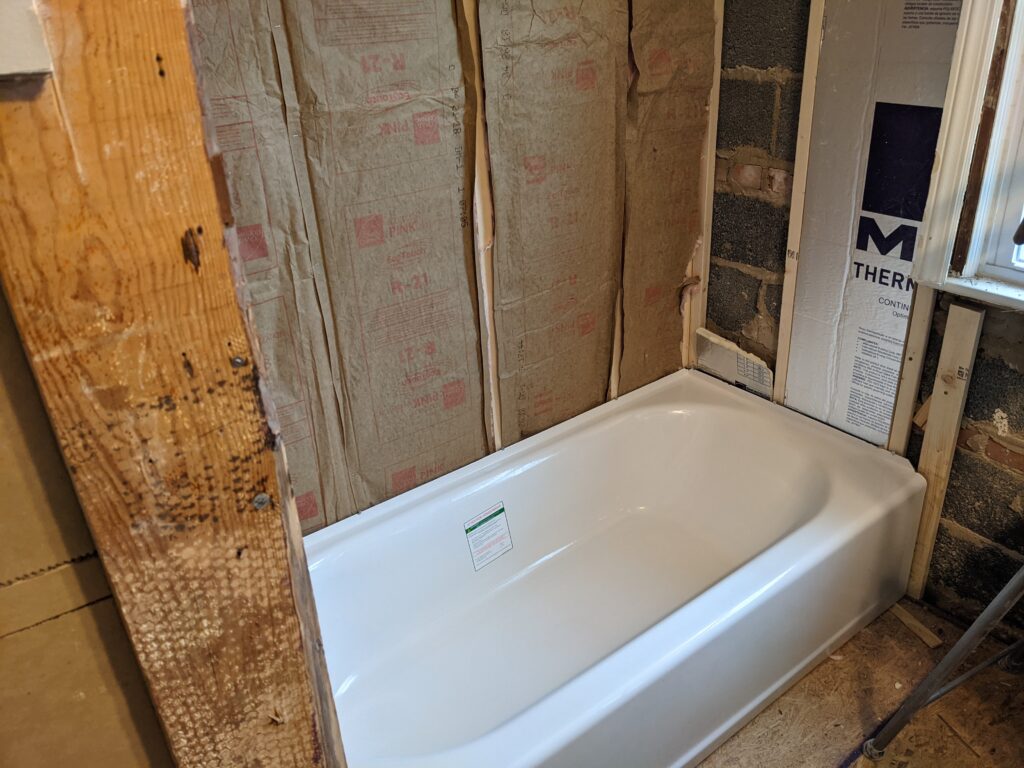
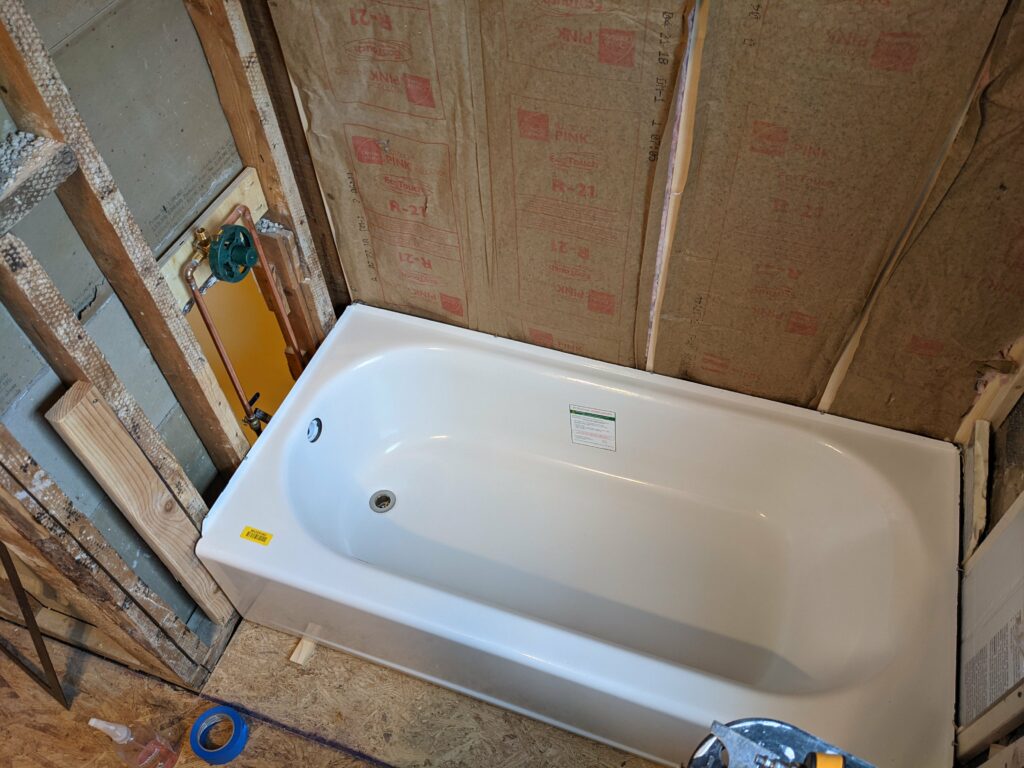
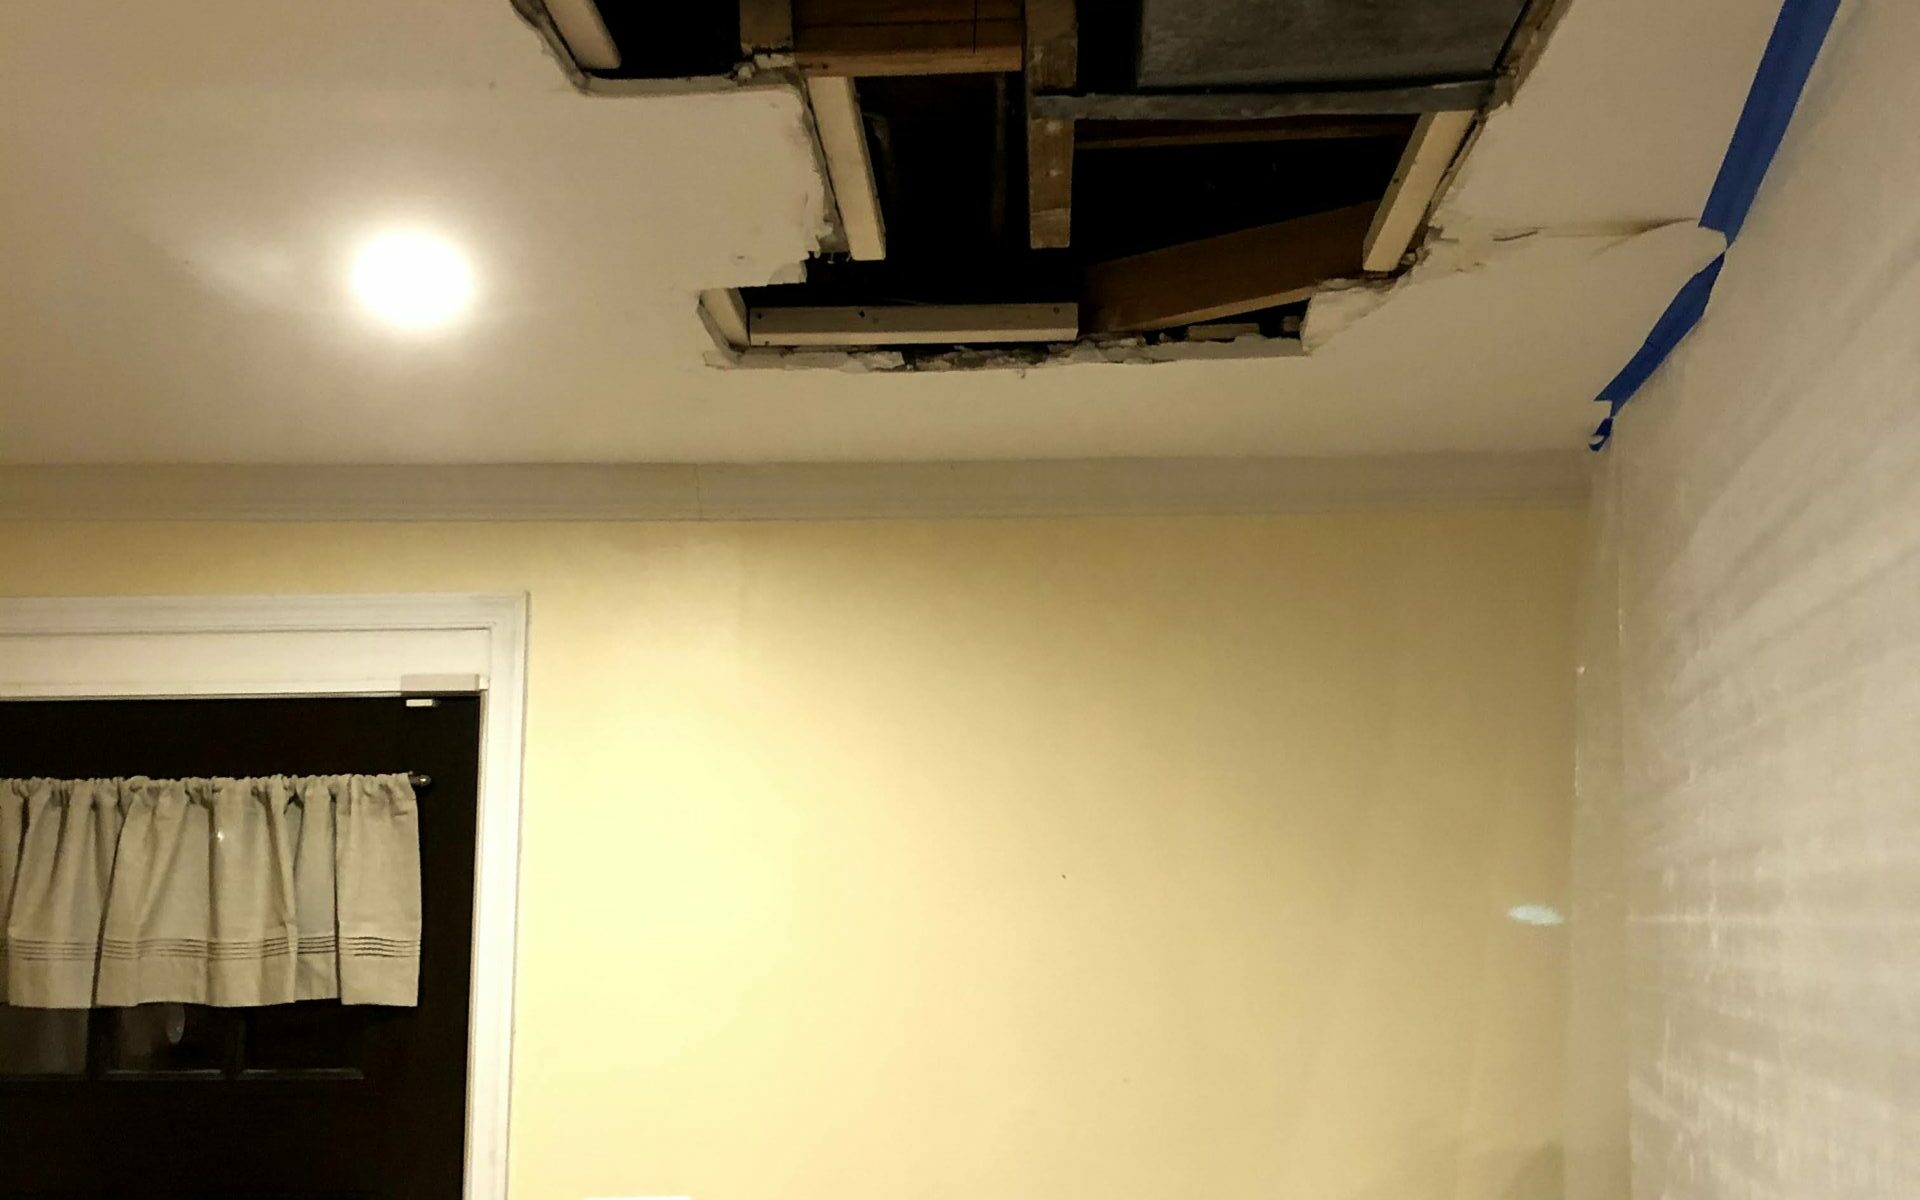
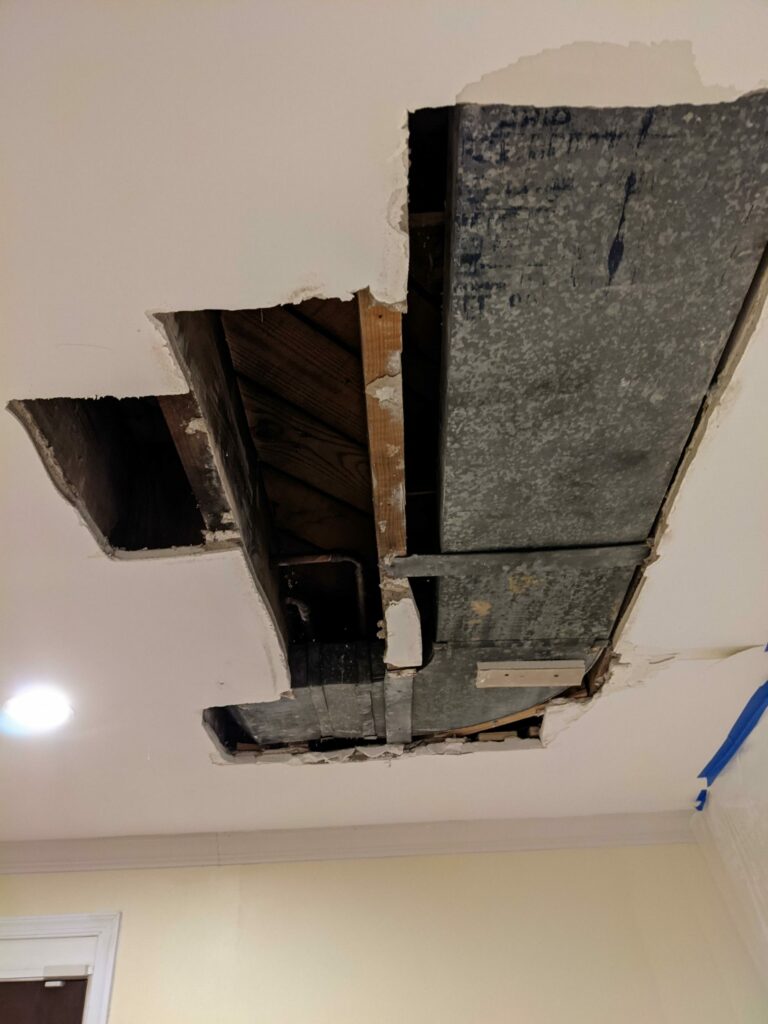
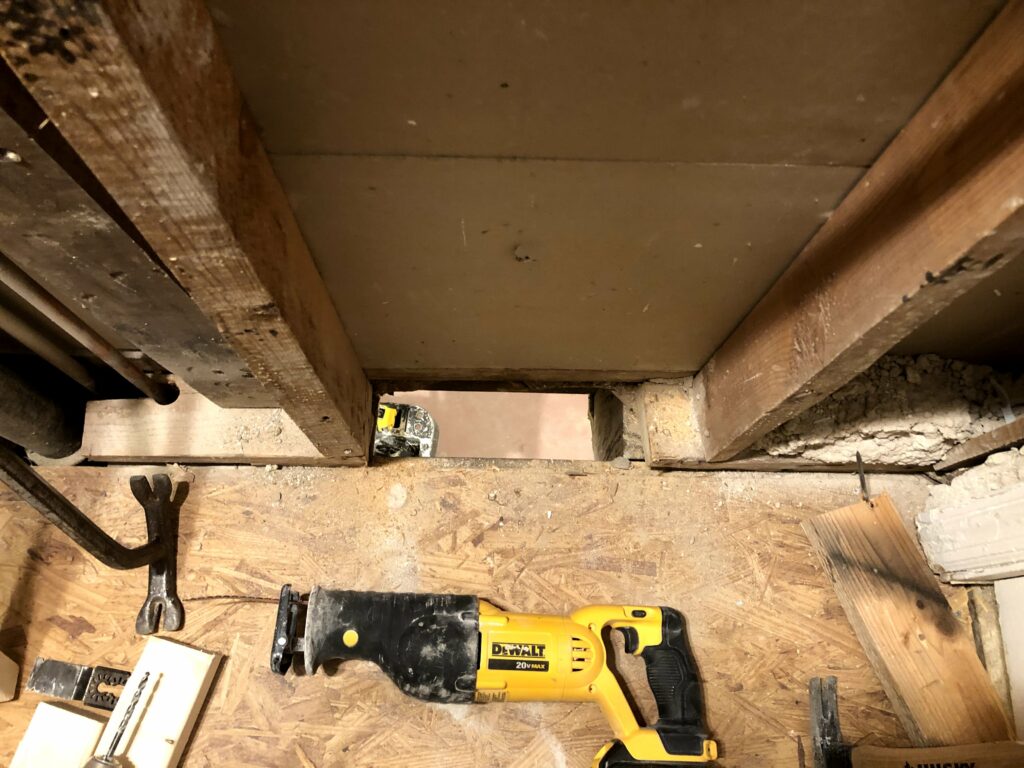
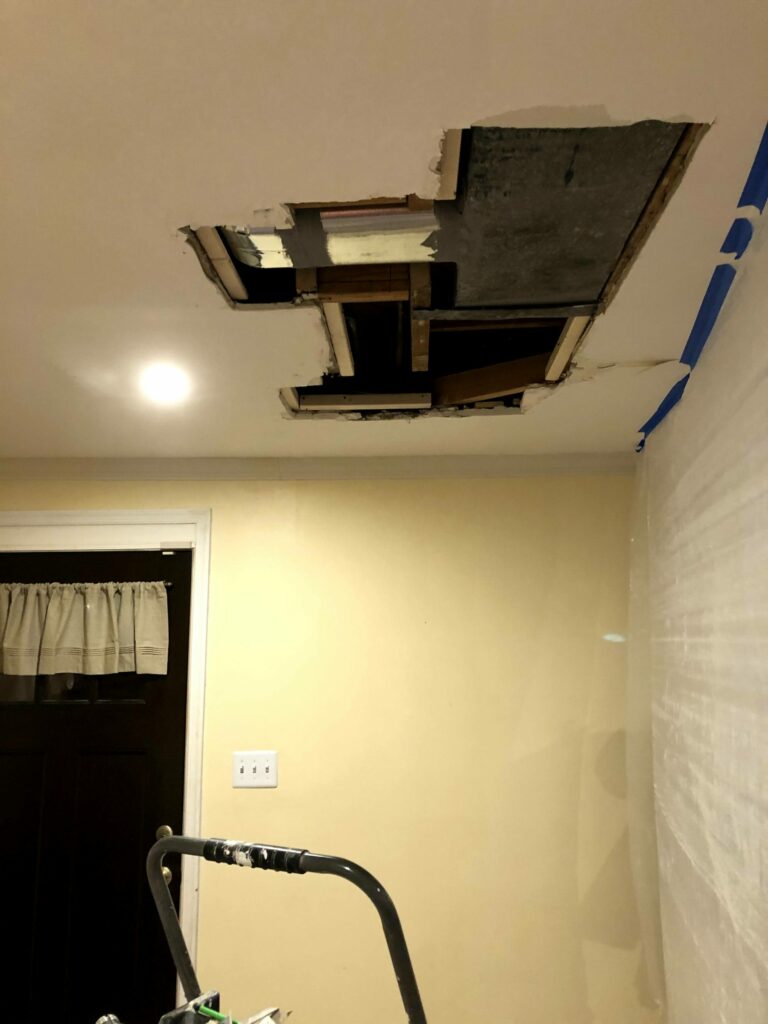
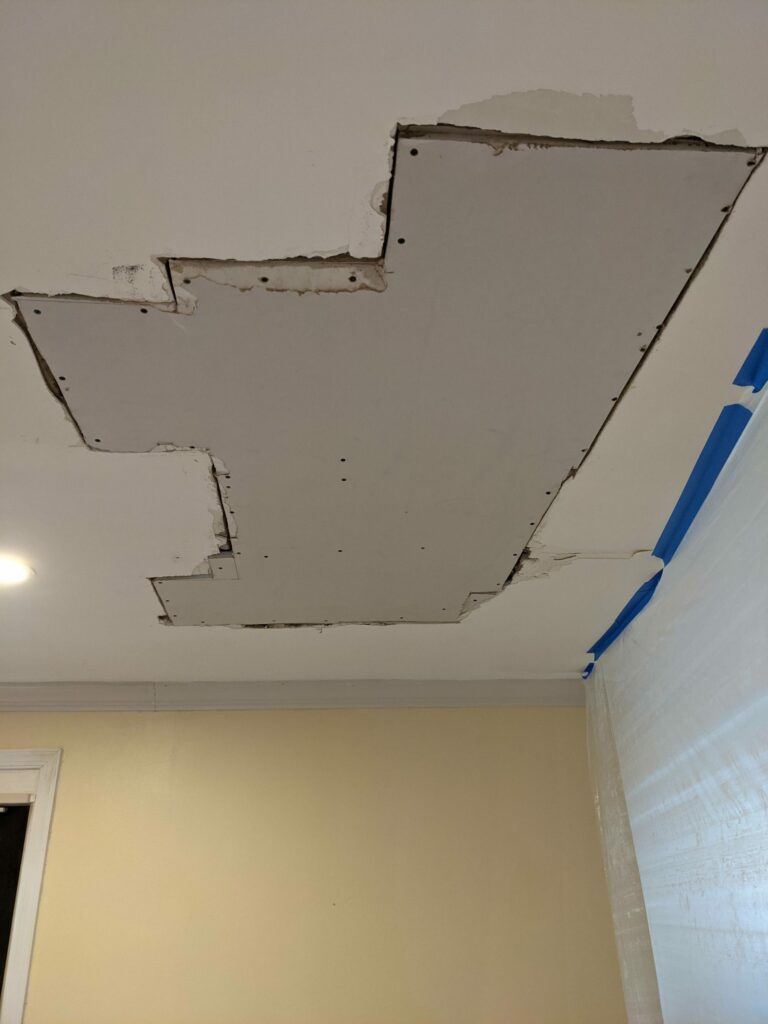
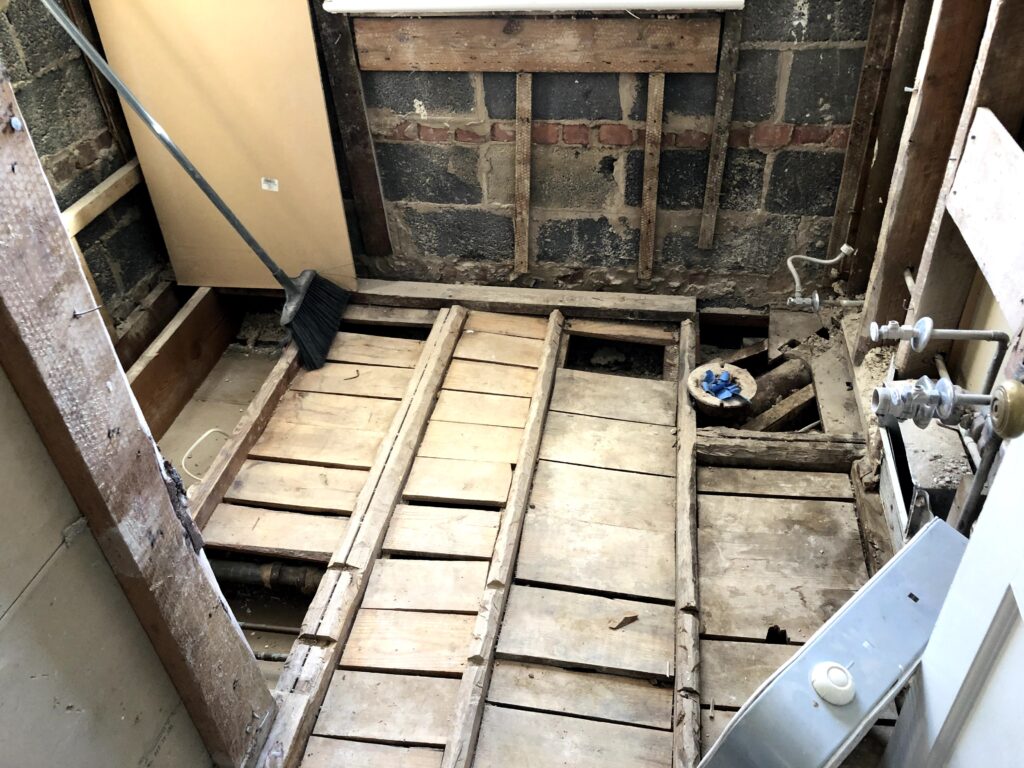
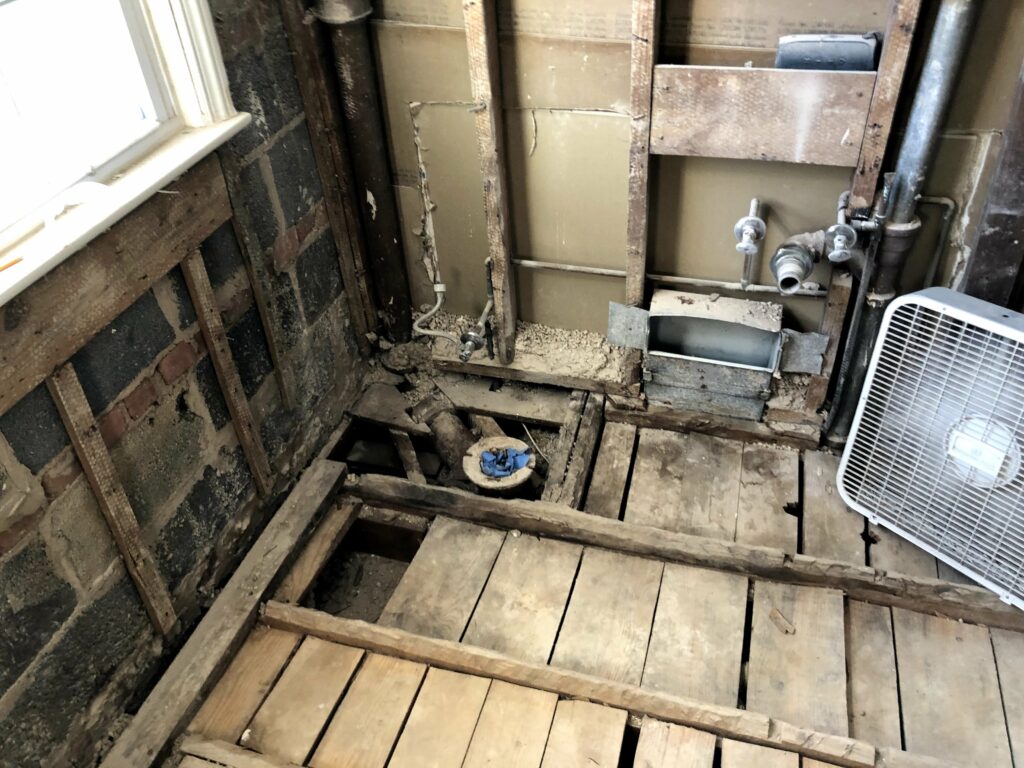
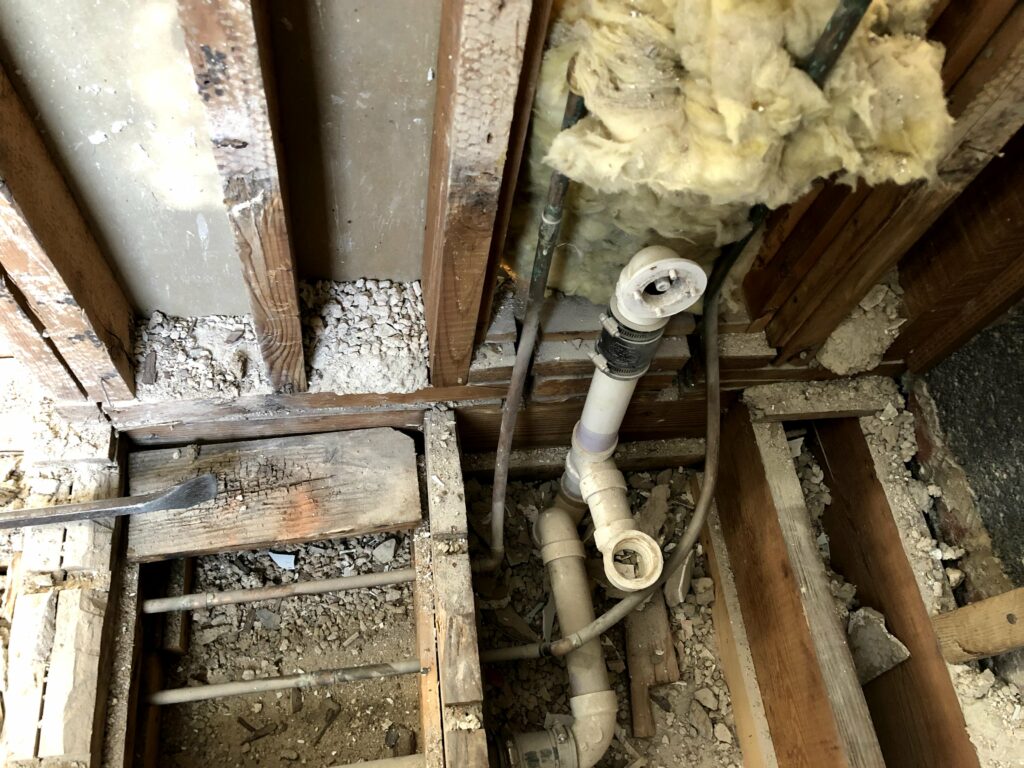
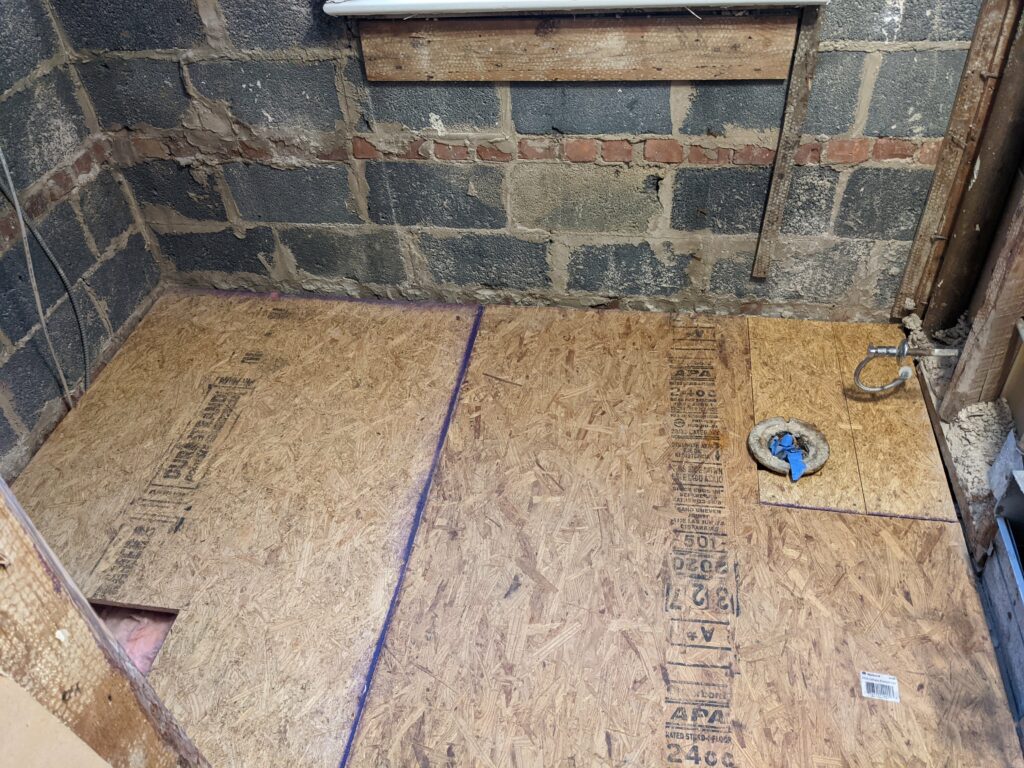
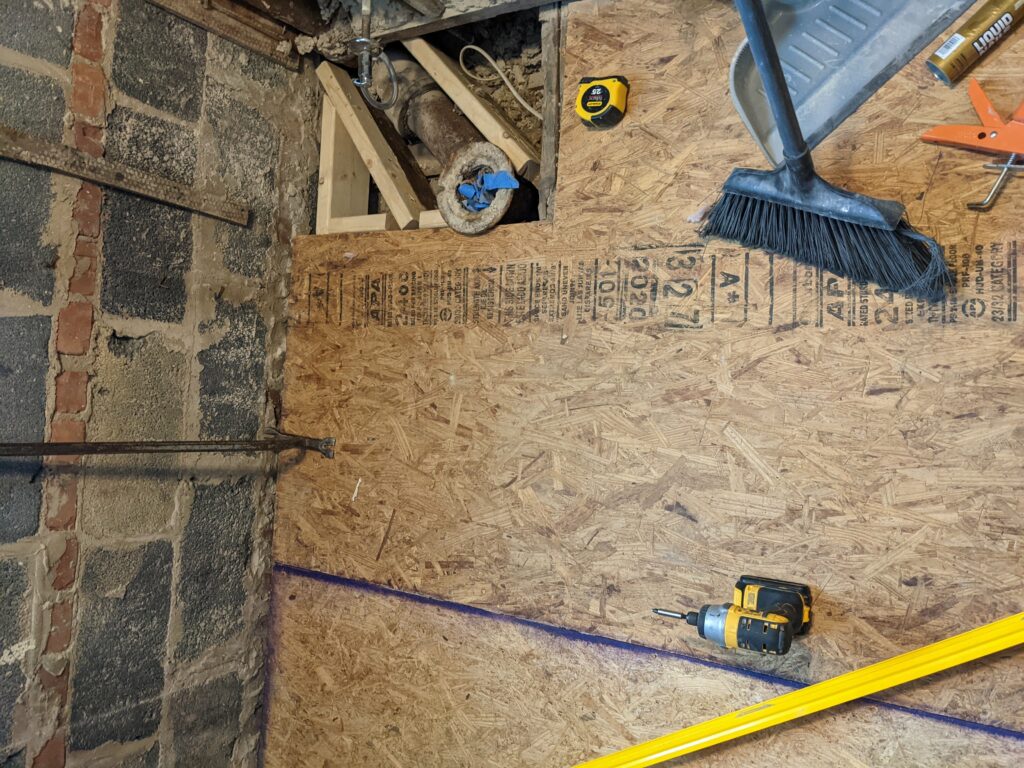
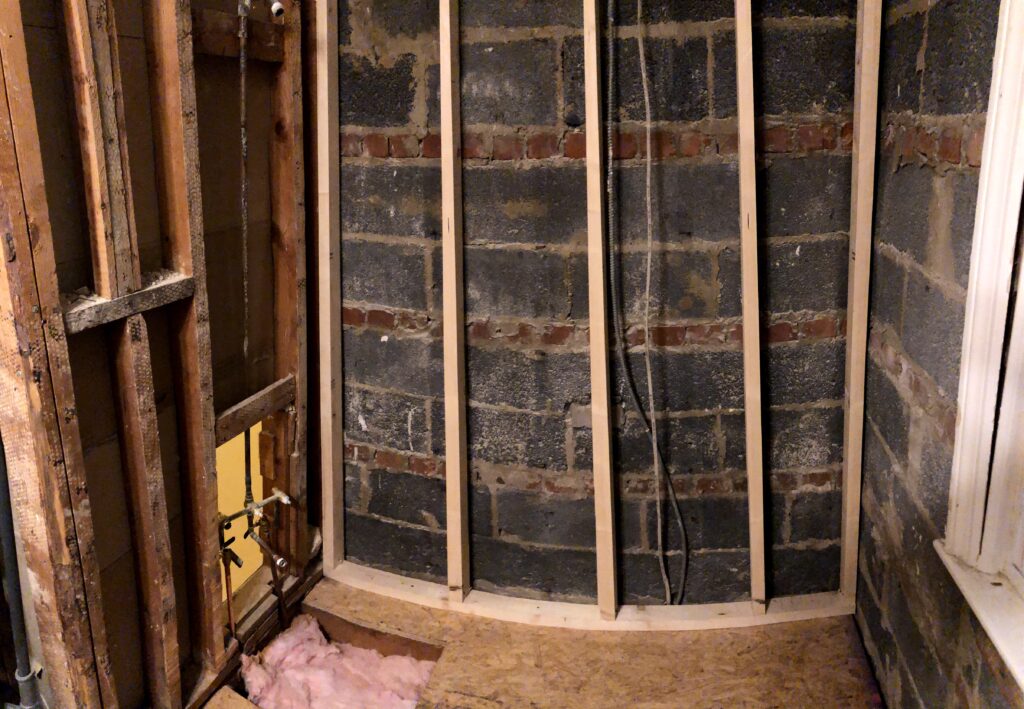
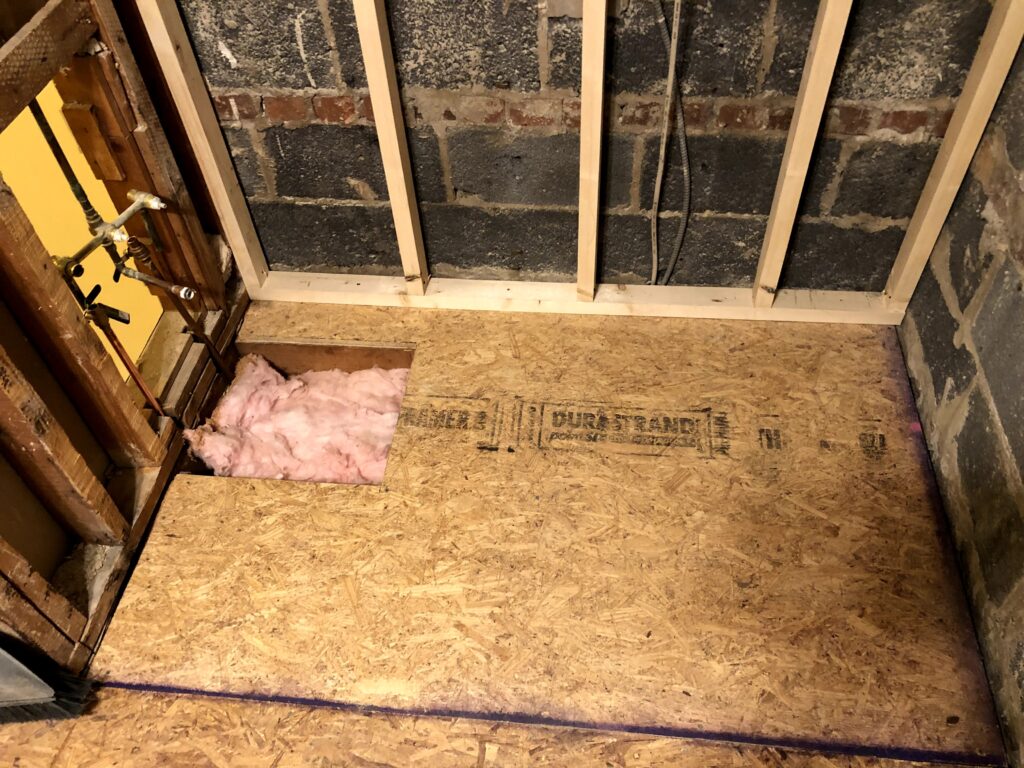
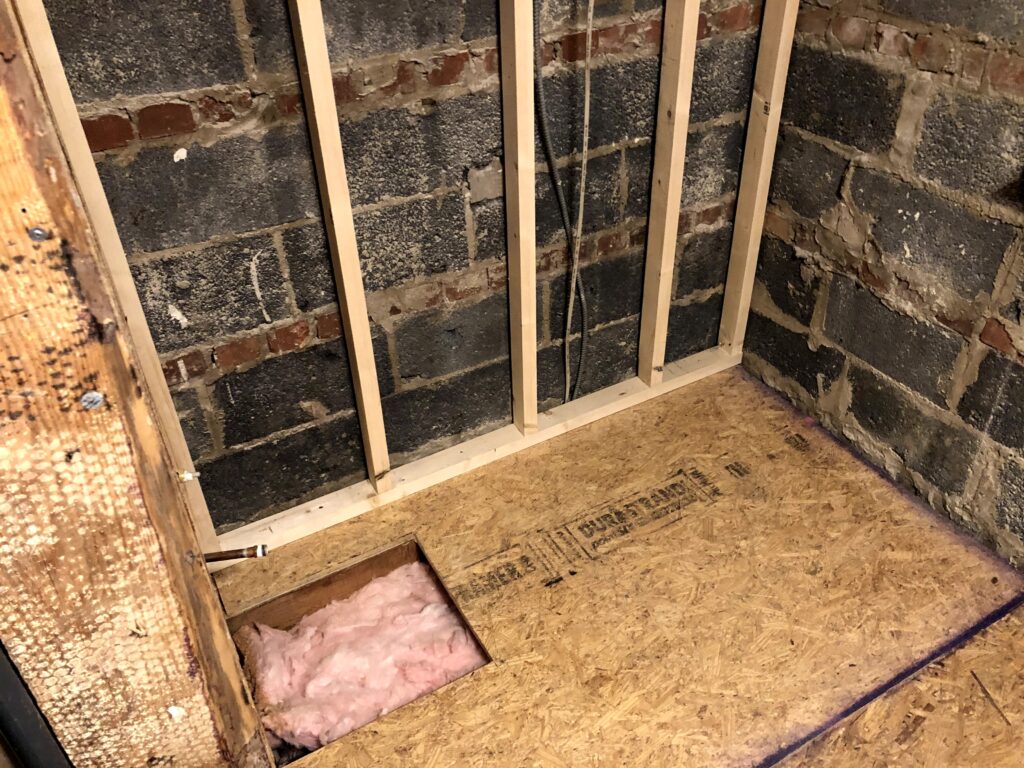
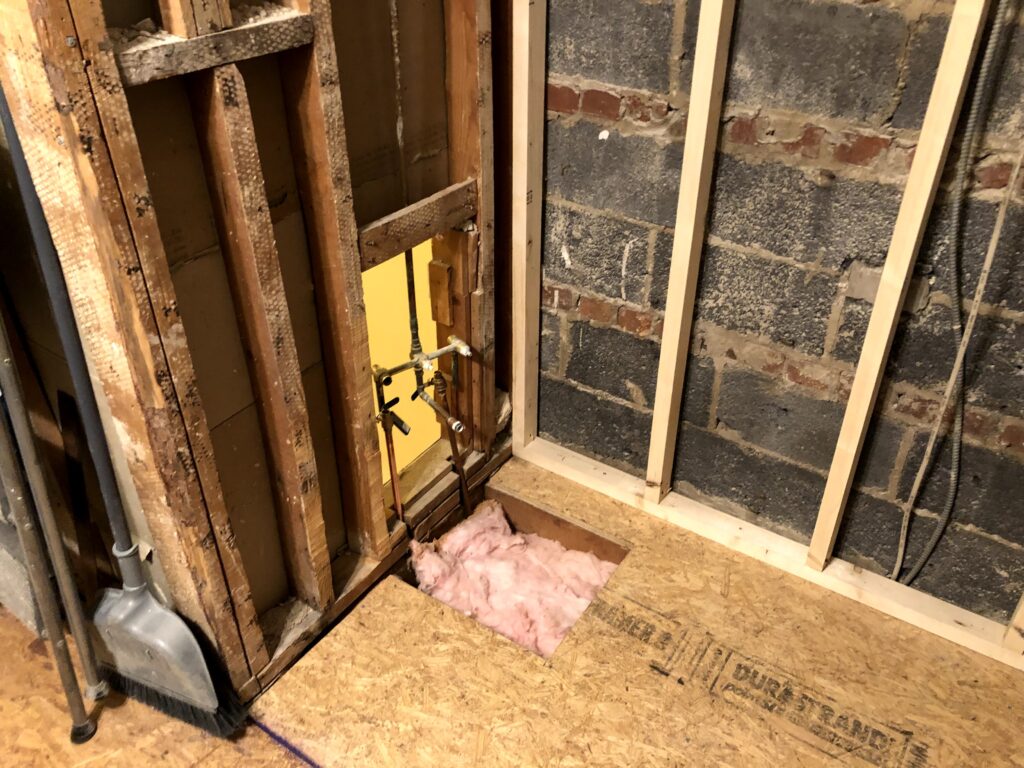
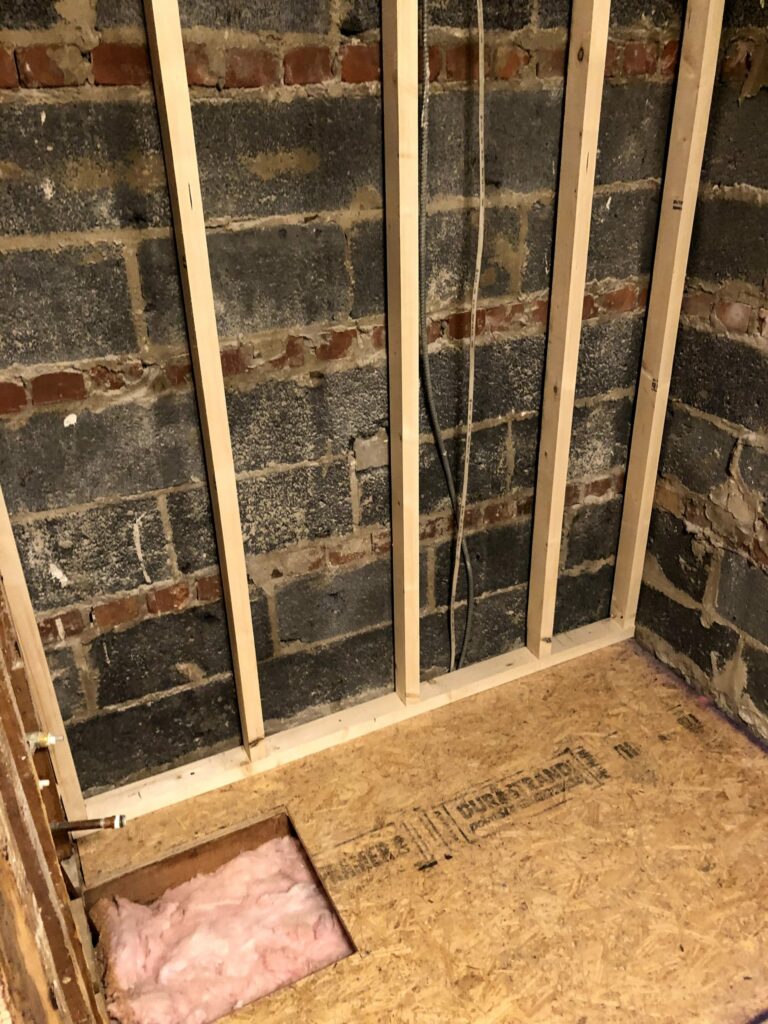
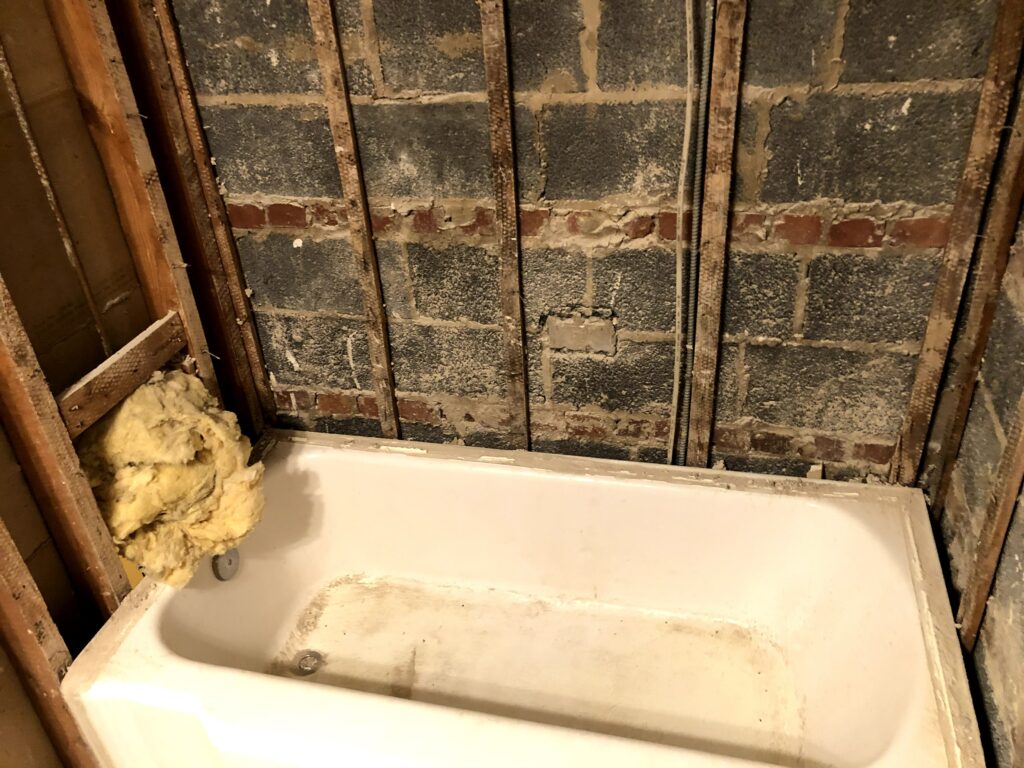
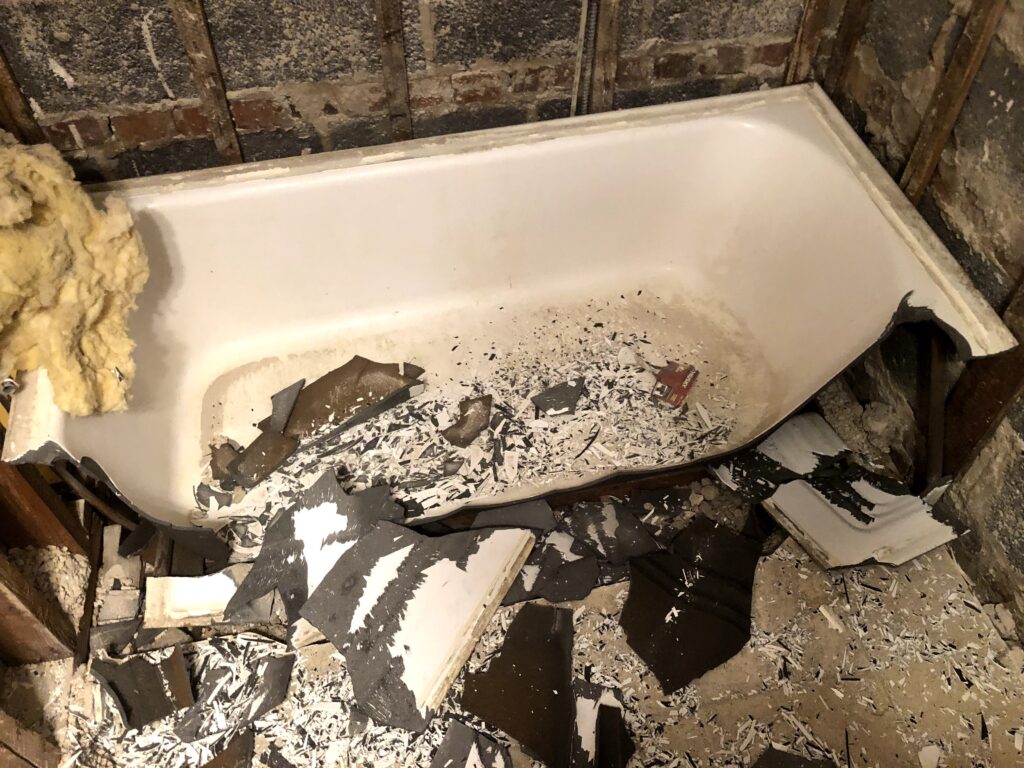
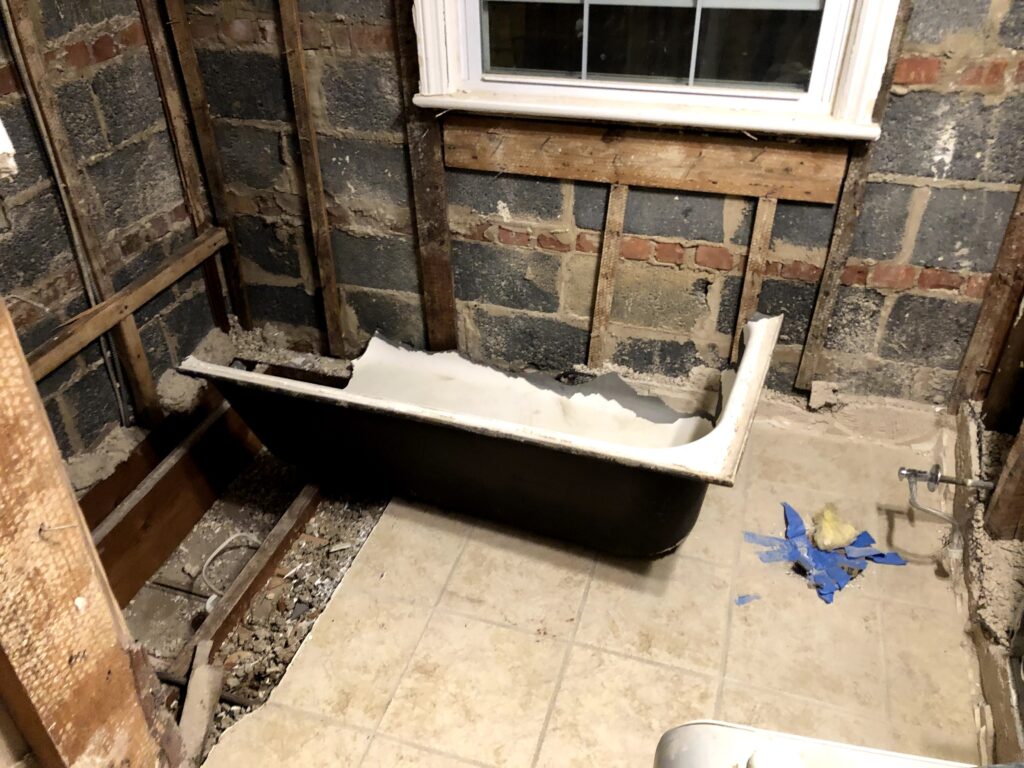
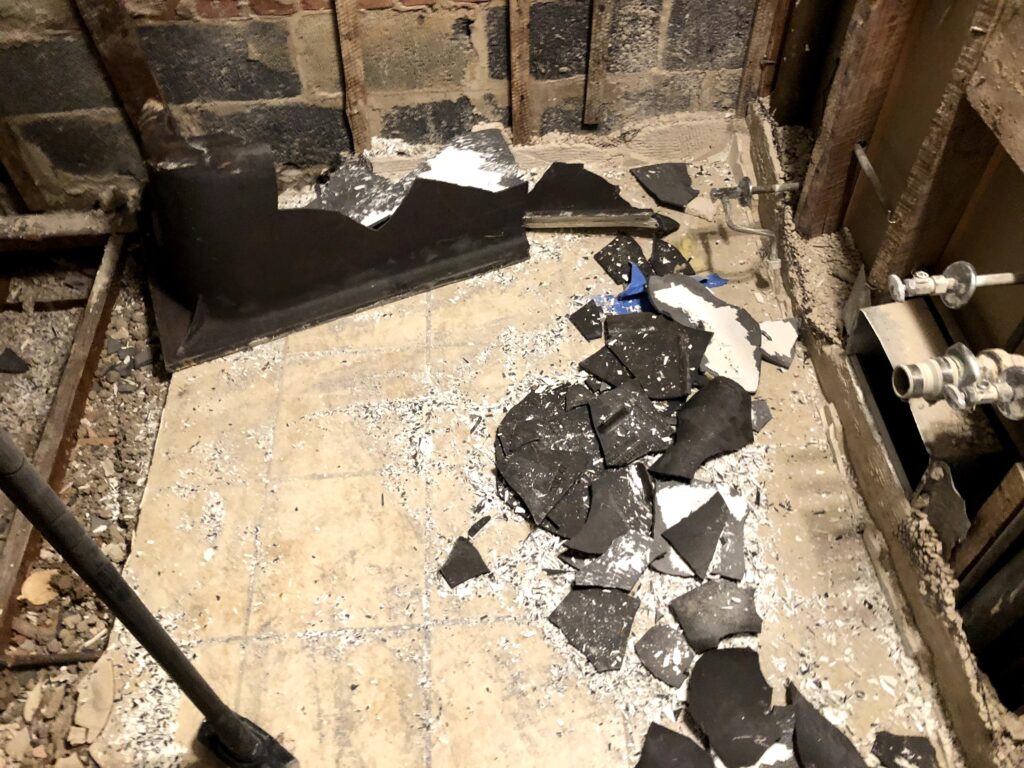
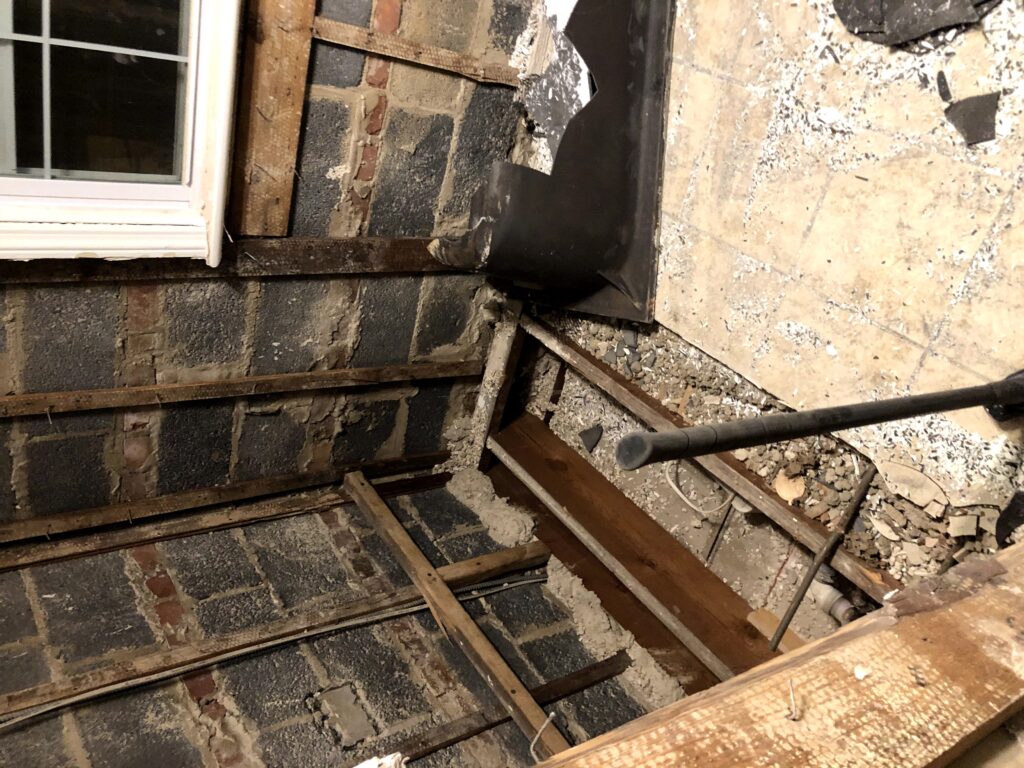
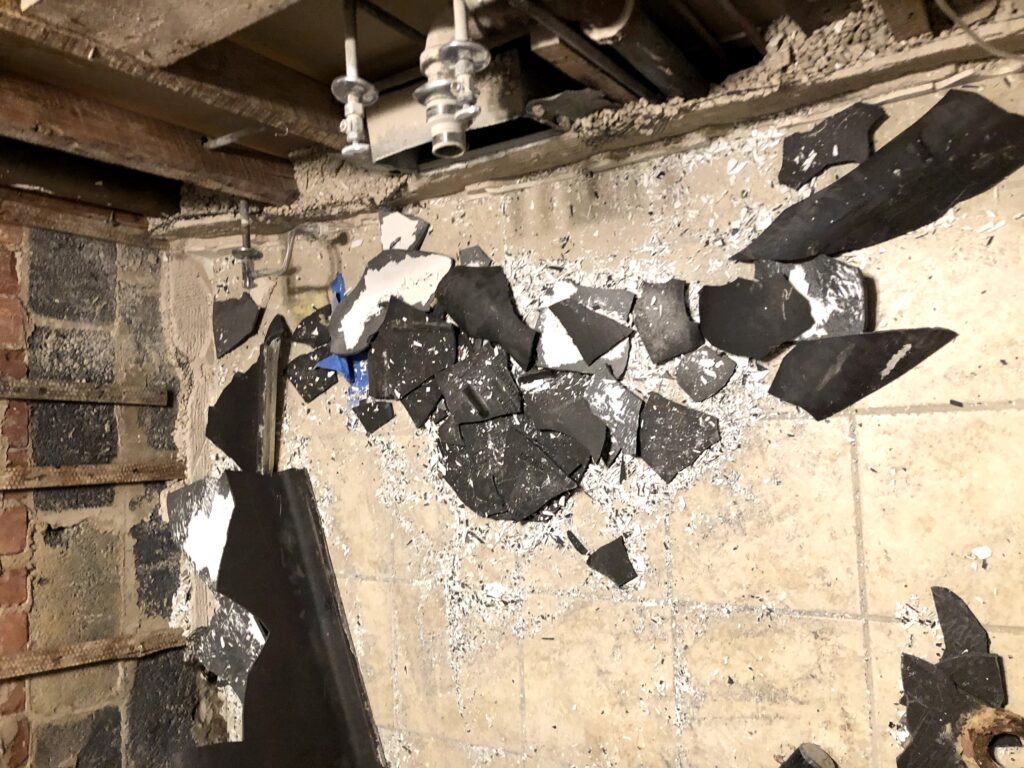
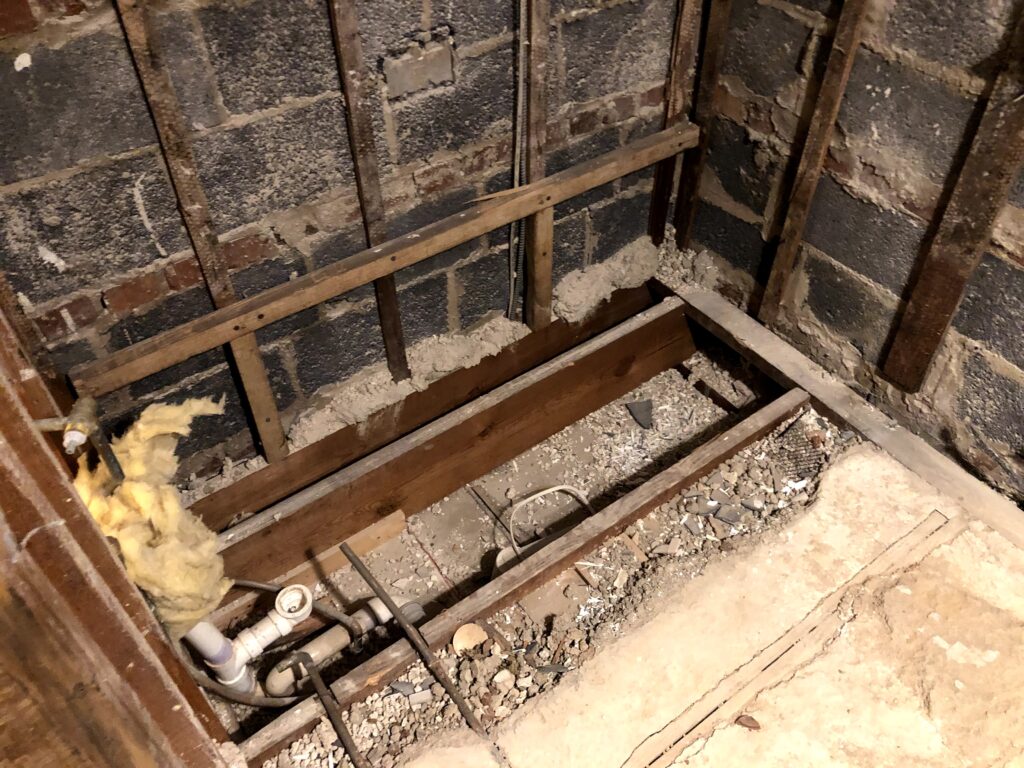
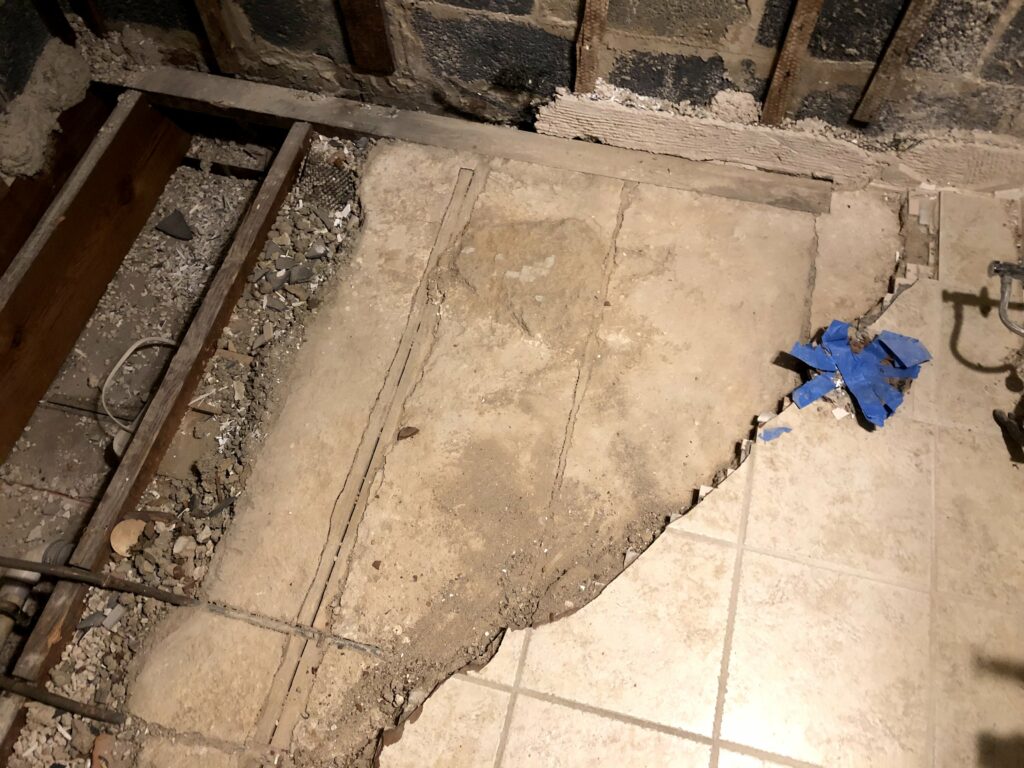
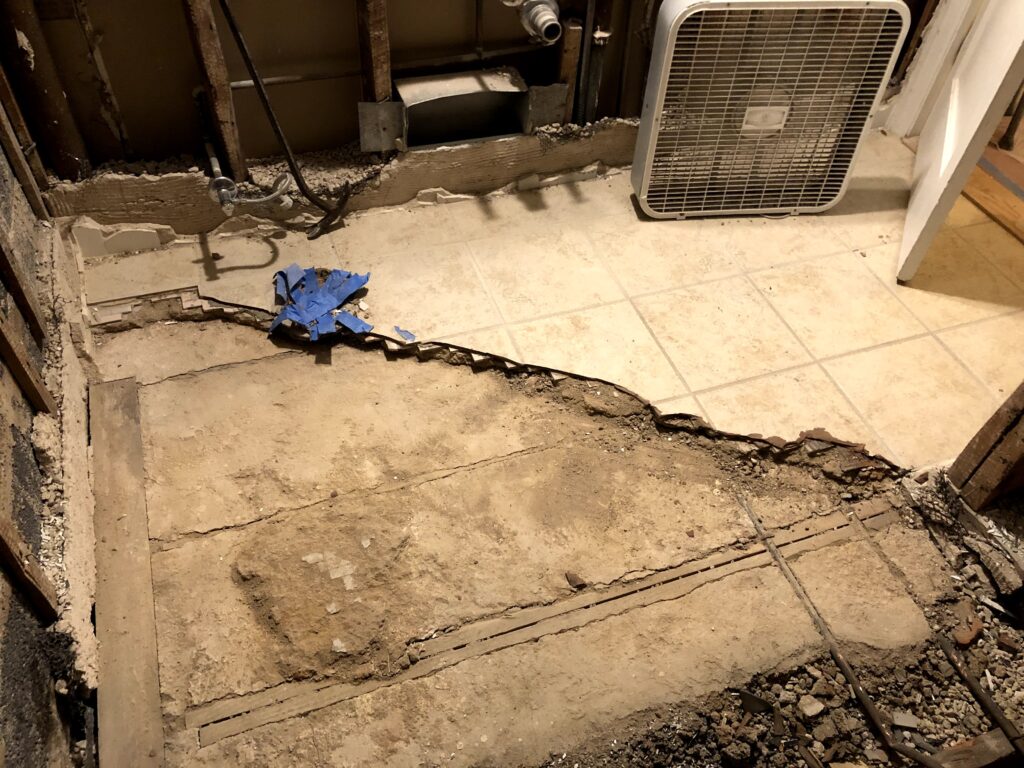
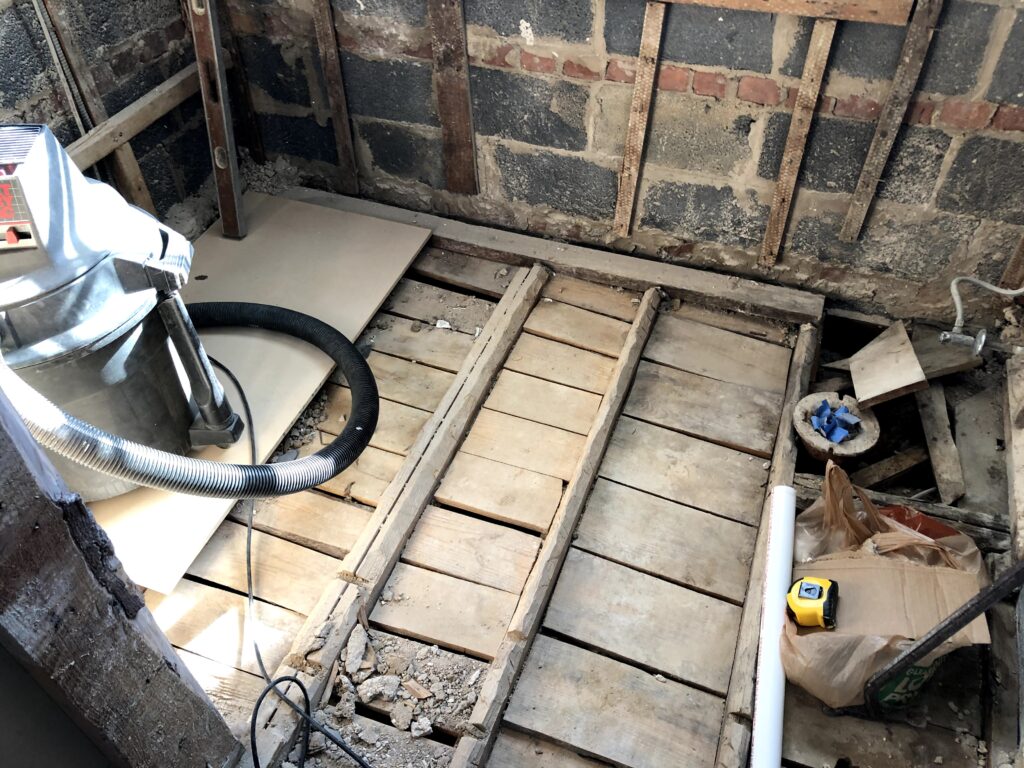
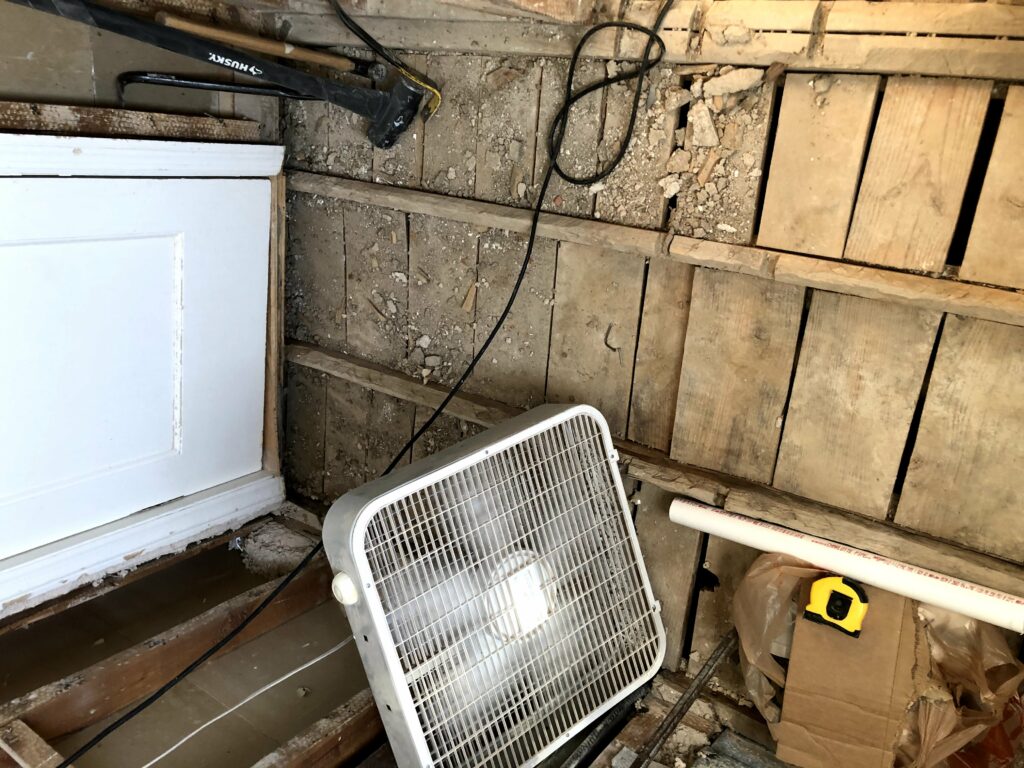
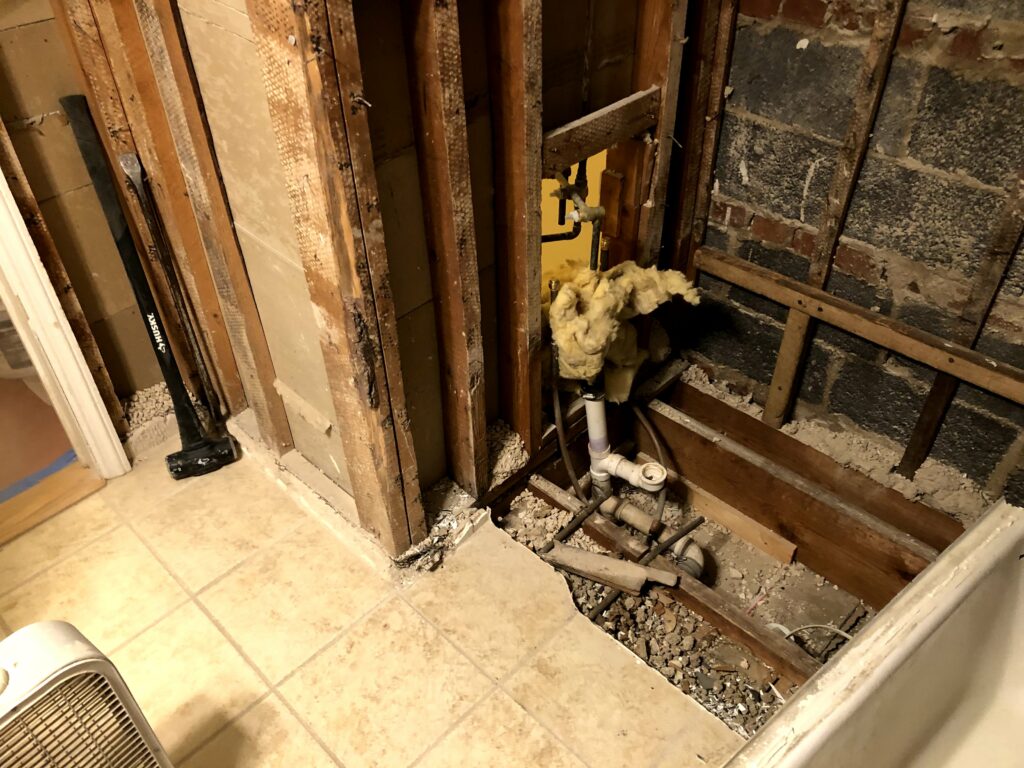
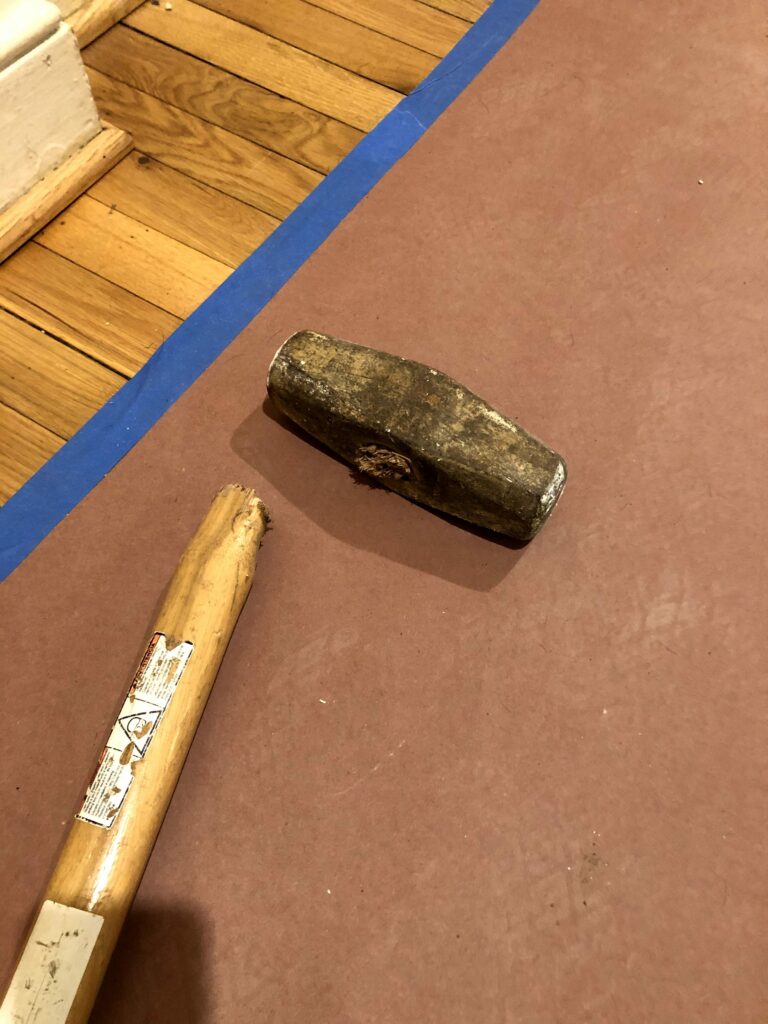
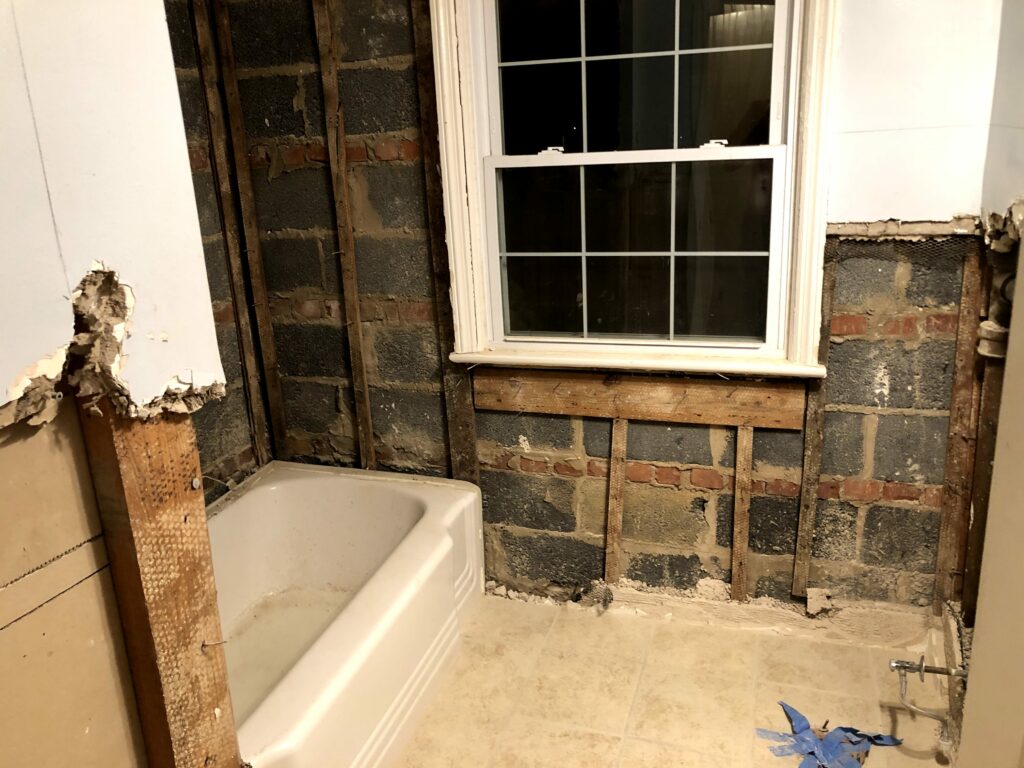
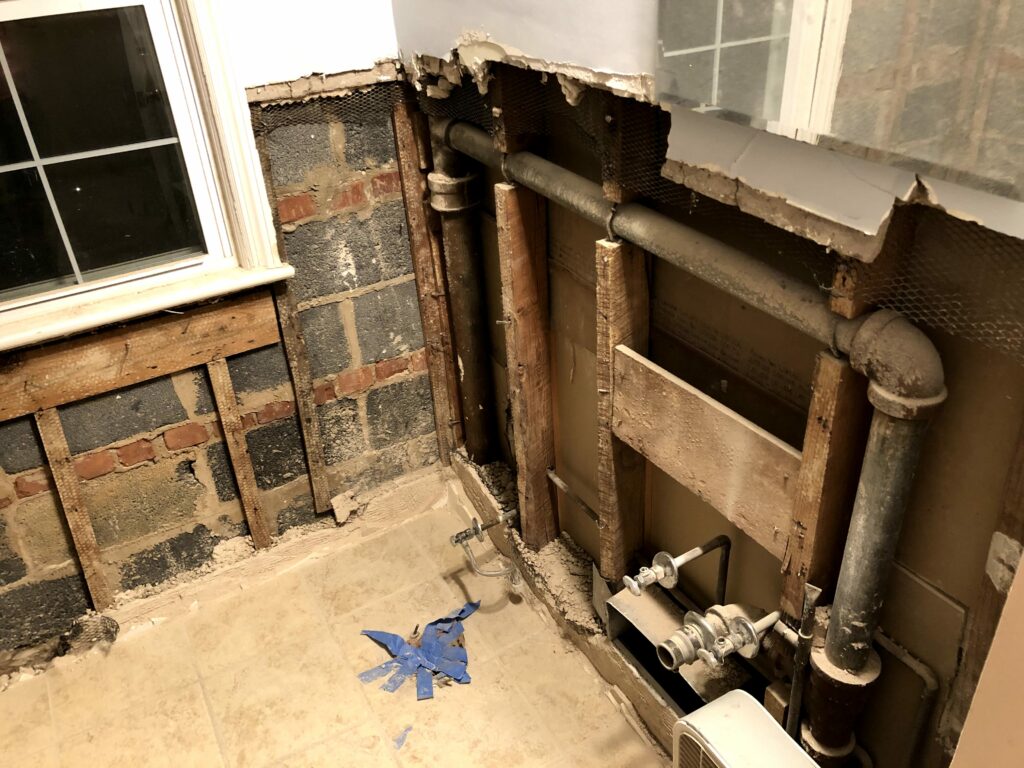
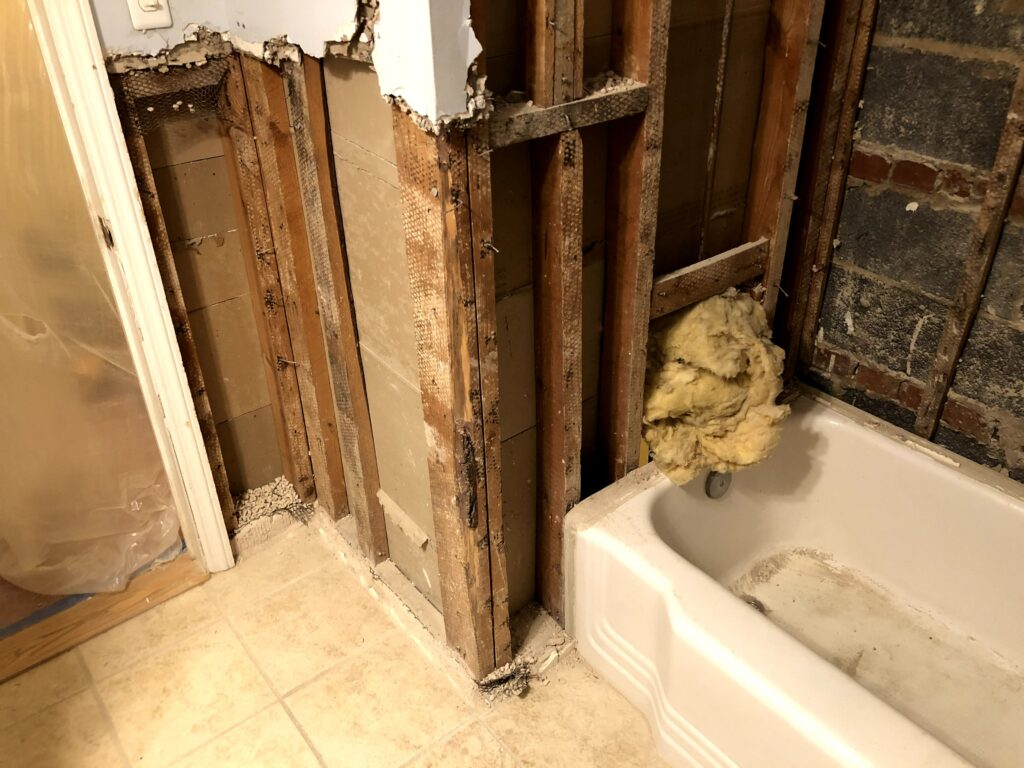
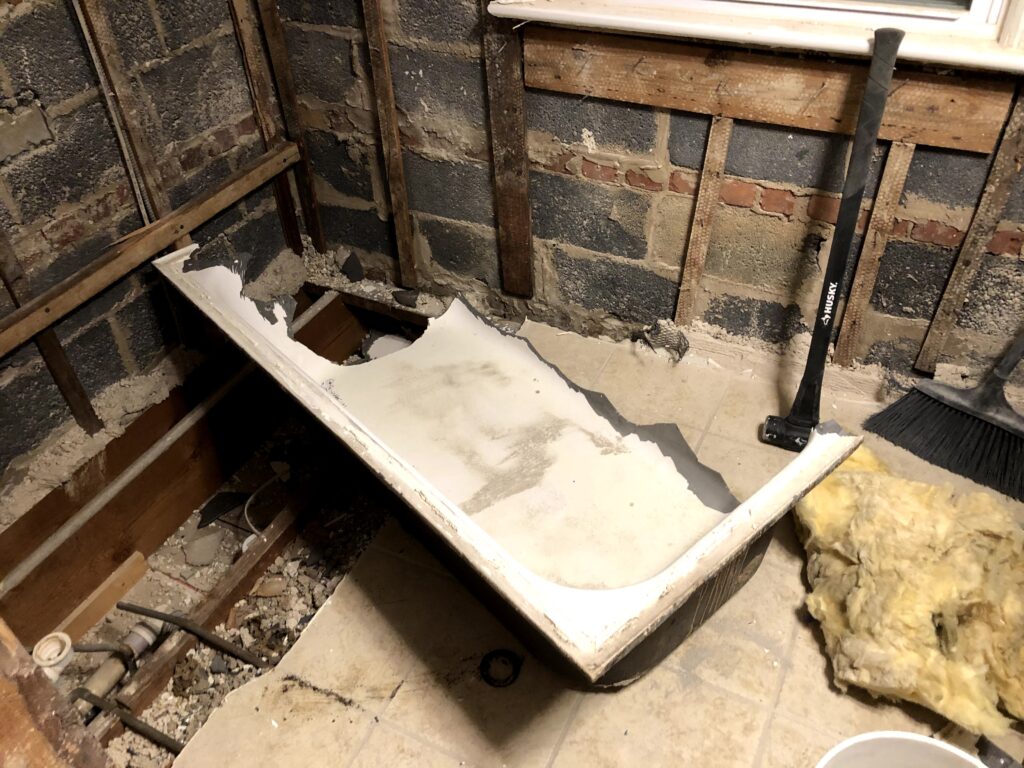
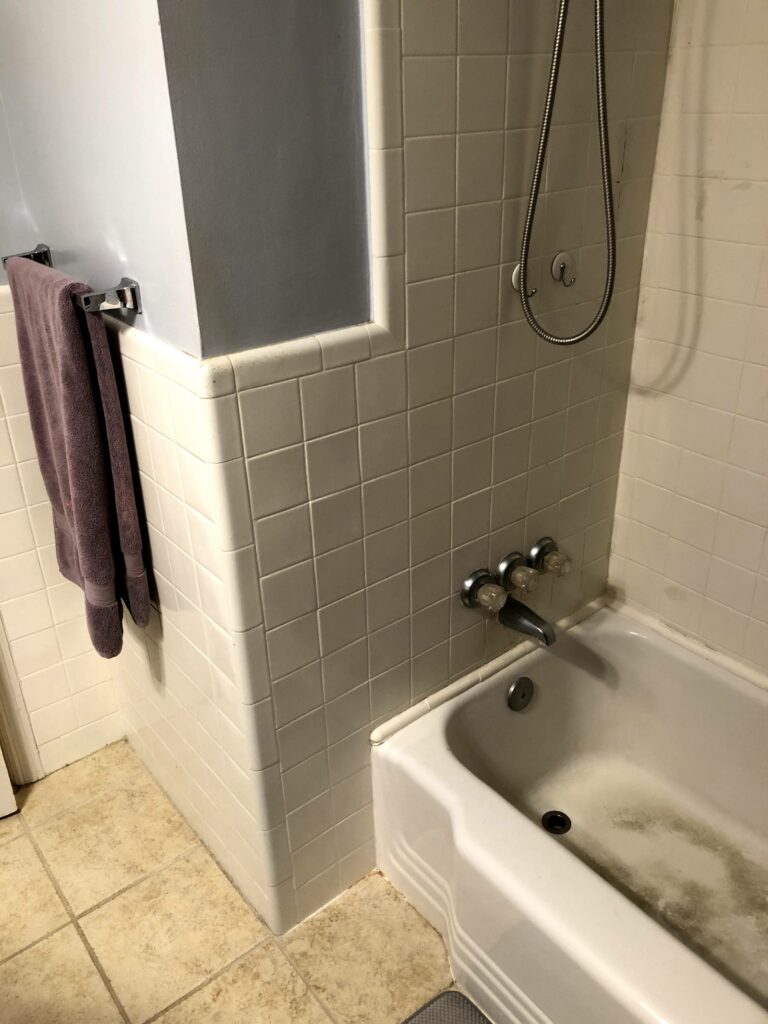
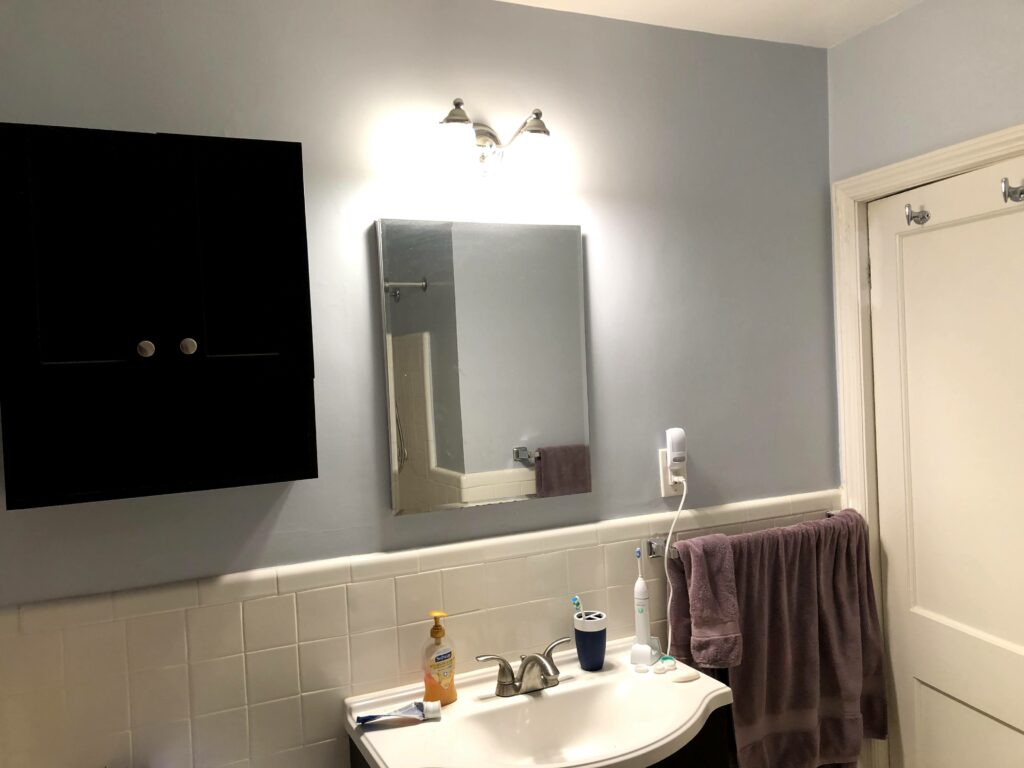
I’ve been tired of looking at studs and wood for a couple weeks so now it’s time to finish all the prep and hang the drywall. Before getting into the insulation and drywall there is a long list of items to take care of while the walls are still open. So on the list to wrap up:
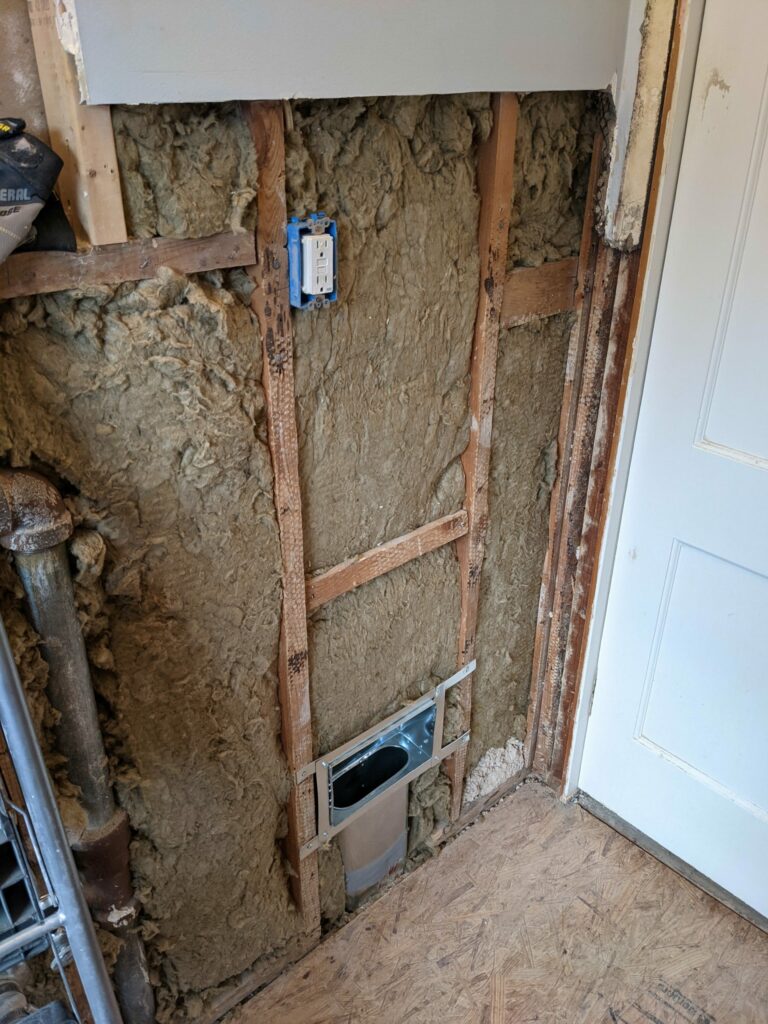
- Redo the electrical wiring for the light switch
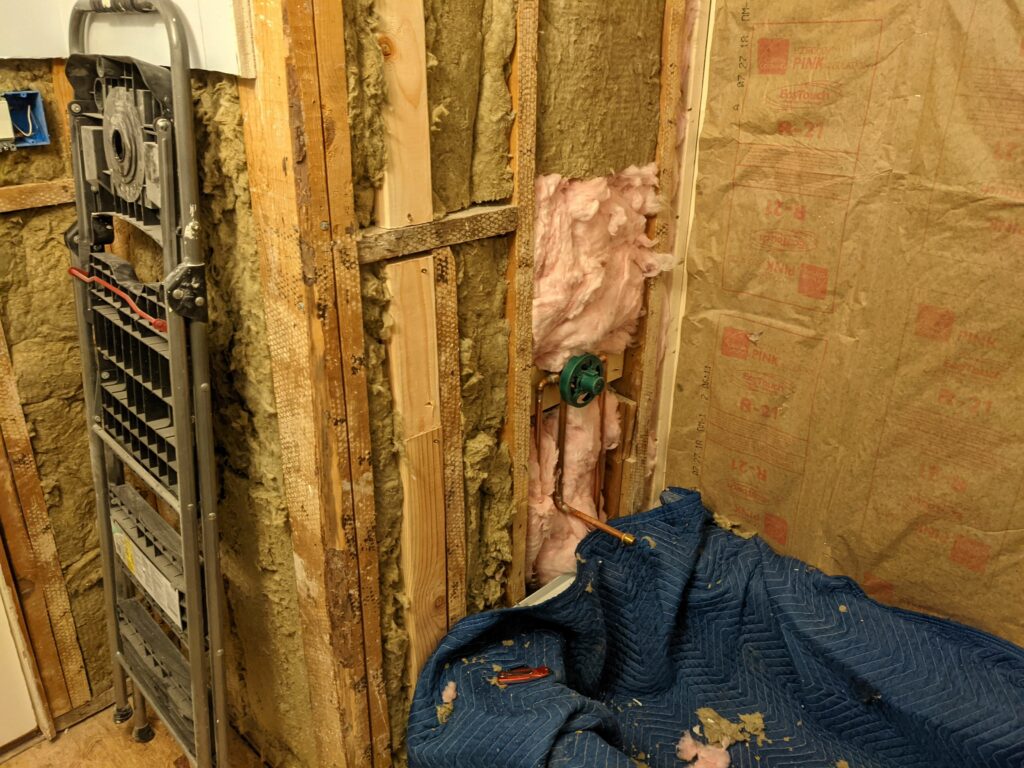
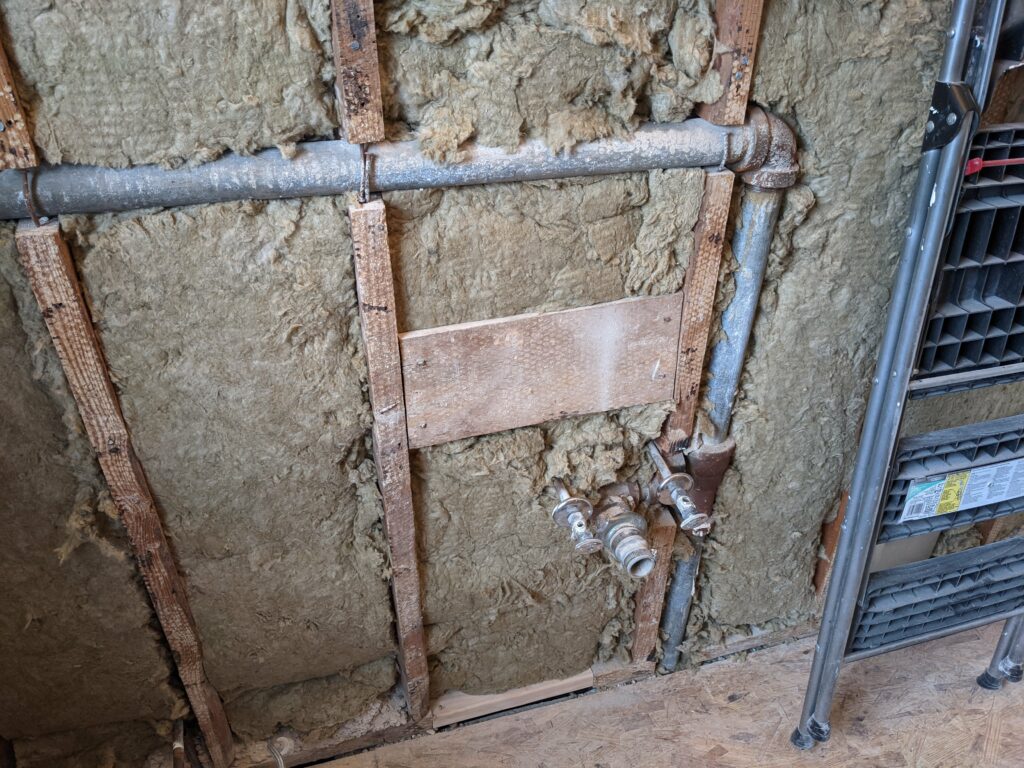
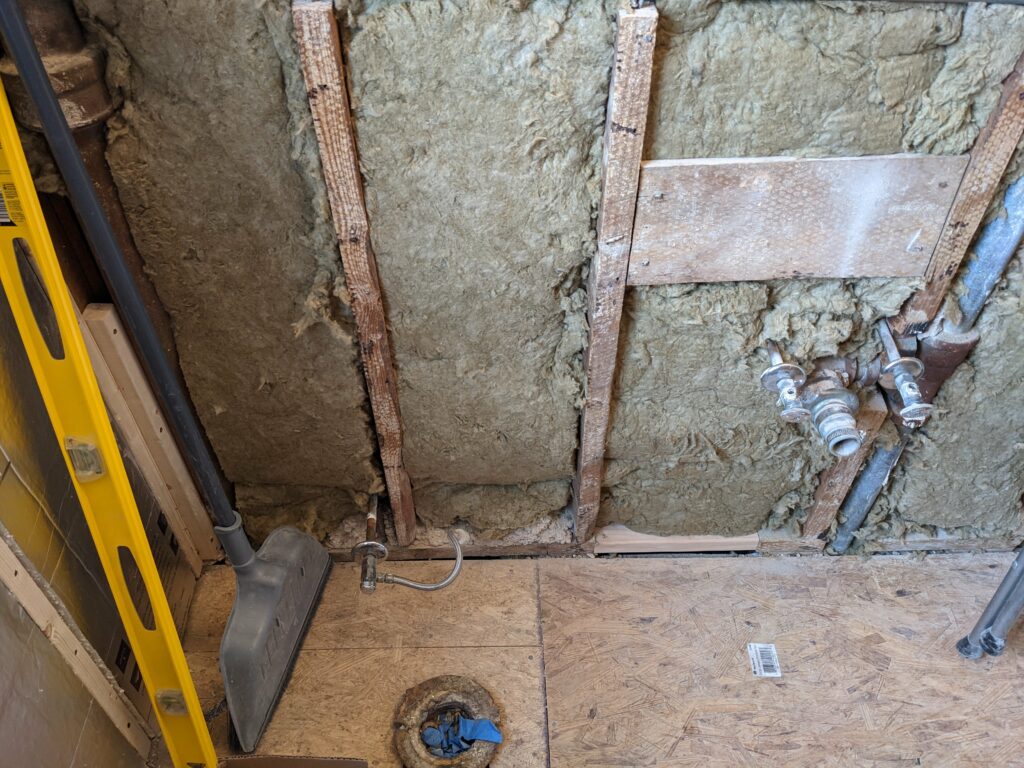
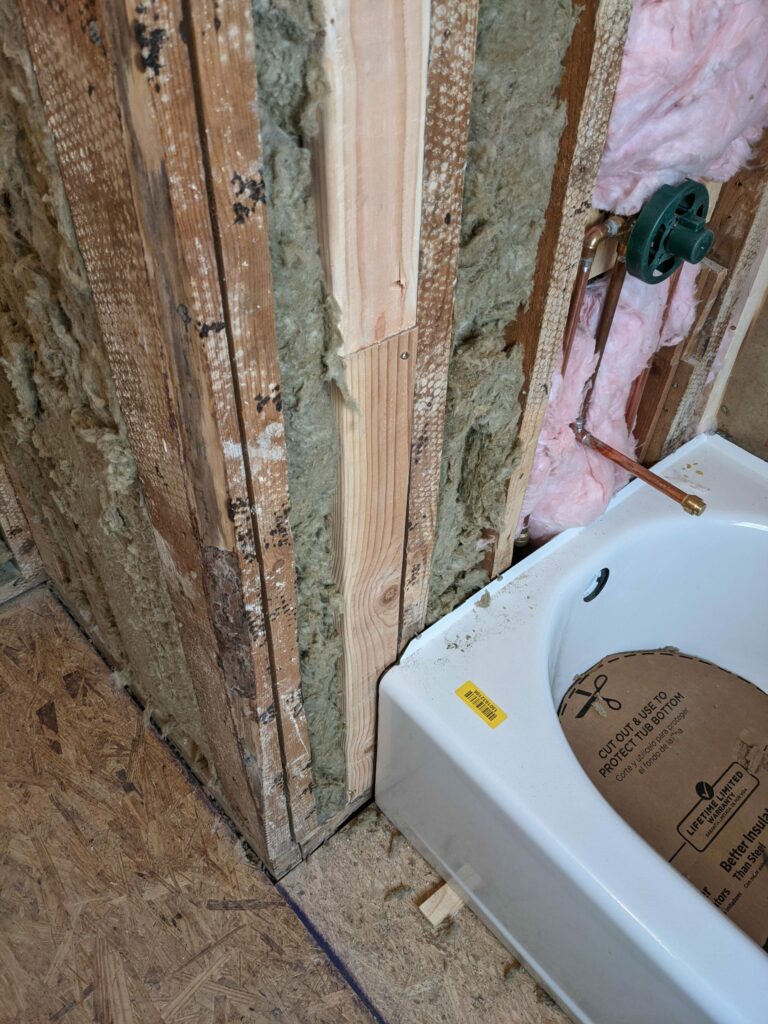
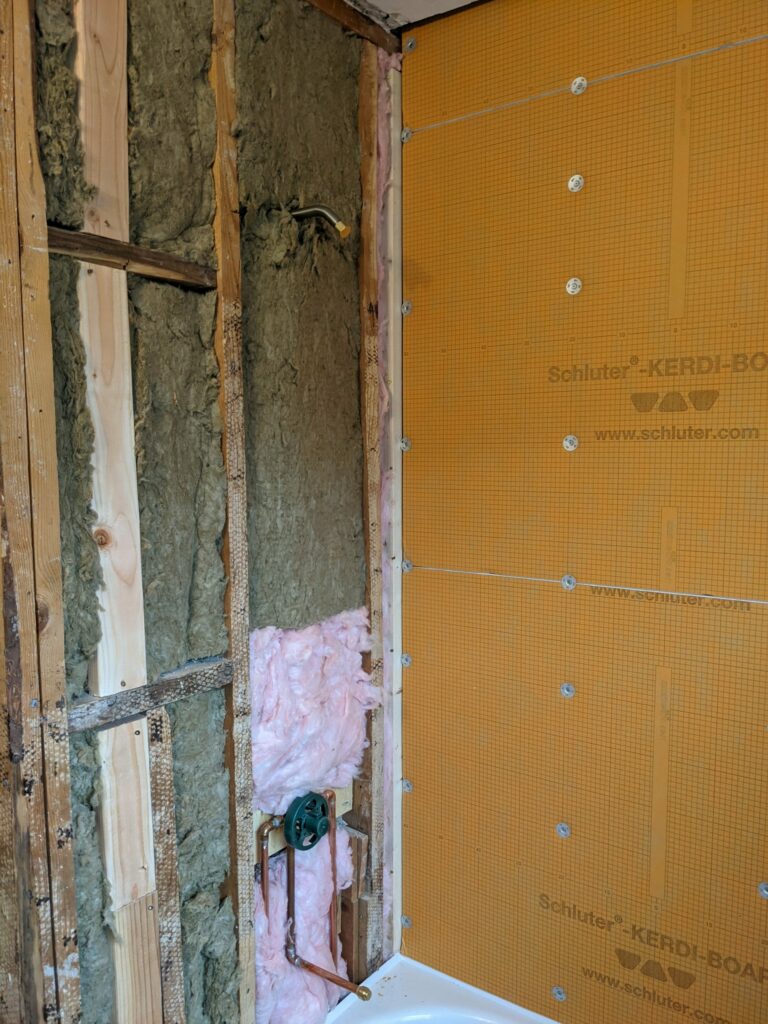
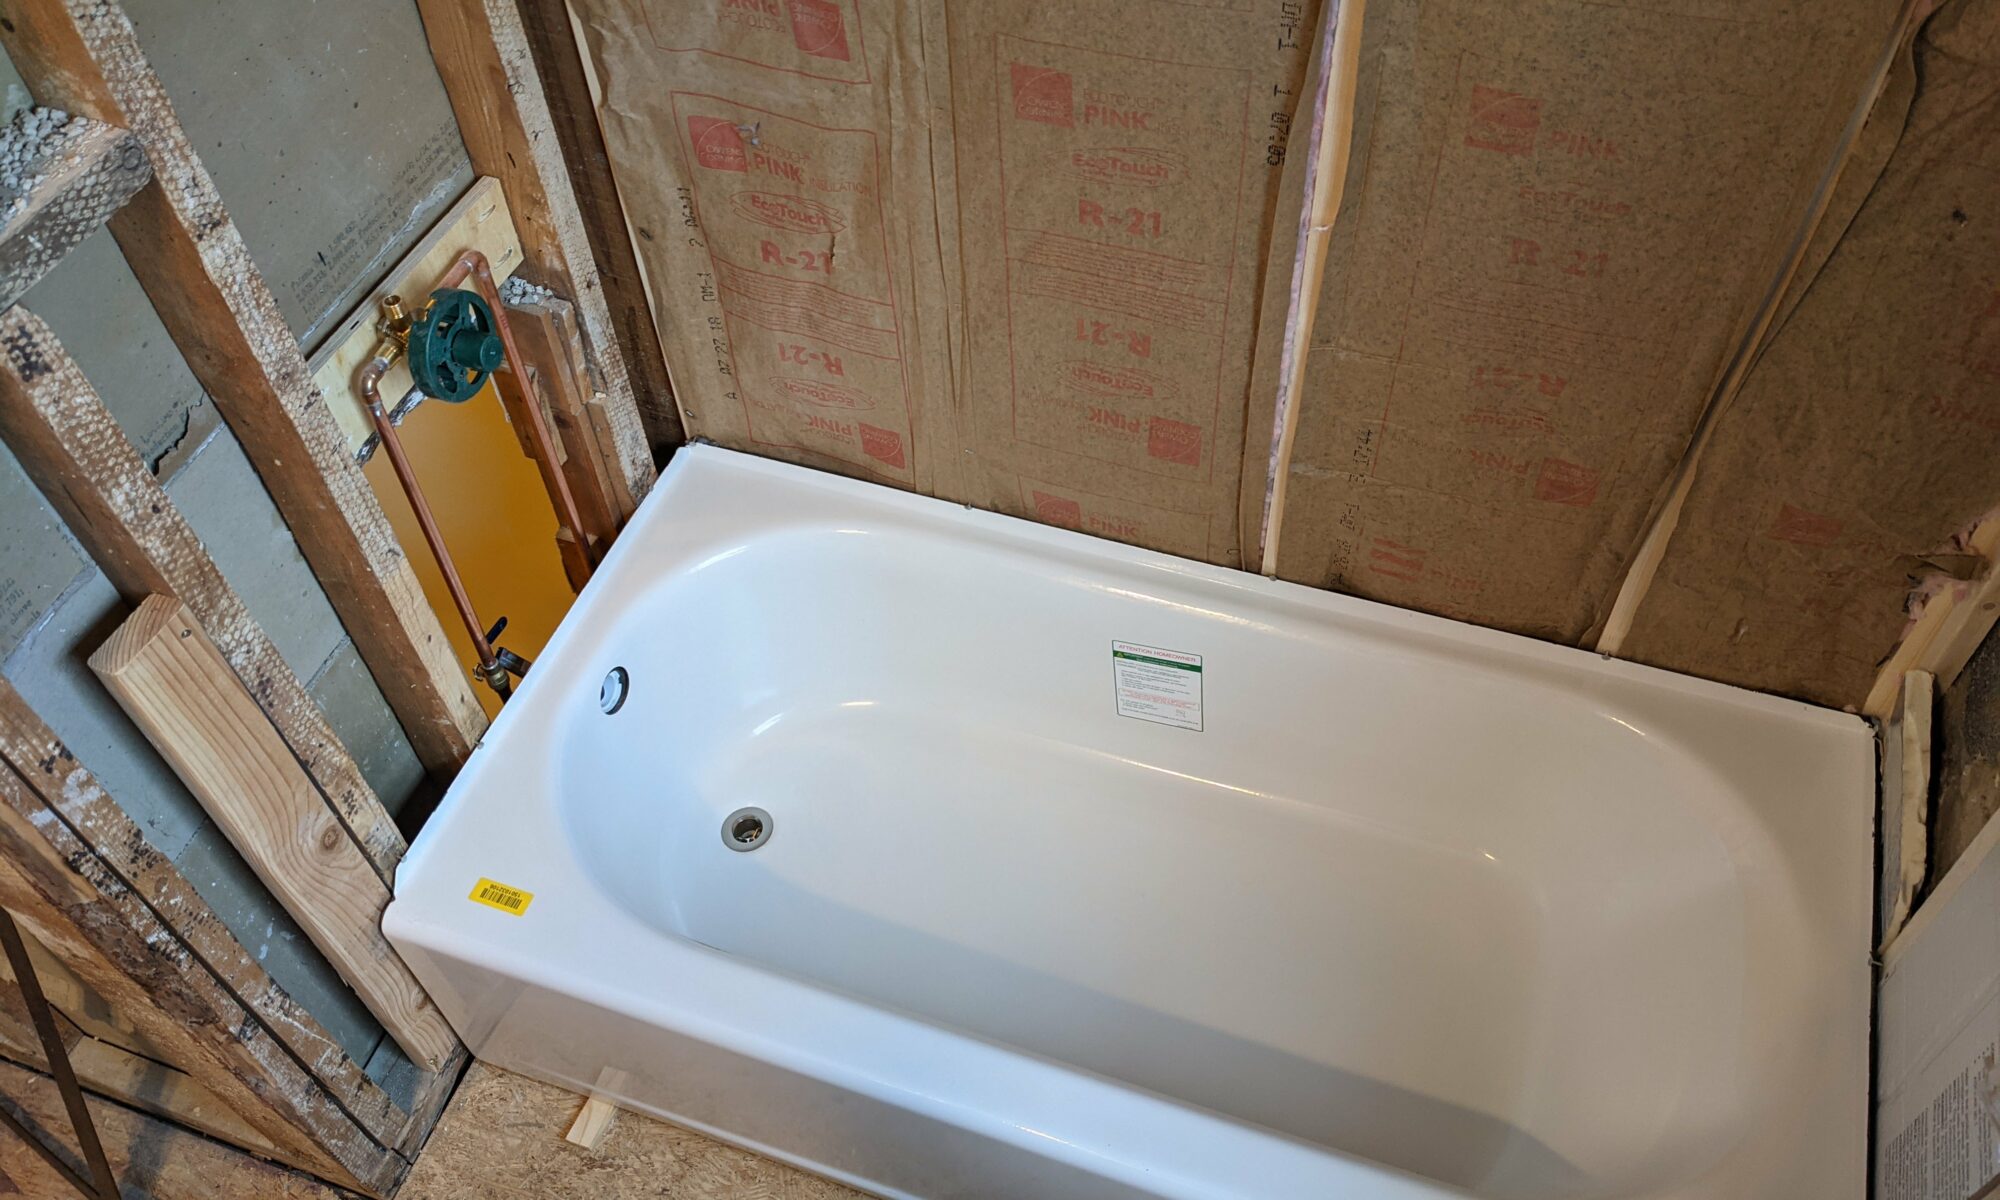
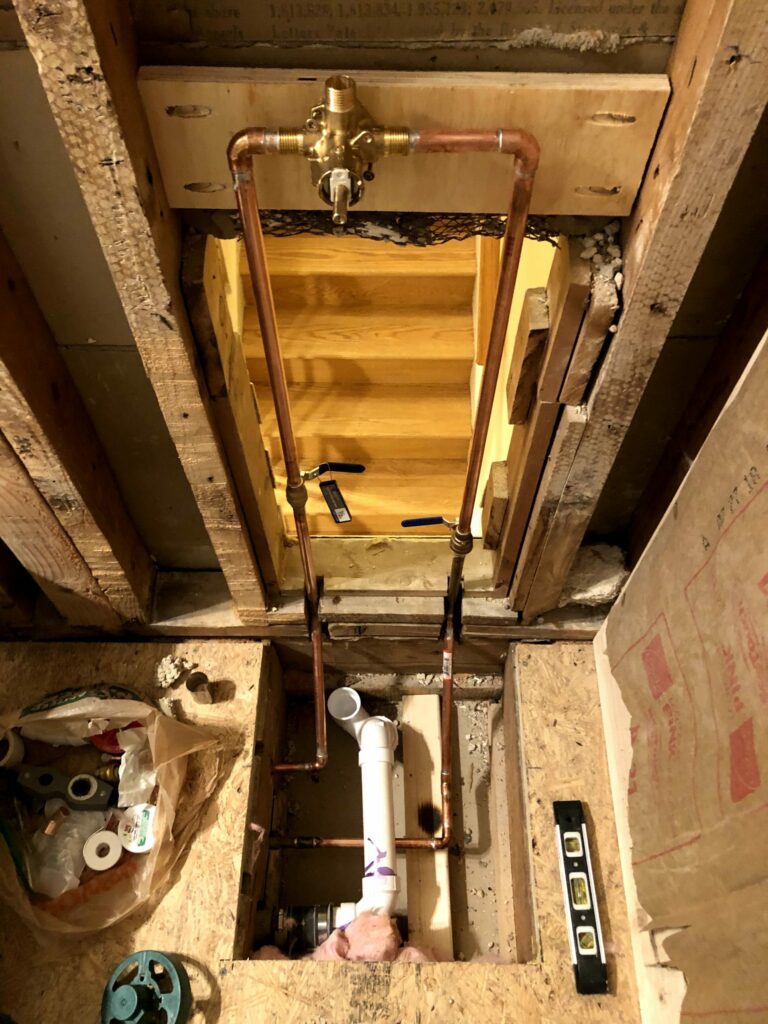
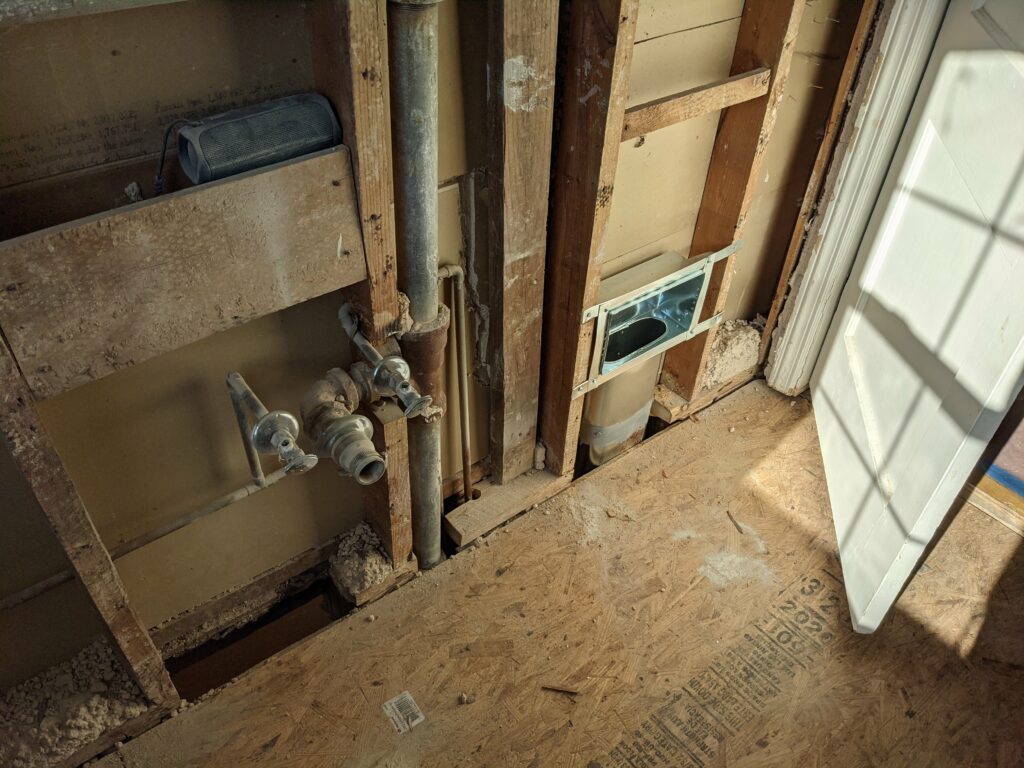
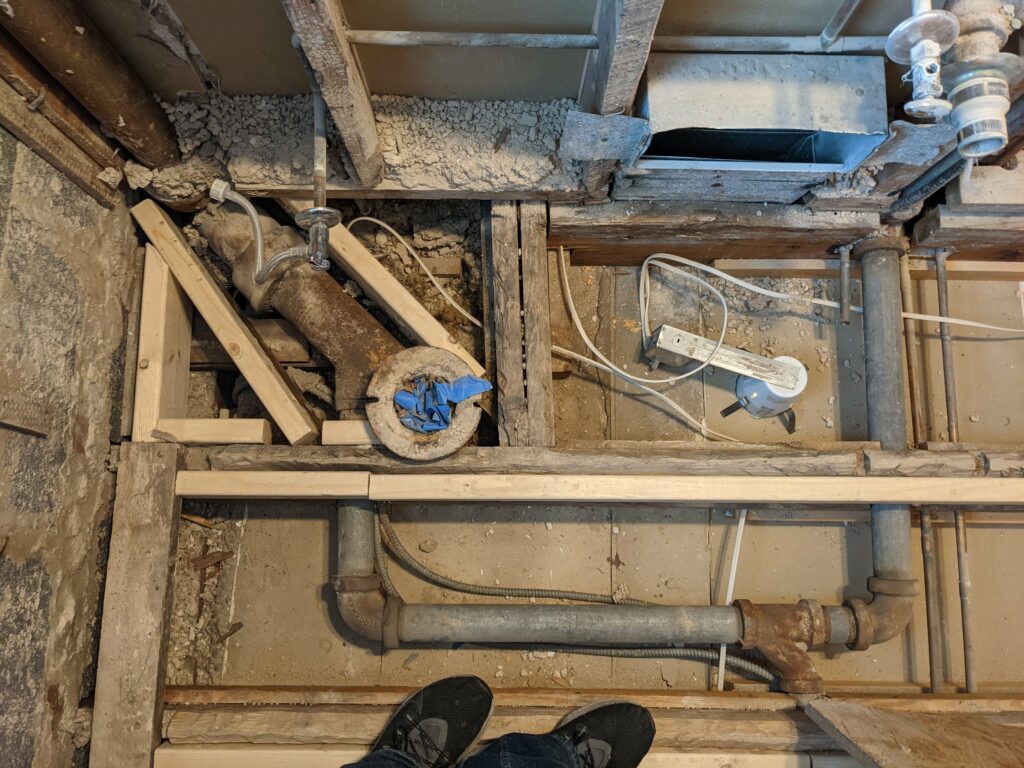
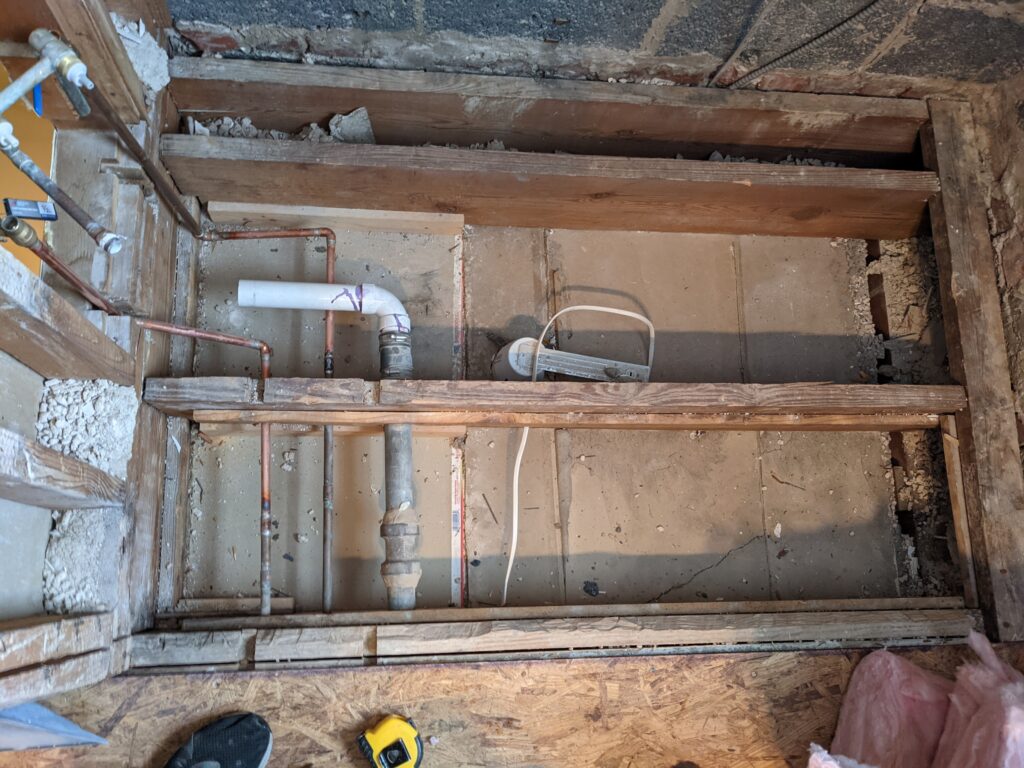
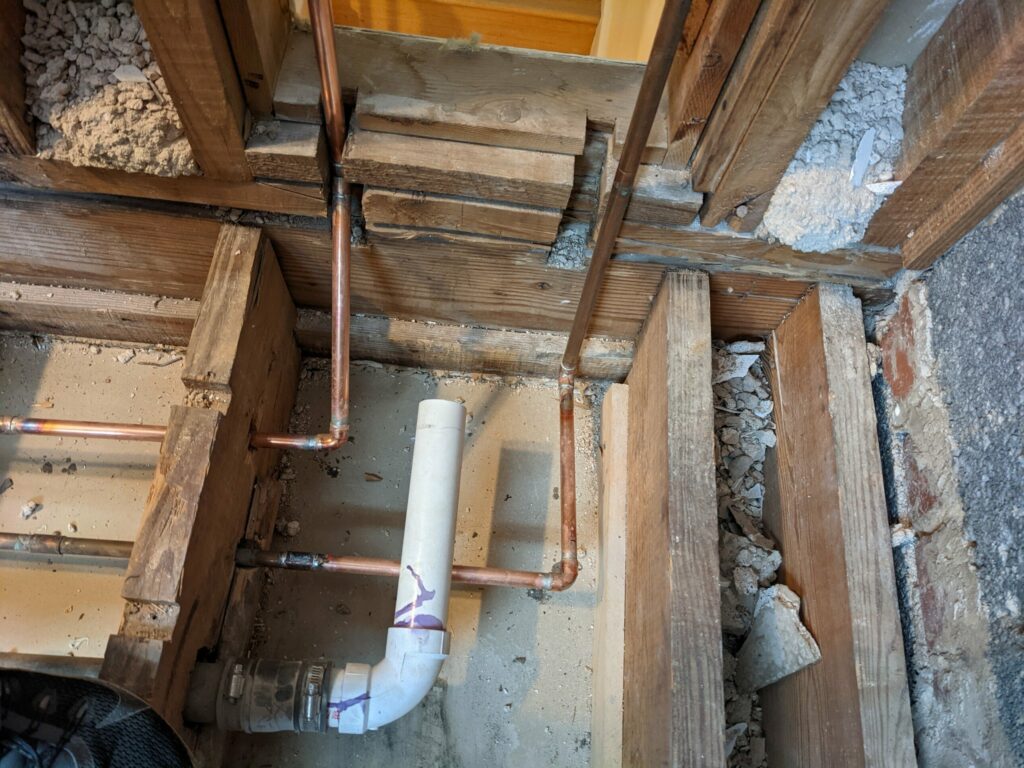
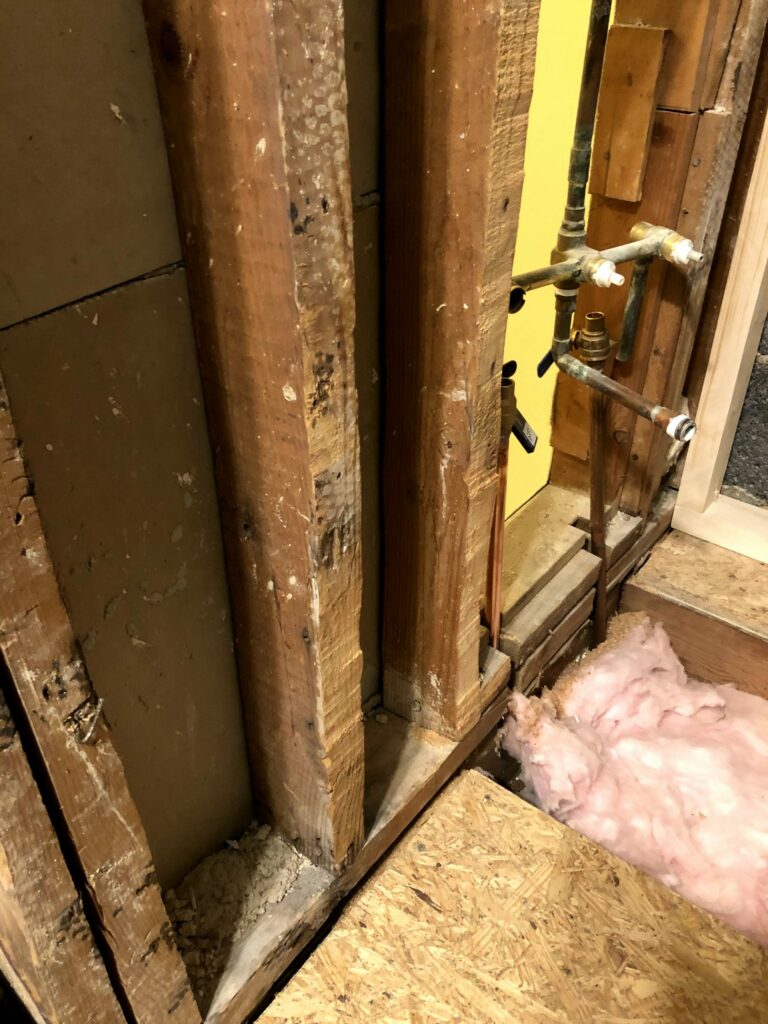
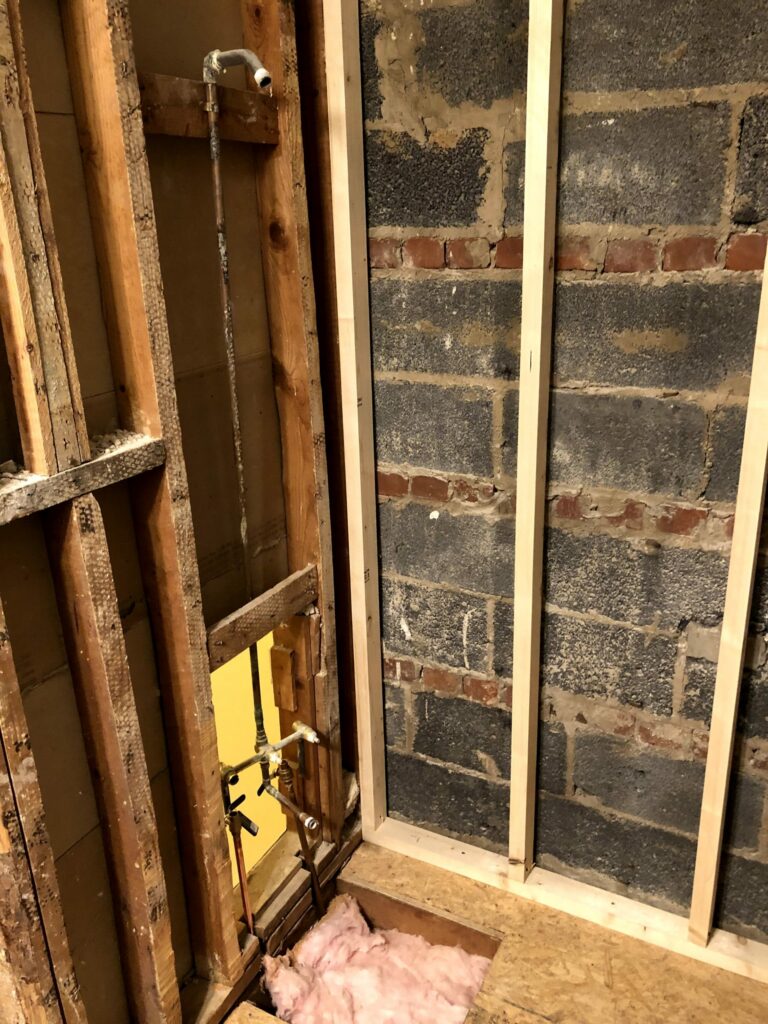
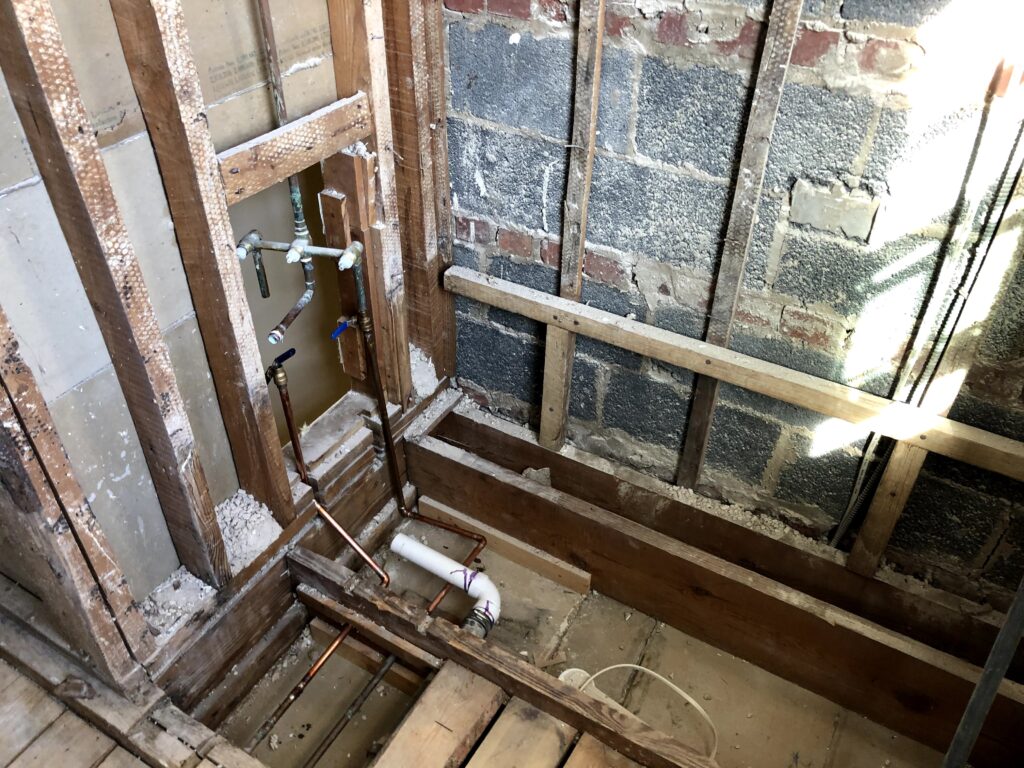
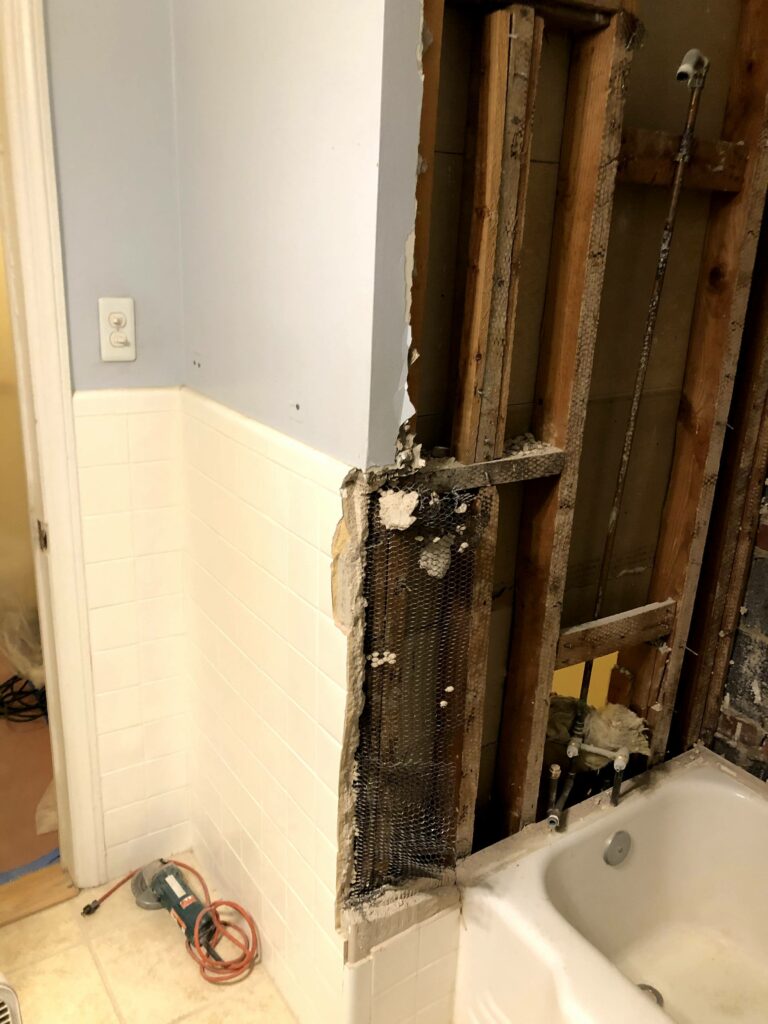
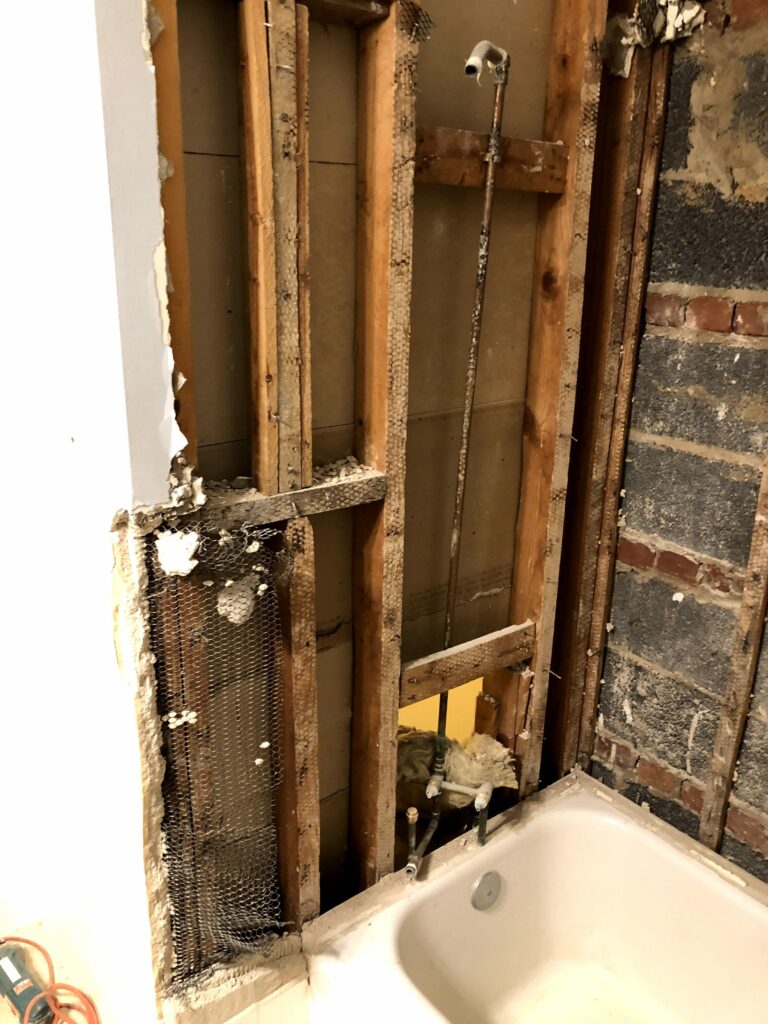
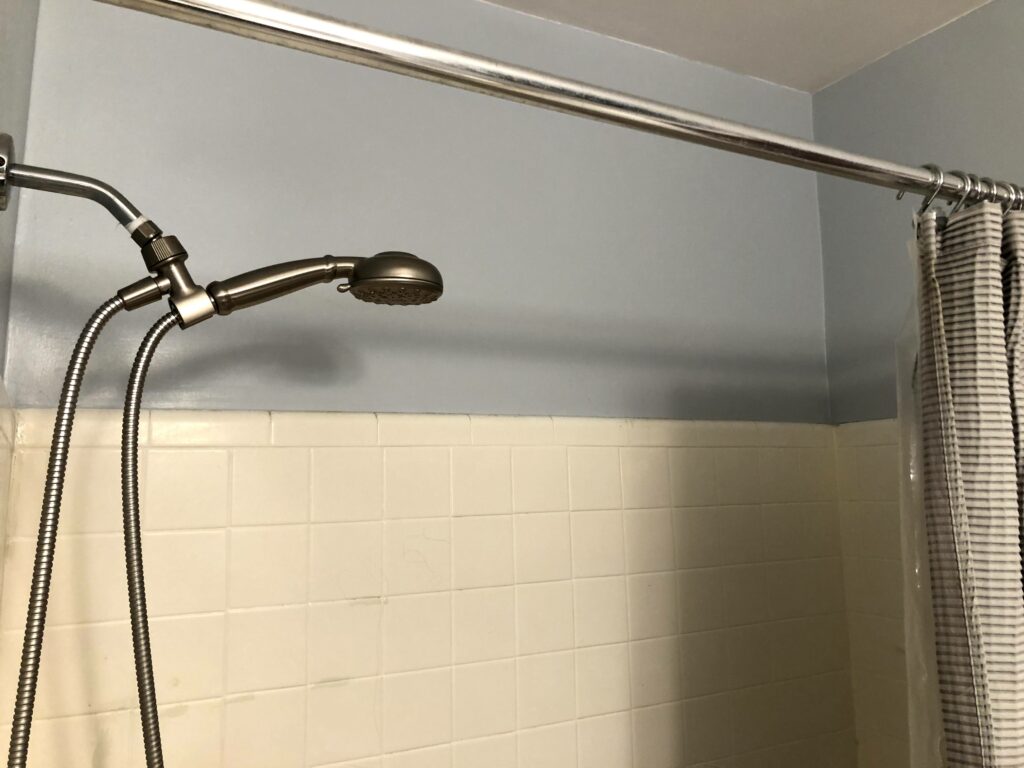
- Add the plumbing for the tub and shower
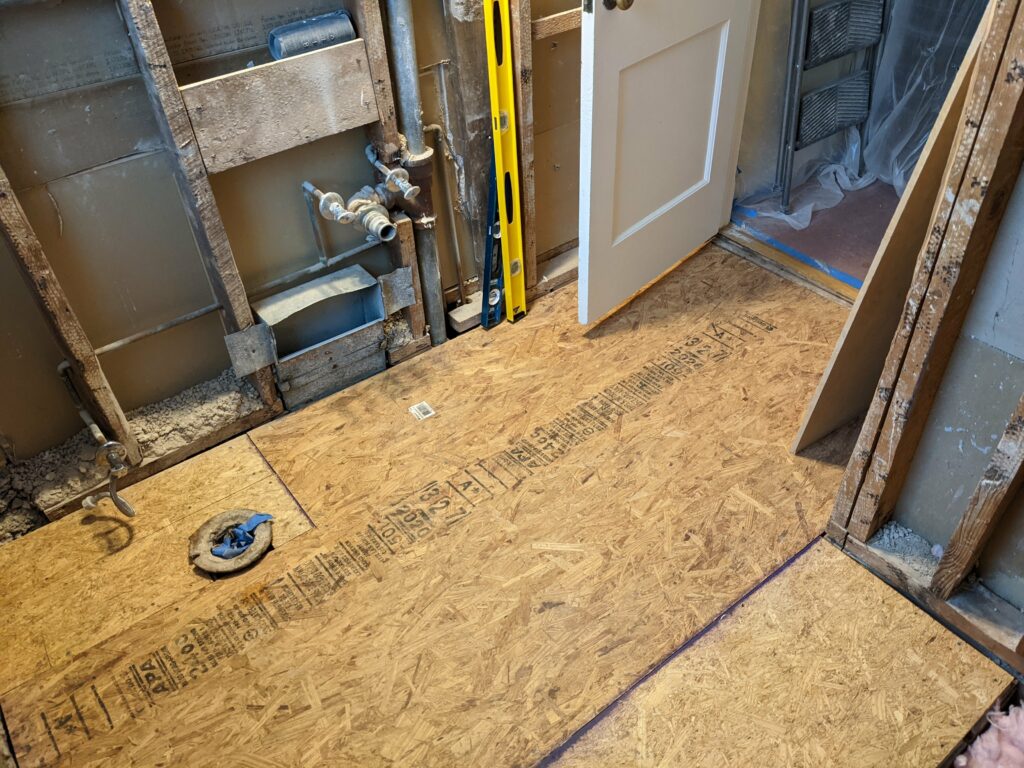
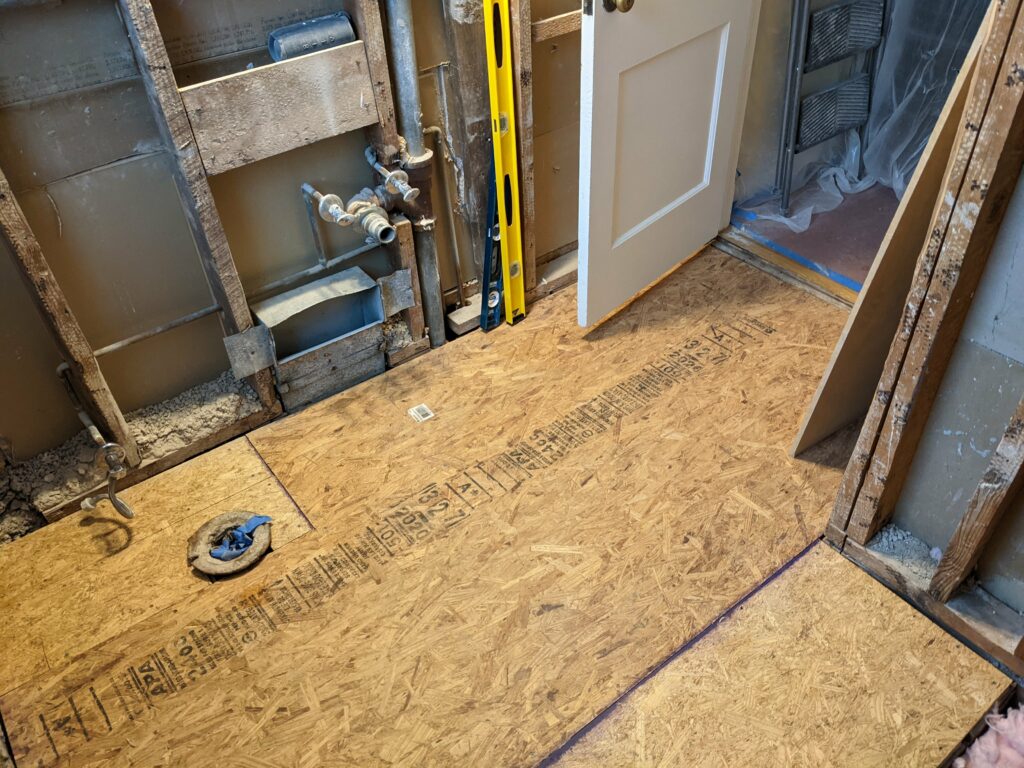
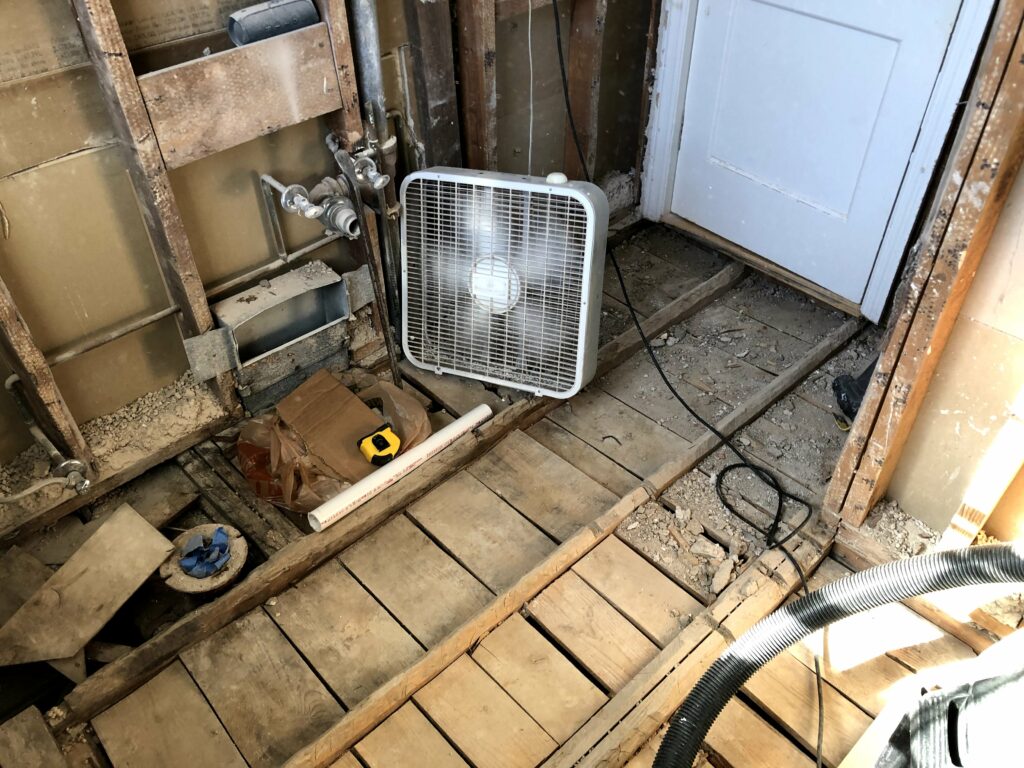
- Clean up all the leftover nails and remaining pieces of wood
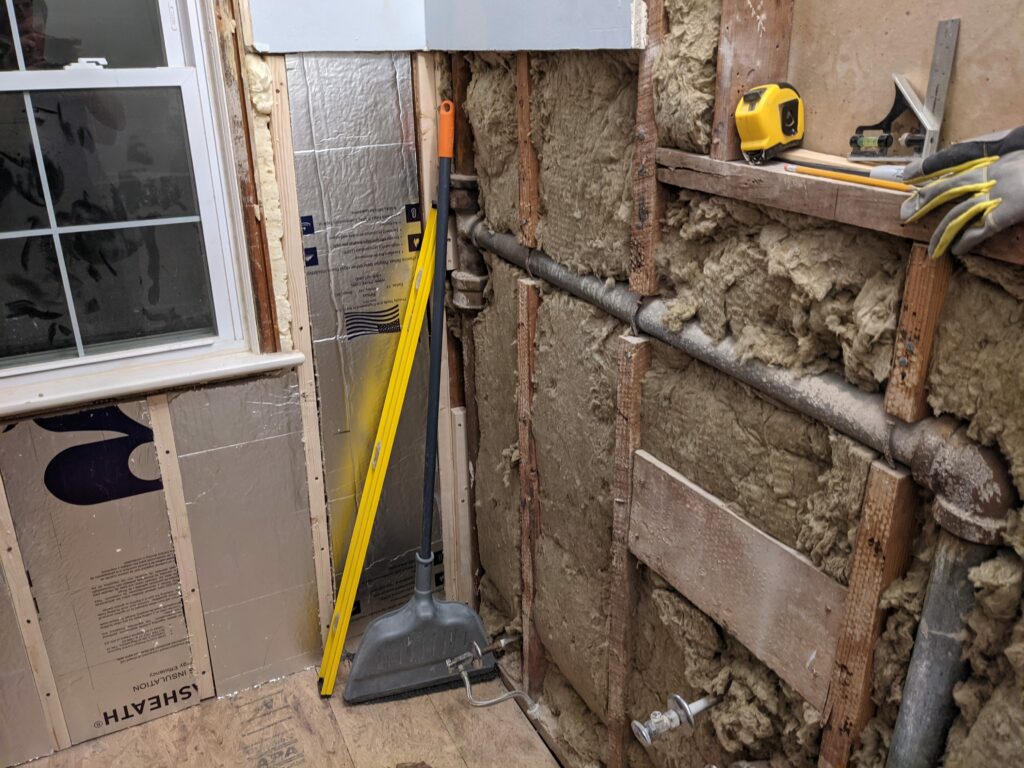
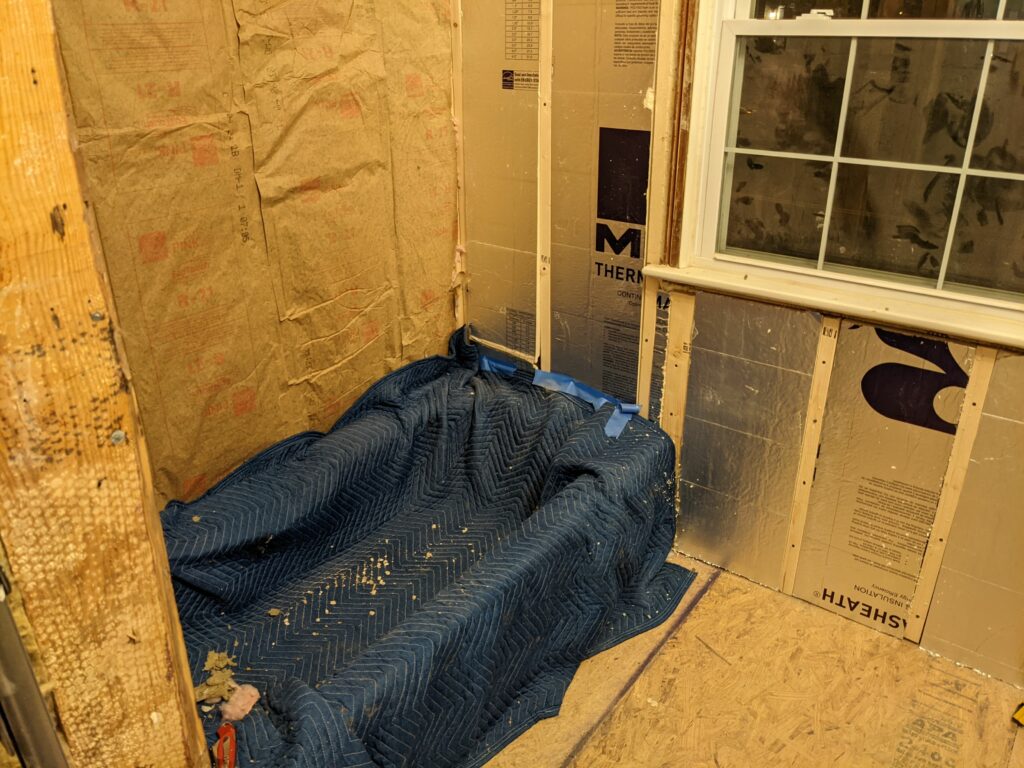
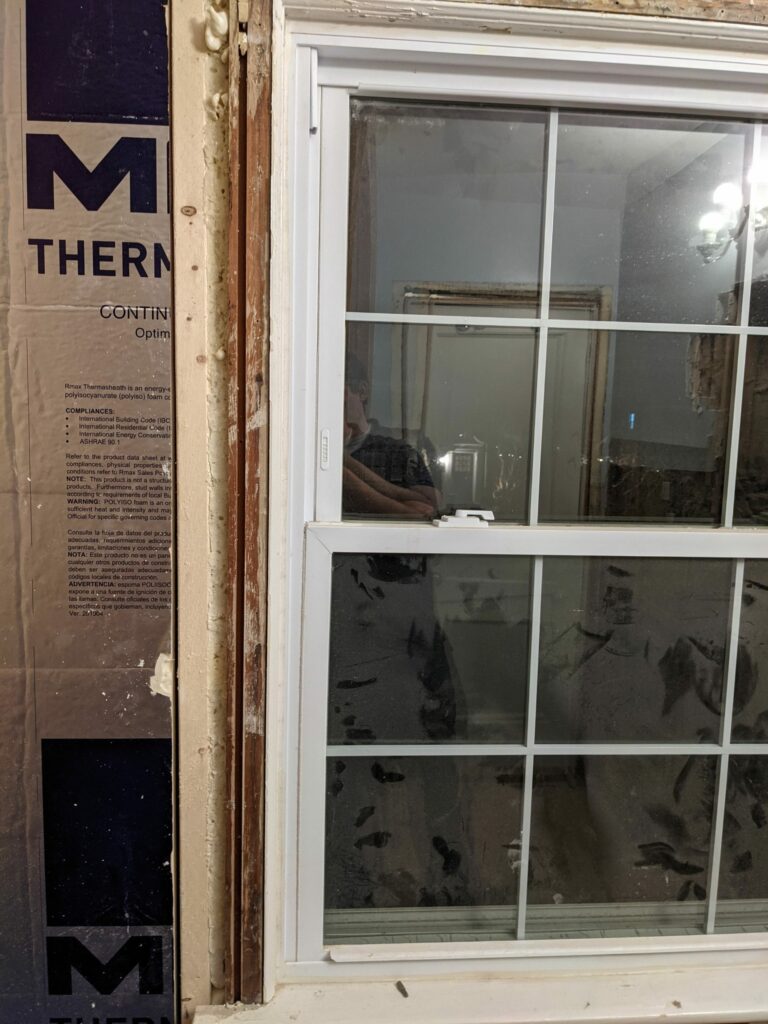
- Fill in the window gaps with spray foam
- Adjust the door casing which was crazy out of level
- Add furring strips around the window to have something to attach the drywall
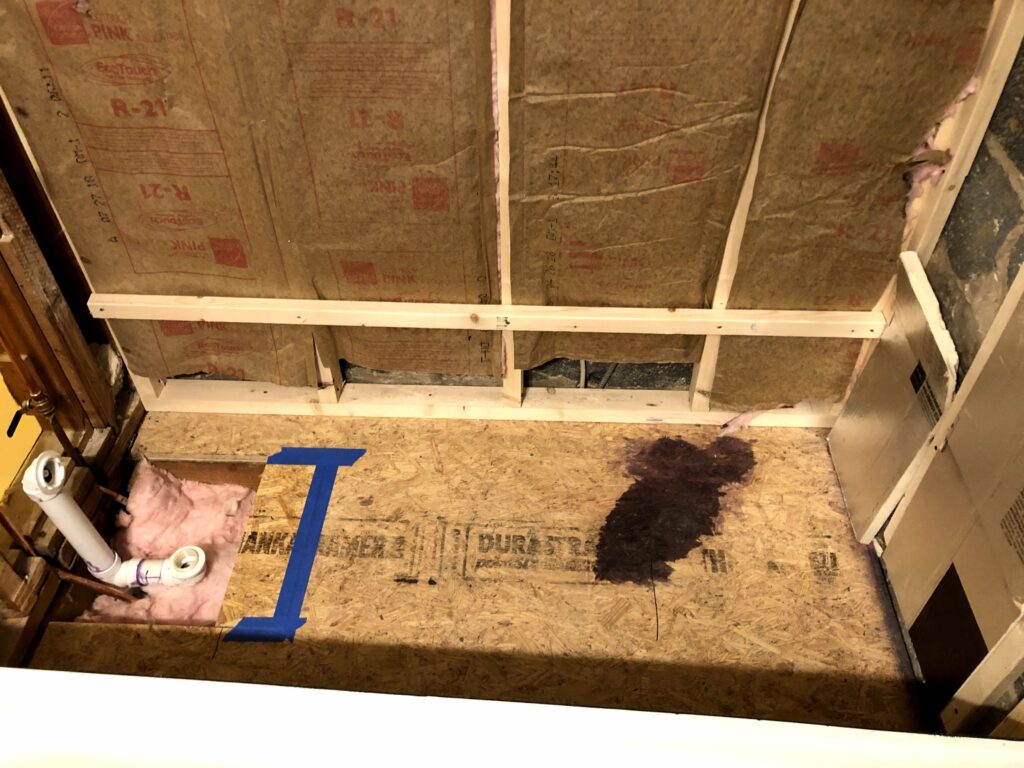
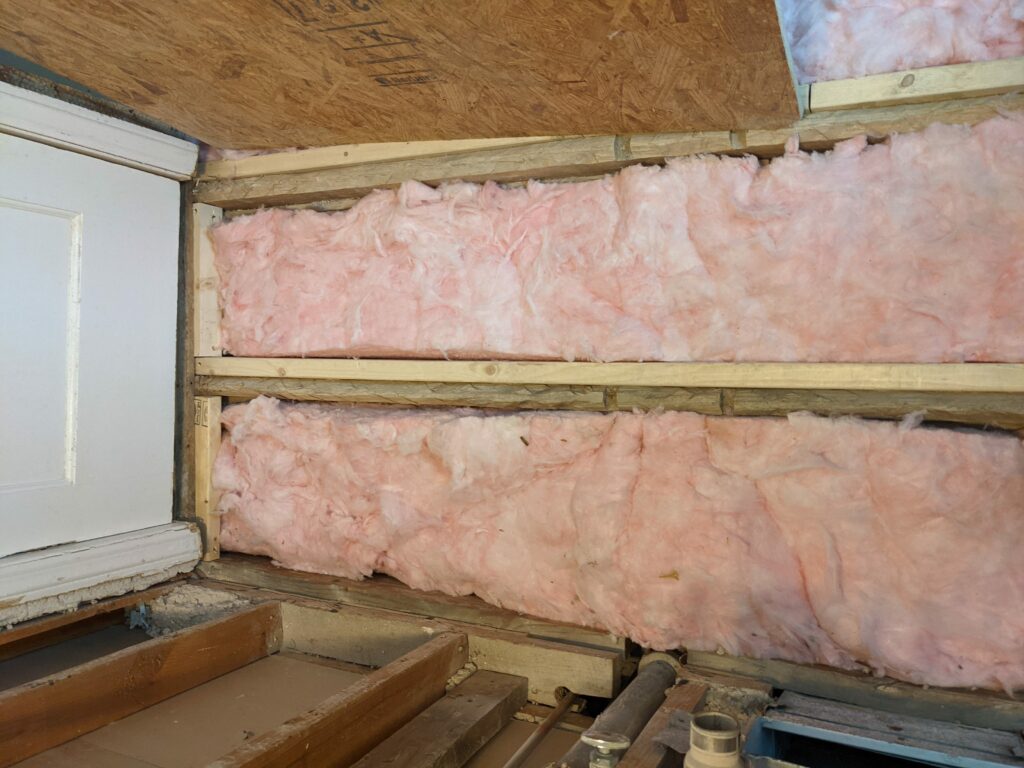
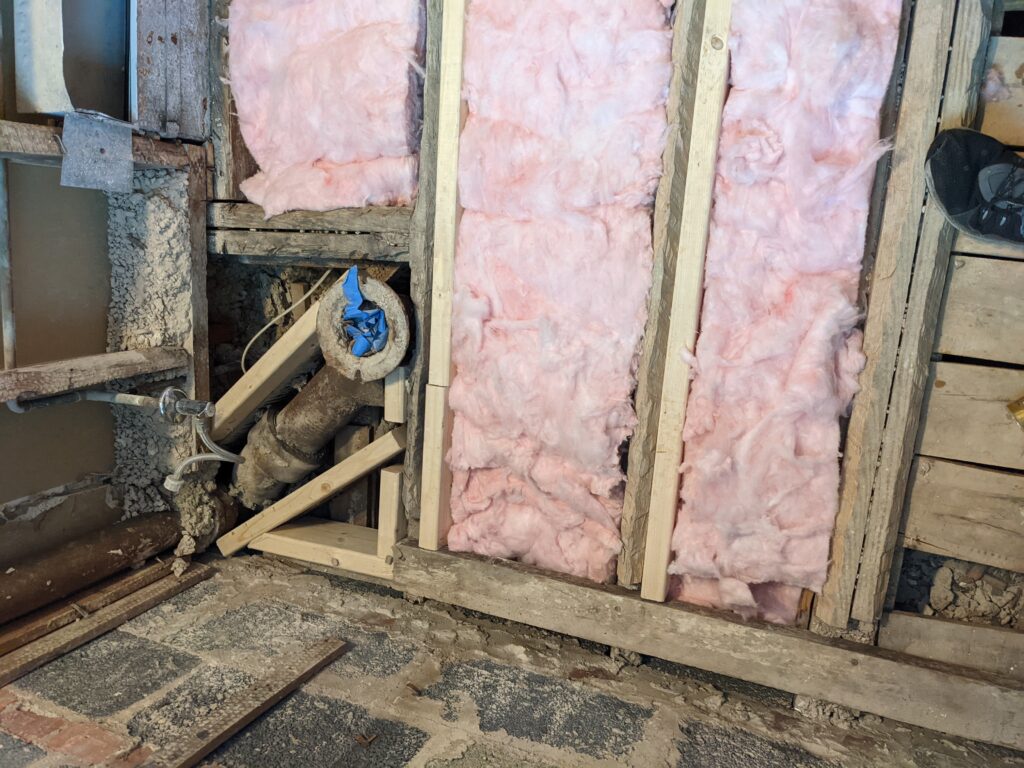
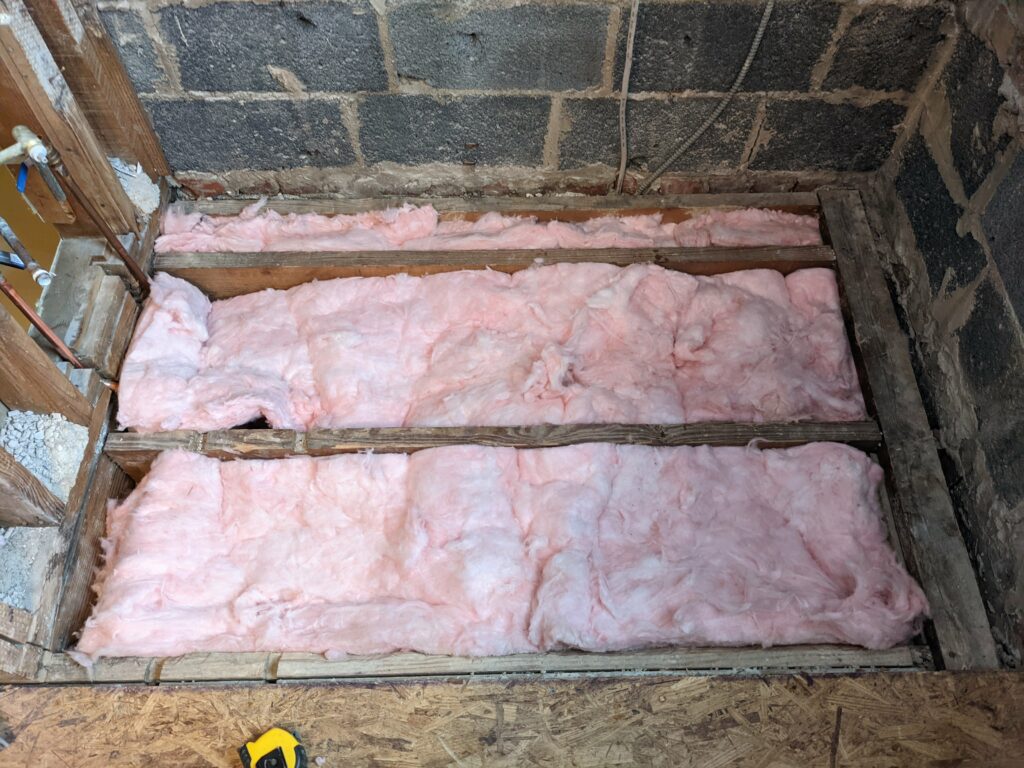
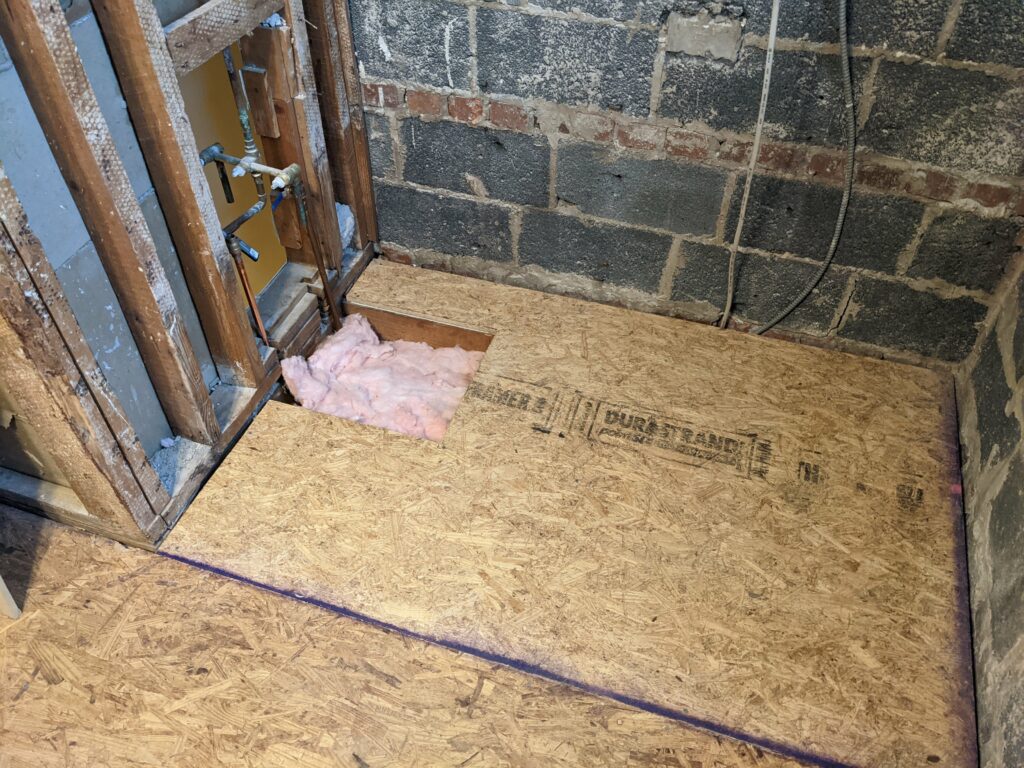
- Install all the insulation
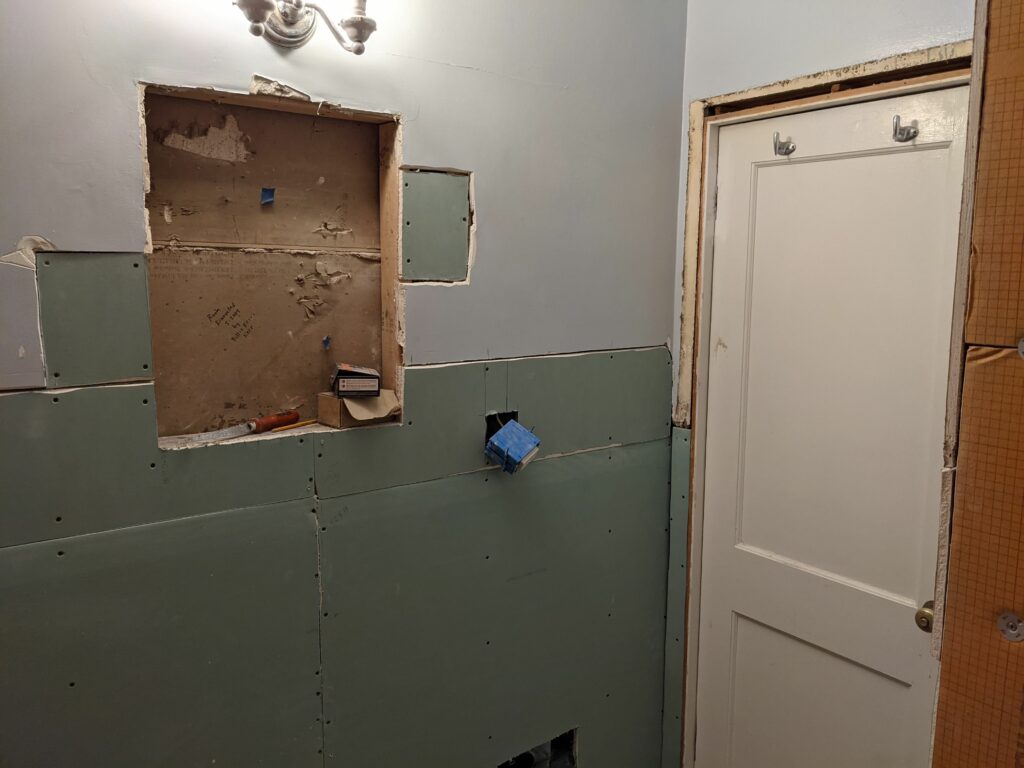
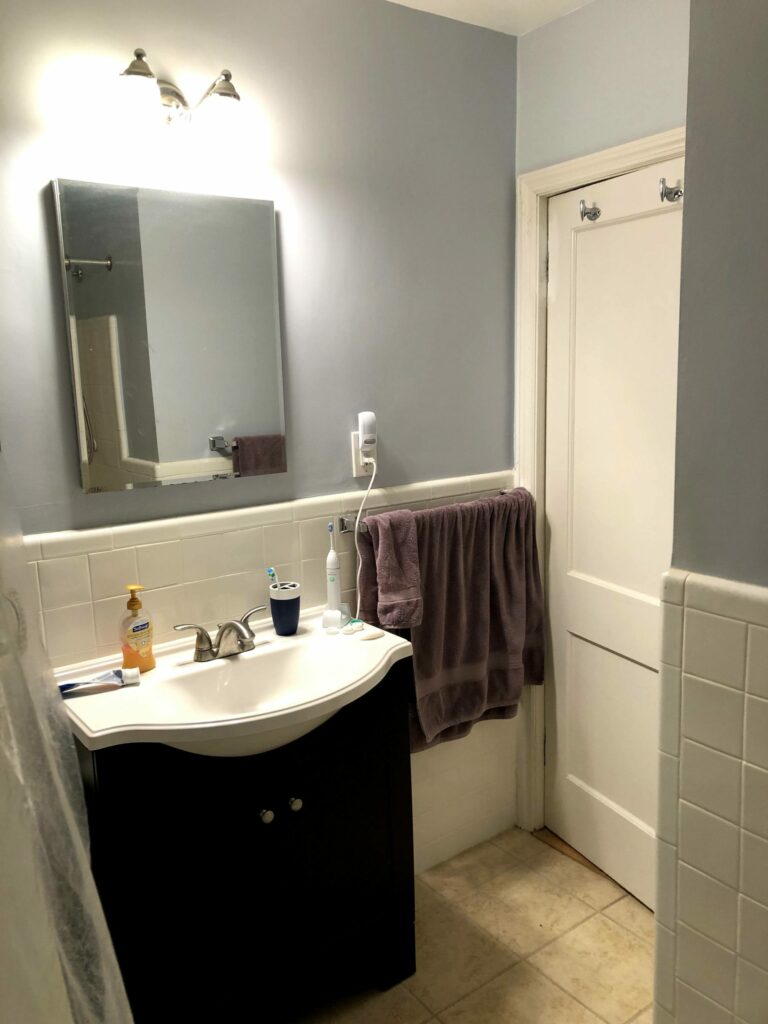
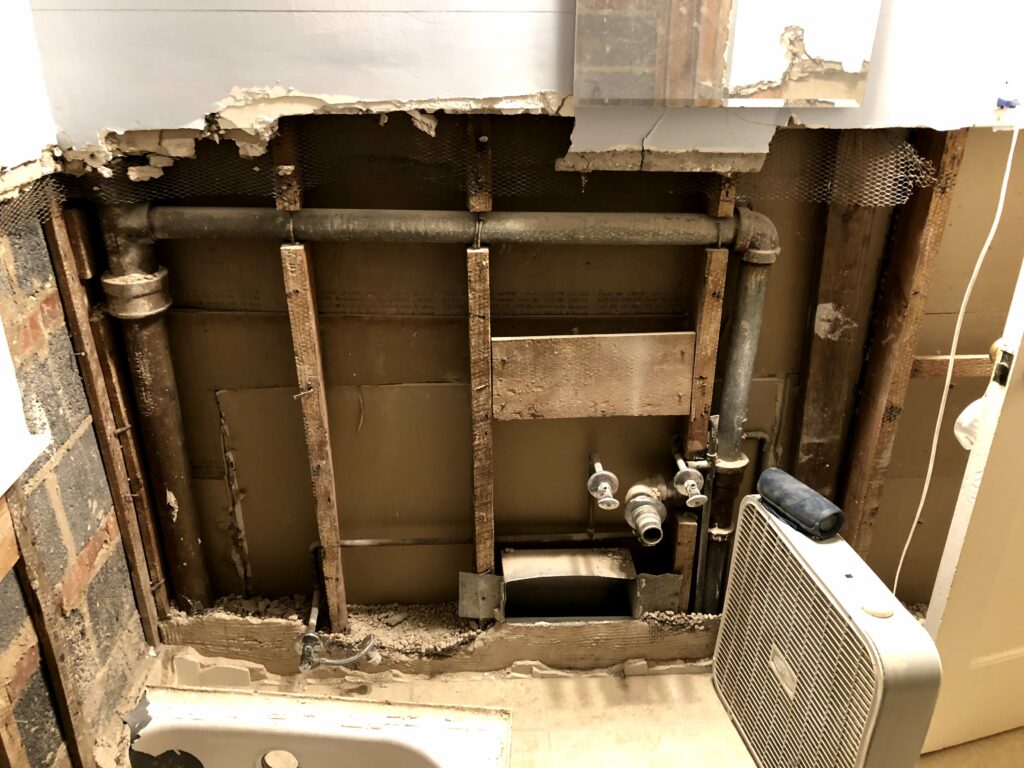
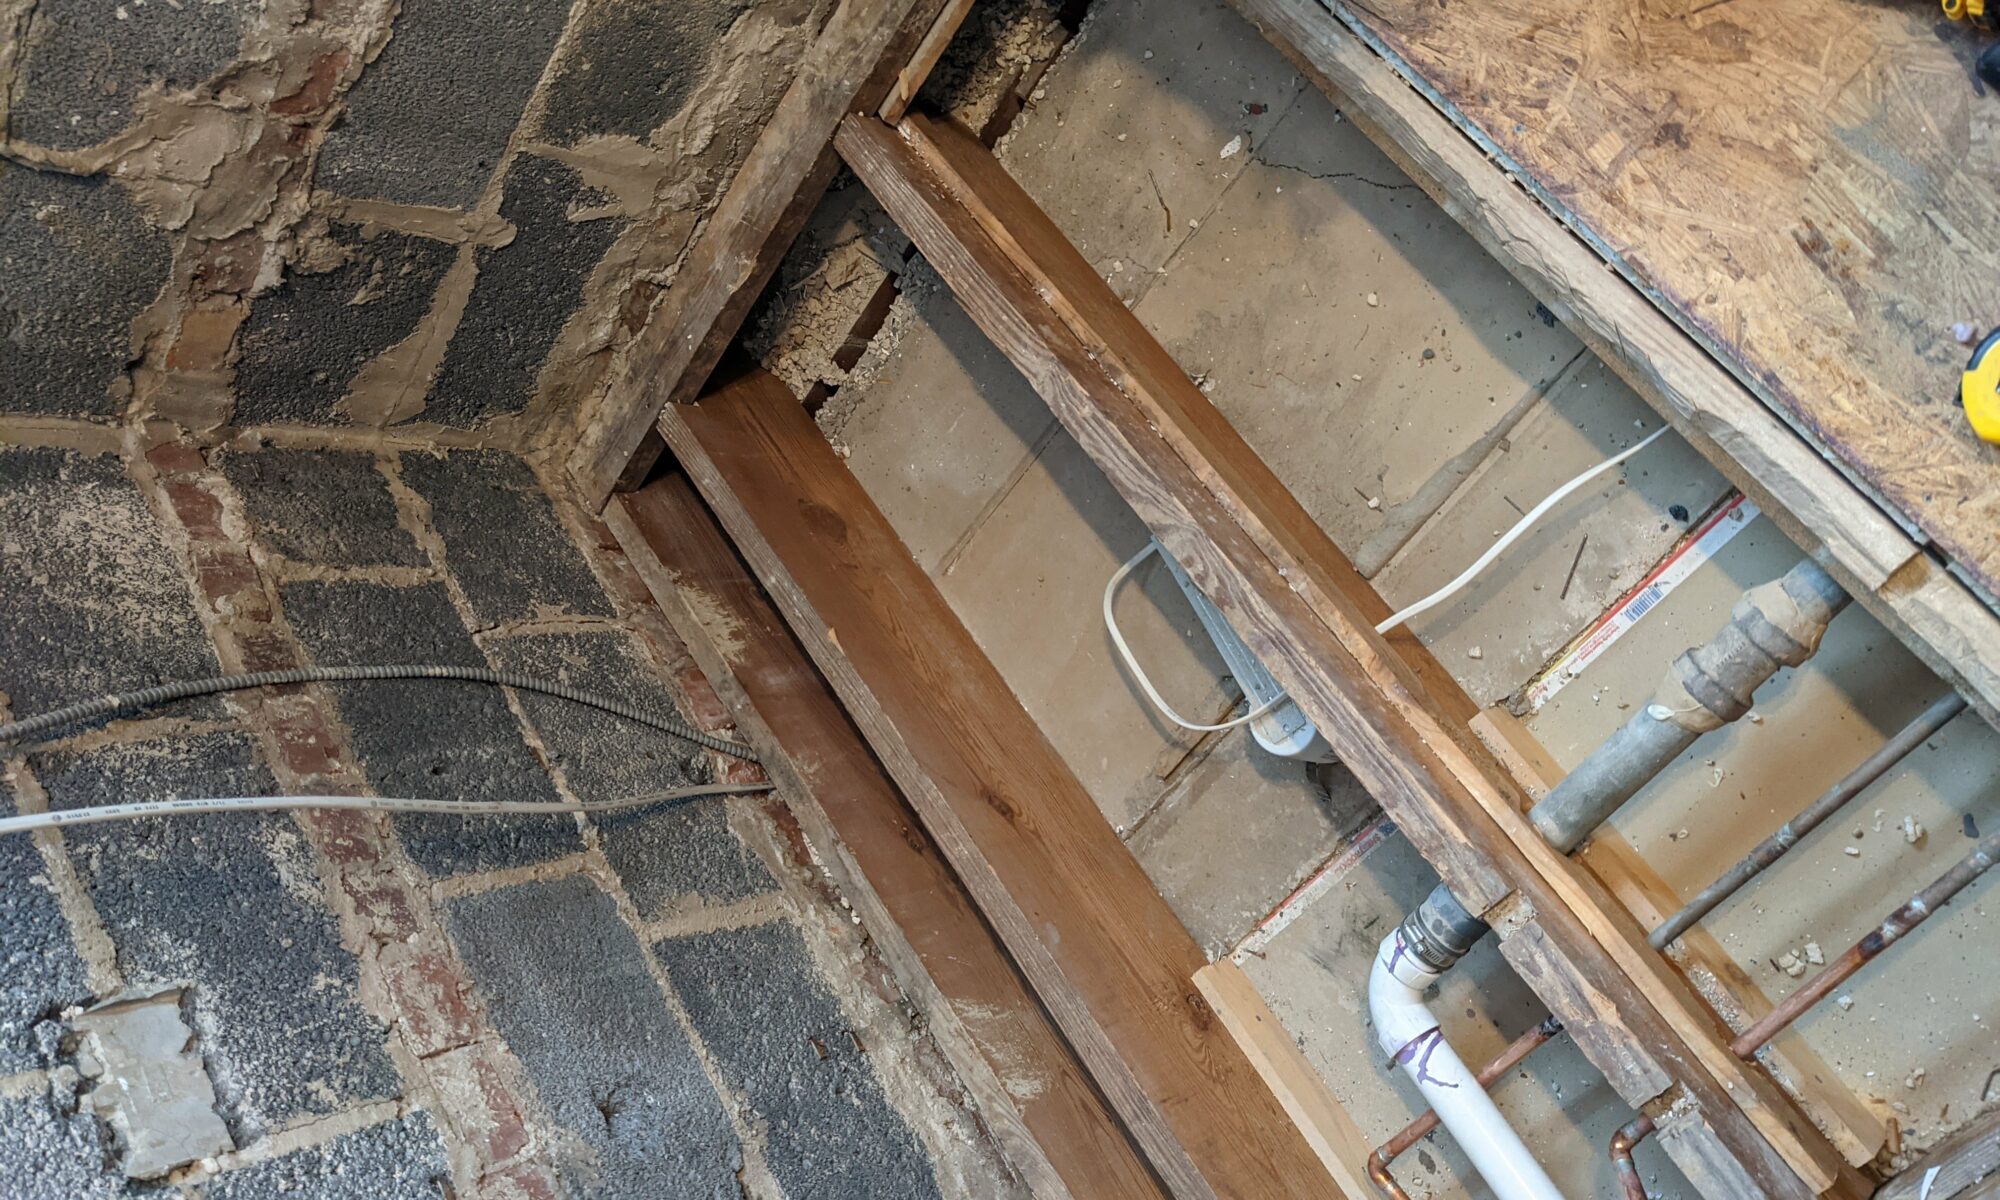
The wiring in the bathroom was as crazy as expected in an old house that’s been partially renovated a couple times. There were hidden electrical junction boxes on both sides of the vanity mirror which required a couple extra holes in the plaster.
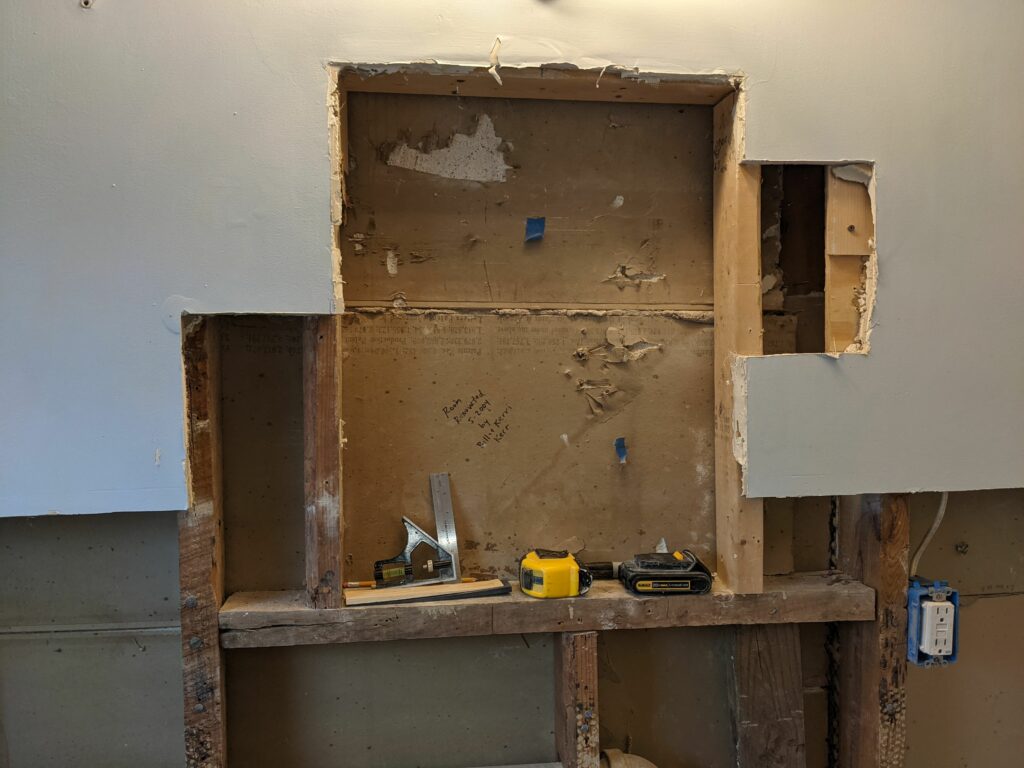
I recruited Rebecca to pull all the nails and trim from the window and door so we can have access for the drywall while I was off messing up the plumbing. I installed the tub and shower spouts only to realize that the valve was installed upside down. Classic. But oh well only 20mins later and i got the valve all fixed up.
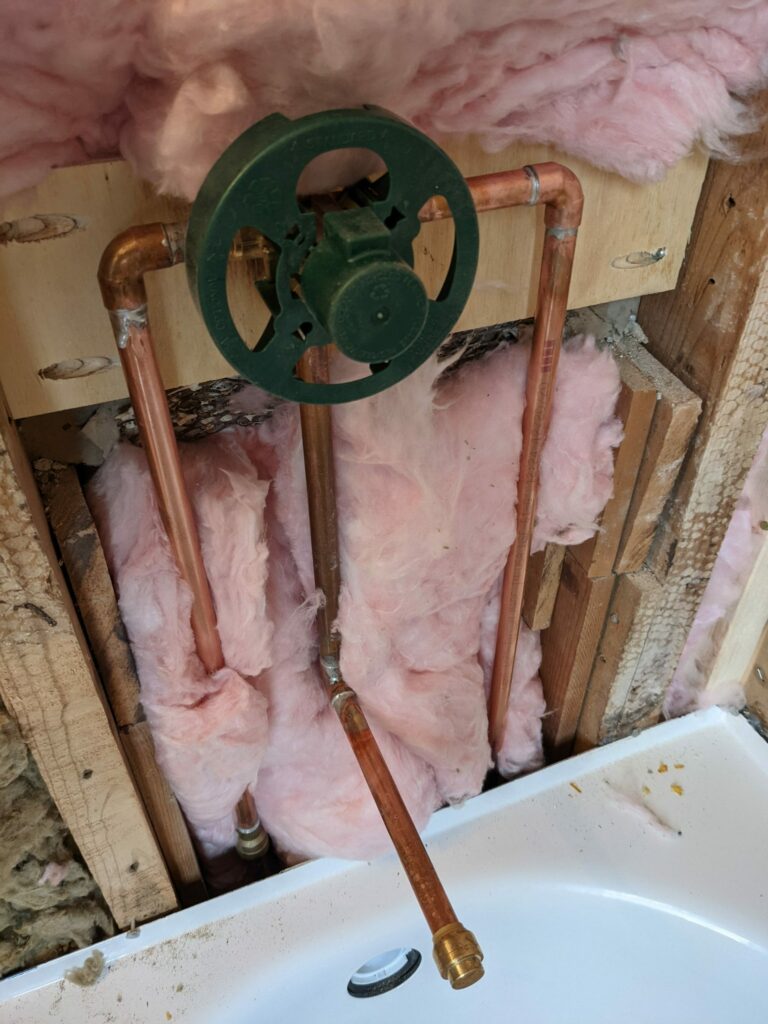
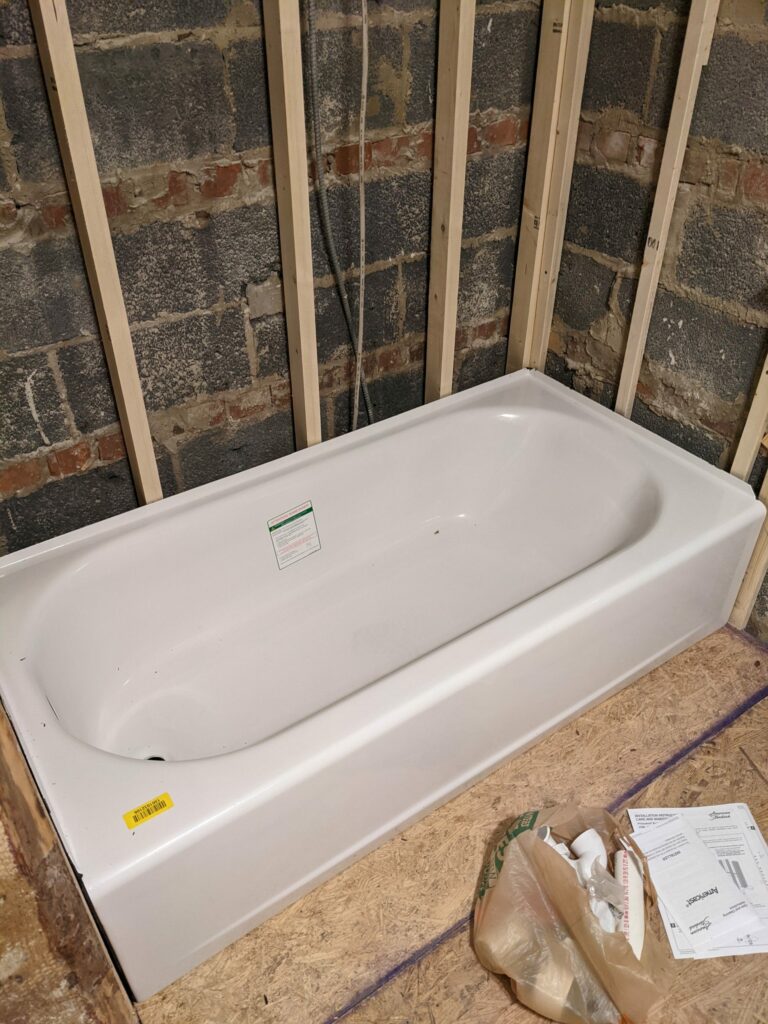
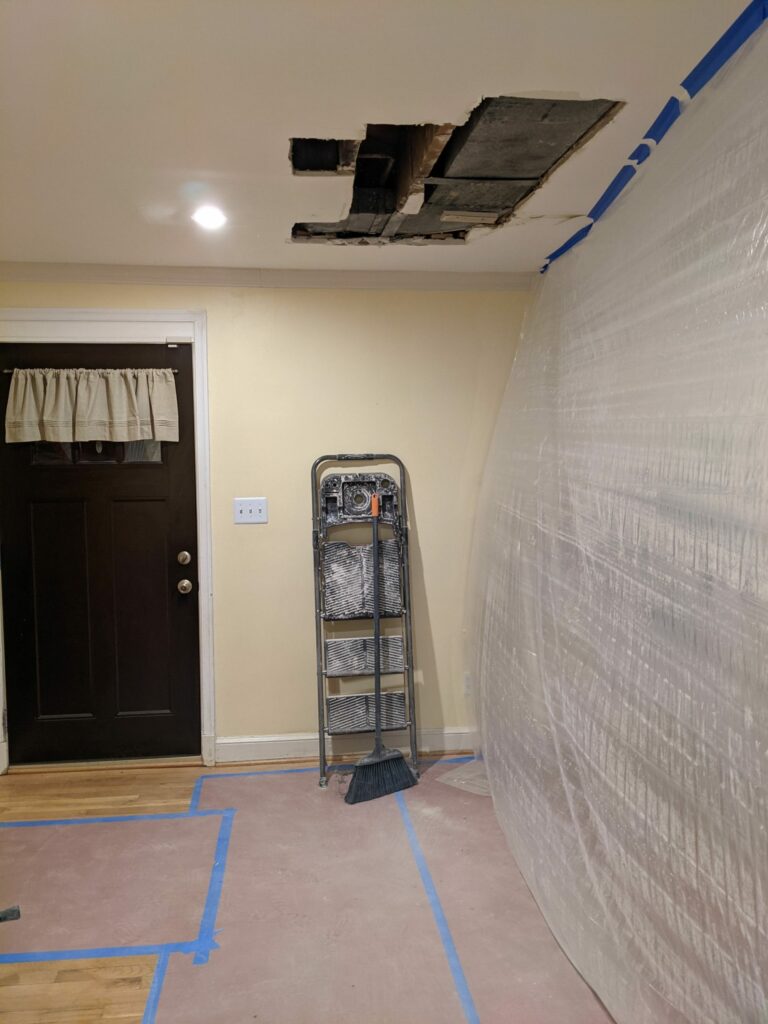
It took us two full days to finish all these little tasks, it’s amazing how just a long list of short items soaks up a lot of time. But we finally got everything all wrapped up and installed a bunch of insulation. I used sound proofing insulation since before we took out multiple trucks full of concrete our bathroom was super quiet and with some heavier insulation i hope it’ll be close to what it was. But at last we were ready for drywall and thus had to take lots of pictures before it was all covered up forever.
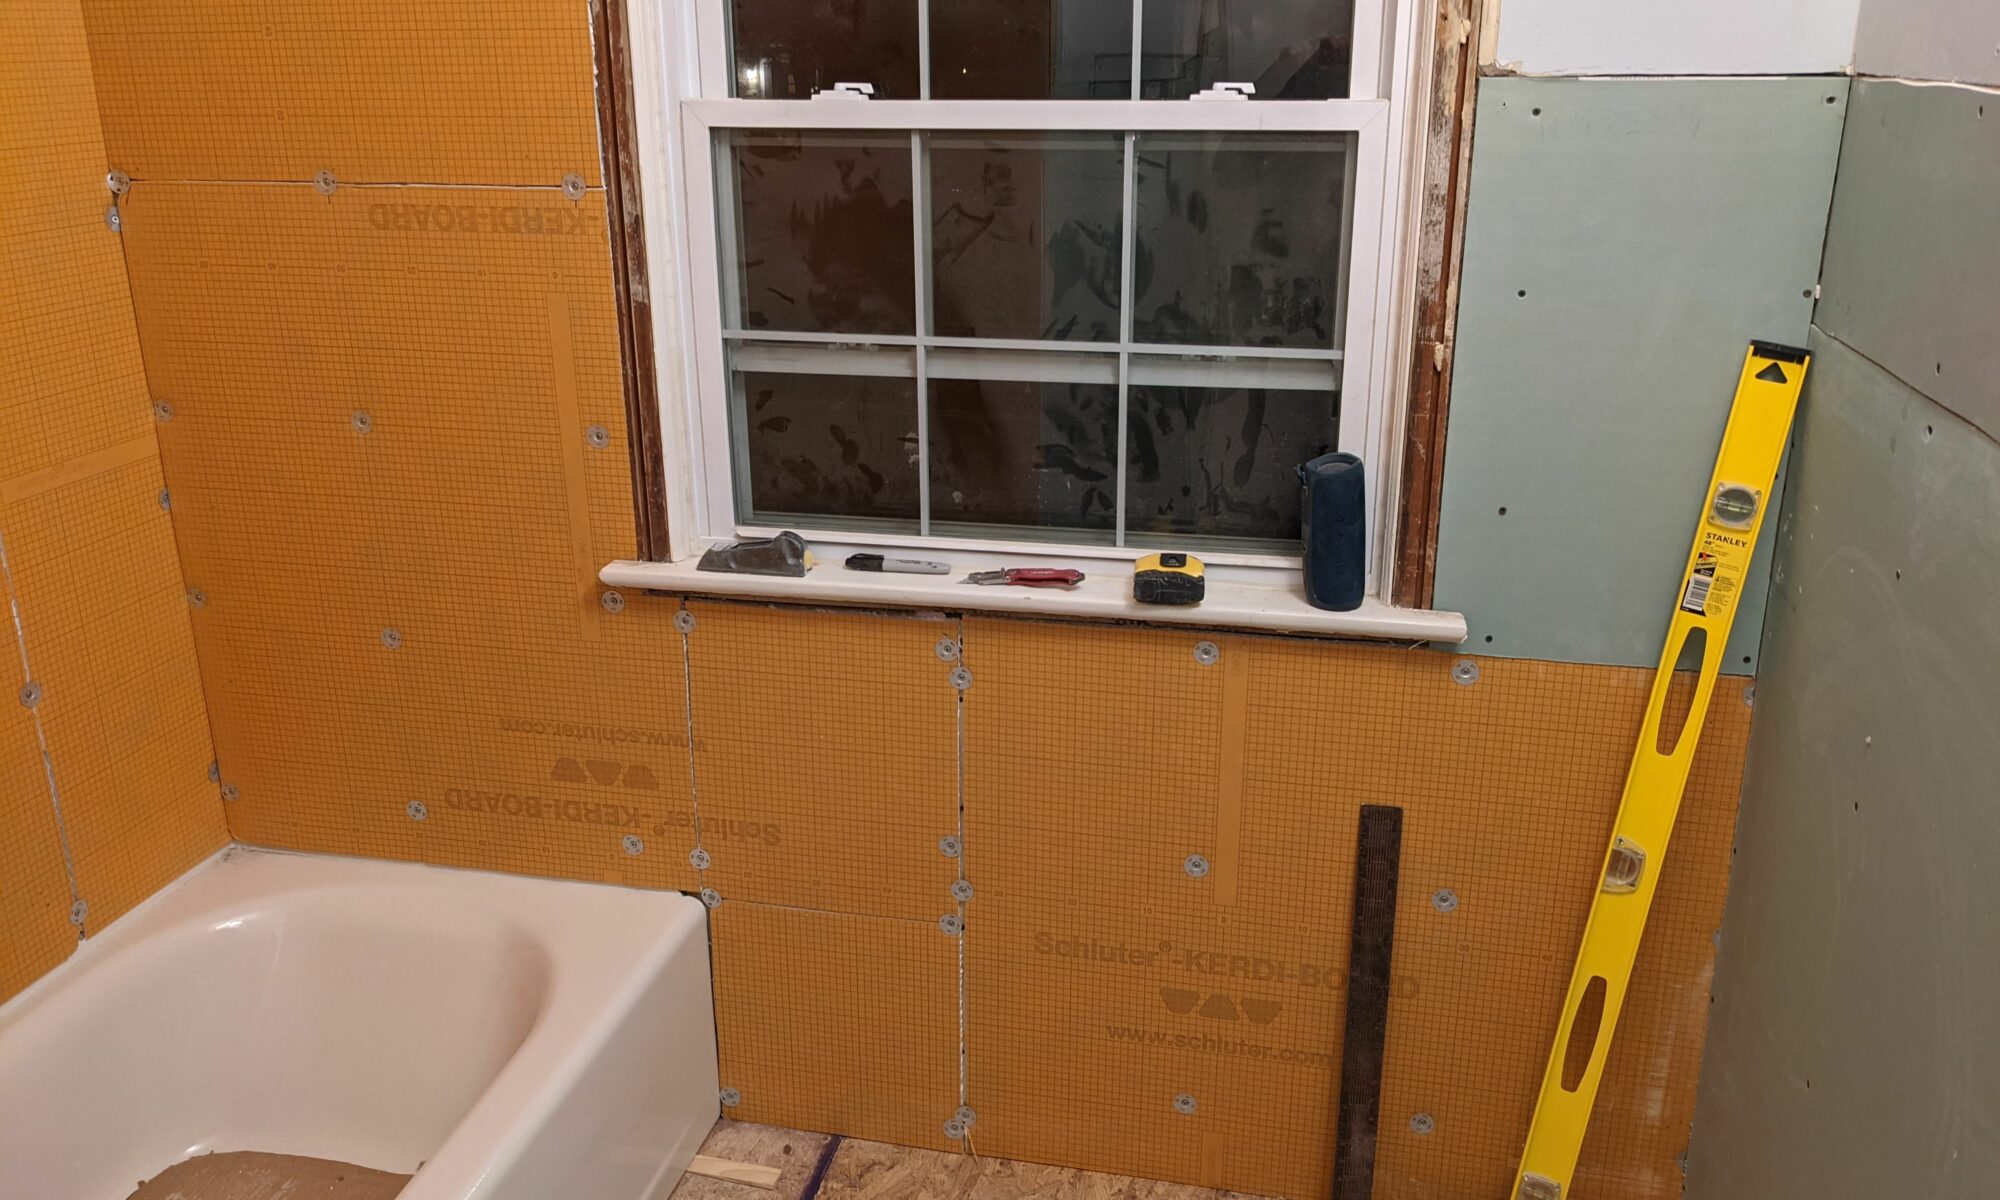
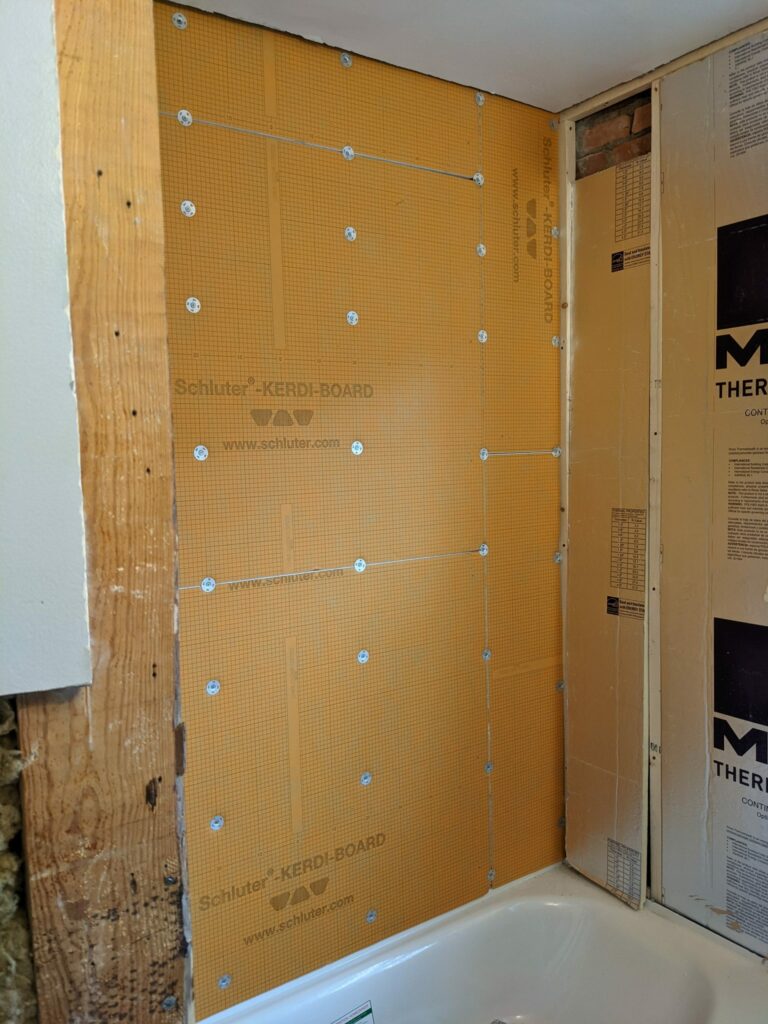
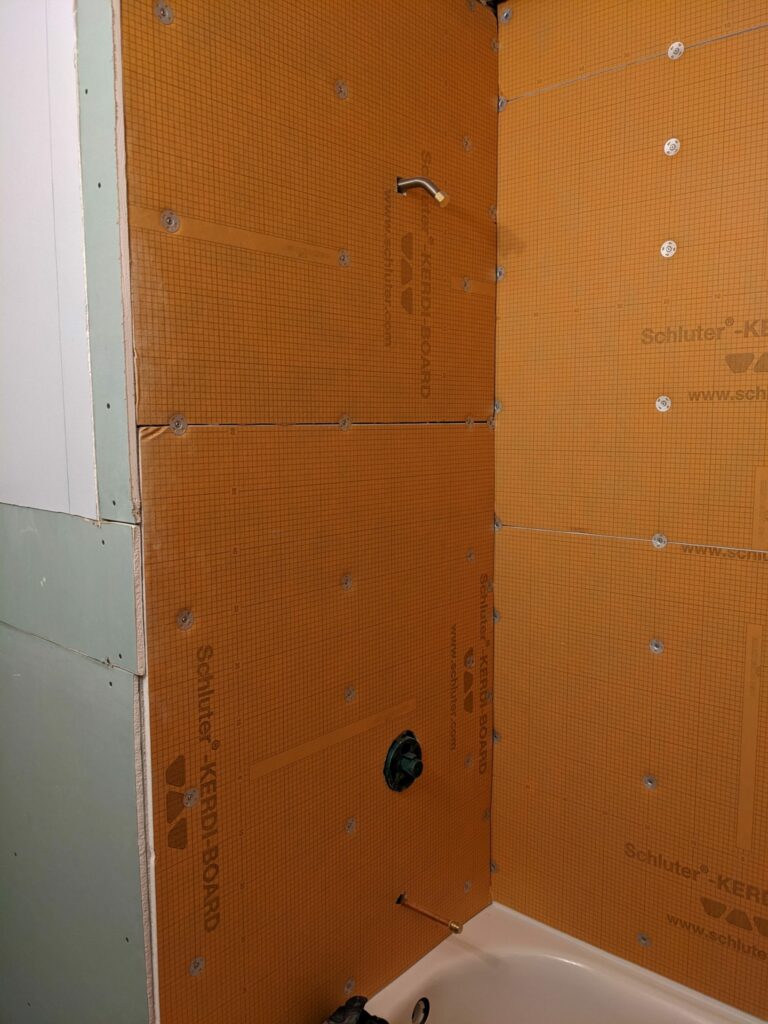
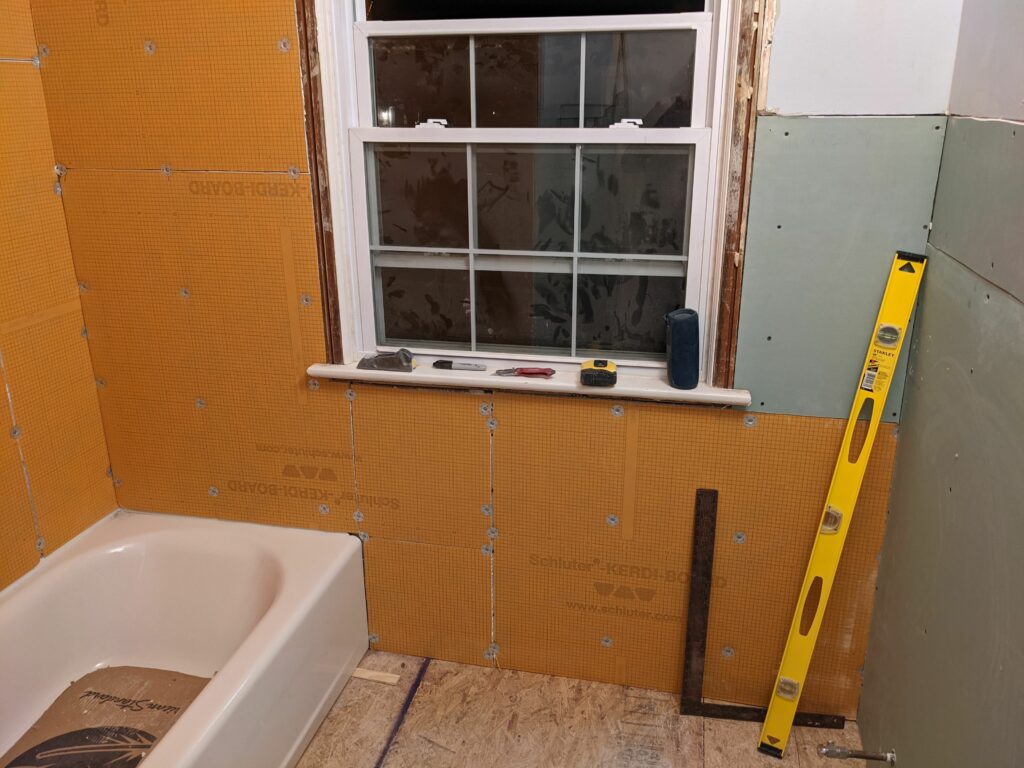
So onto the last day of the nice 3 day presidents day weekend and calling in some reinforcements aka Pops. Around the shower i am using Kerdi Board for the waterproofing. It’s a great lightweight board that just screws right to the wall. Then using thinset and strips the gaps and cracks are filled in creating a fully waterproof shower that the tile can go right over. Compared to cement board it’s significantly easier to install and also super light. I ordered a kit from amazon that had everything needed for the tub install. All the panels only took an hour to cut to size with an exacto knife and screw them to the wall.
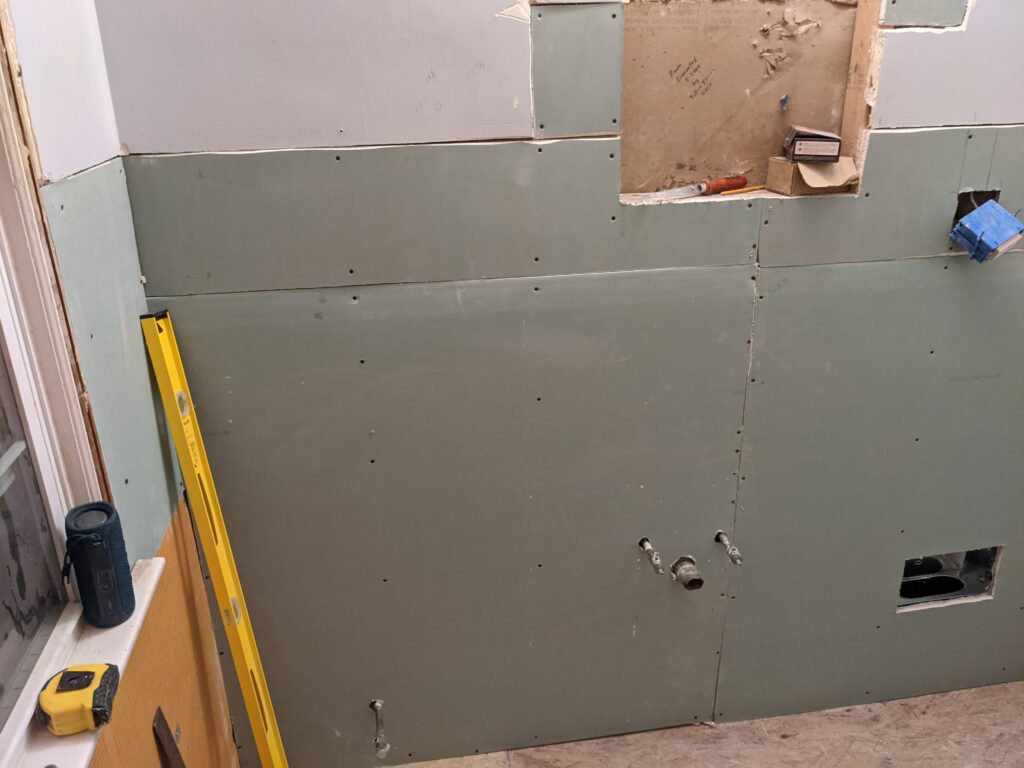
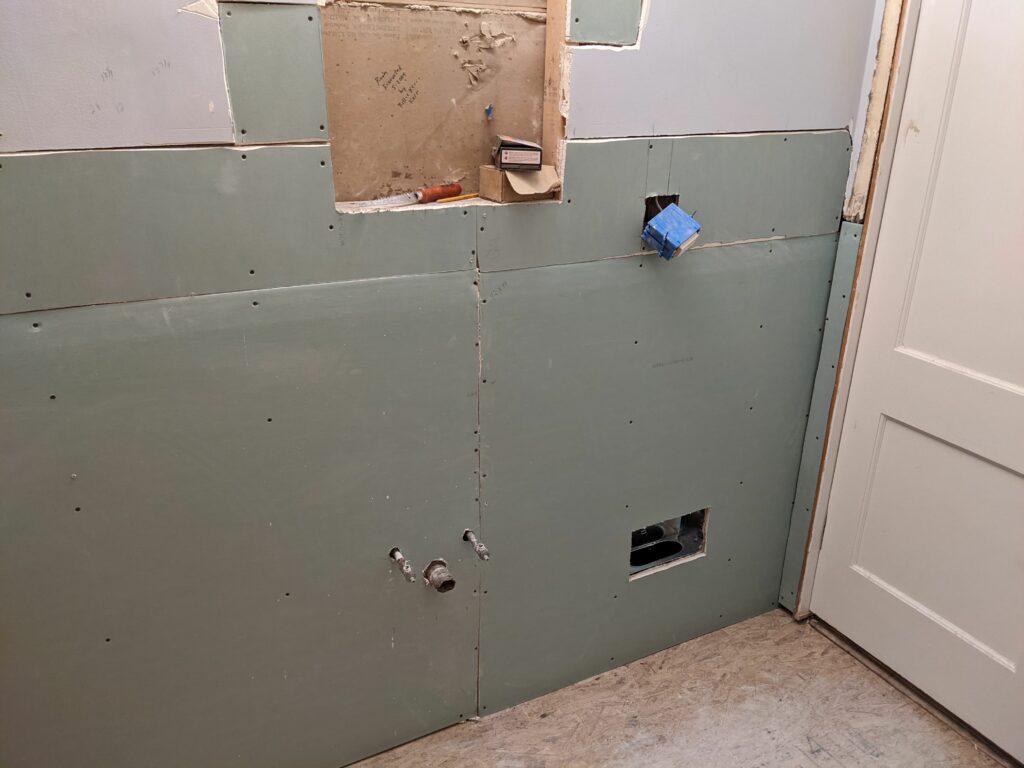
Then it was onto the drywall! Only 4 sheets were needed and even less were actually required but since we were matching it up to the plaster it needed to be 1″ thick so it was doubled up. So after a couple more hours to get all the weird shapes and angles fitted in the room was actually looking like a room again! Next step is on to spackle and getting ready for some more big changes!

