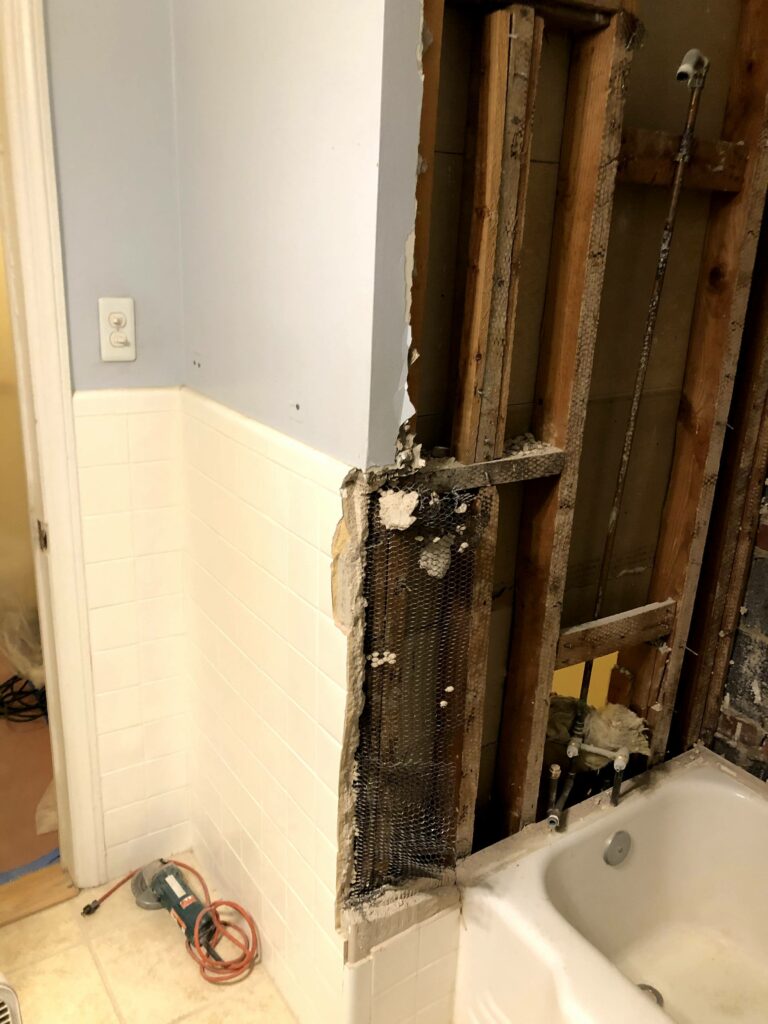
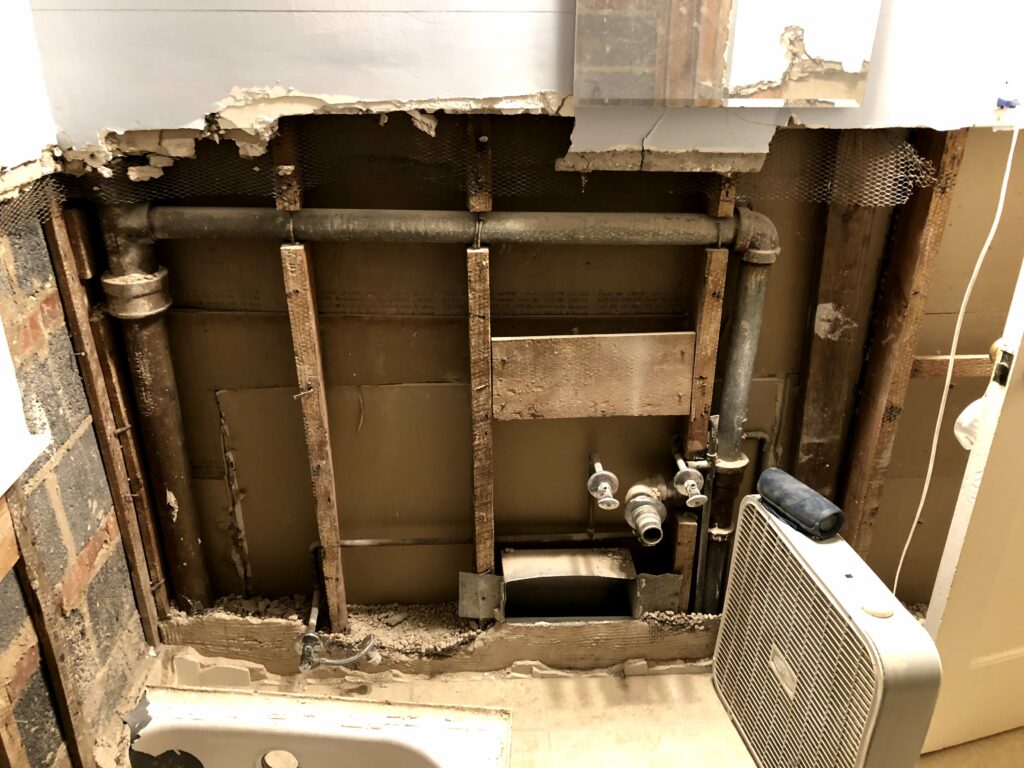
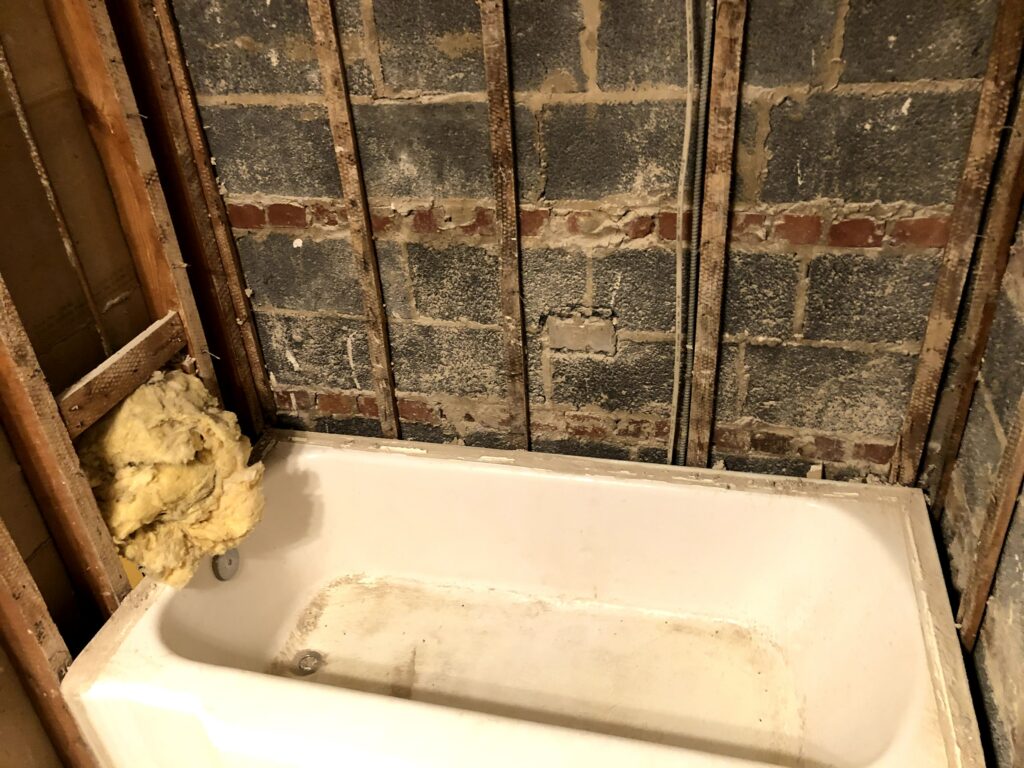
Well turns out plaster, concrete and wire mesh is very hard to get off of a wall after 70yrs… It’s impressive how much concrete and plaster were actually under all the tiles but luckily the worst of it was only going about half way up the wall. Over the 2-day weekend we spent a total of 9 active hours working inside the bathroom. That doesn’t include the hour of setup to prepare the steps and hallway as well as another hour to remove the vanity, toilet, cabinet and shower valves.
The Method
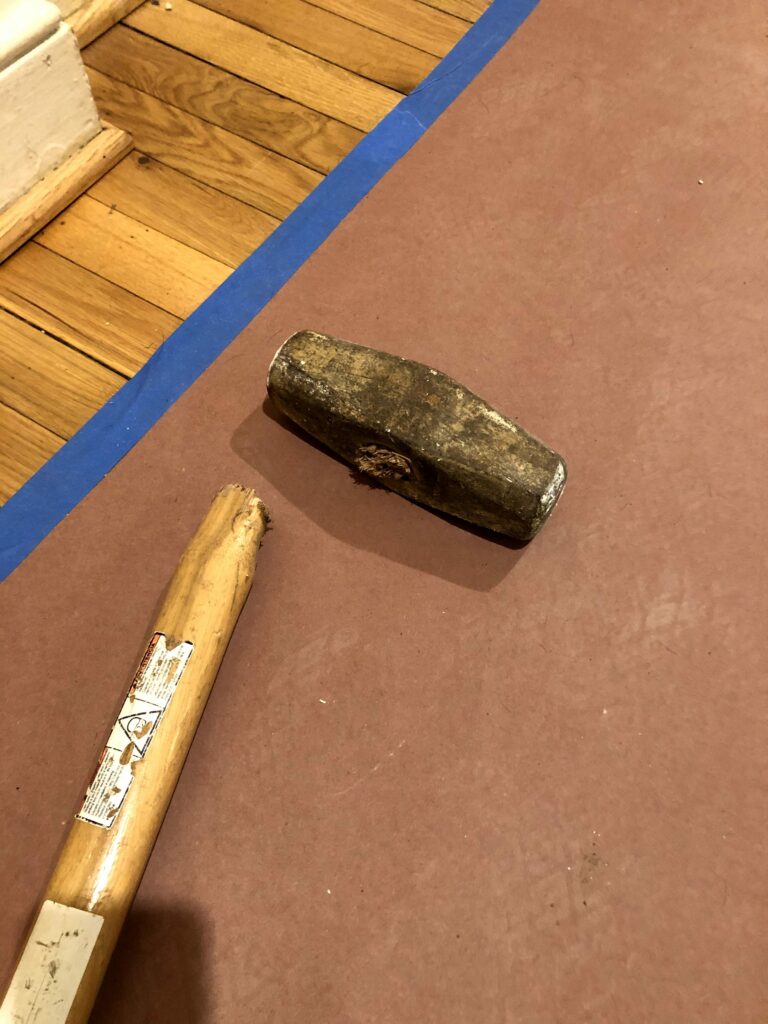
The first part of the demo started with us just going at the tile with sledge hammers, large hammers and the best tool we ever bought for demo the wonder bar. But as previously mentioned the tile and concrete was extremely hard. So hard that our sledge hammer didn’t stand up to the punishment:
I bought carbide blades for the reciprocating saw, oscillating saw and then a diamond blade for the angle grinder. The only thing that actually worked on the tile and concrete was the diamond blade but it created so much dust it was unusable in such a small space, even with the window open a fan blowing through the room. After fumbling around all morning and some after lunch (and a quick home depot trip to get caps for the plumbing lines so we can turn the water back on) we finally came up with a good method.
This tile was installed as a mud-job where a layer of metal mesh is nailed to the studs, a scratch coat about 1″ thick is put on top of that, then a brown coat is added that varied between 1/2″ to 1 1/2″ and finally the tile was placed on top of that. The best trick we found was to use pry bar to split the brown coat off of the scratch coat before trying to remove the metal mesh. Once all the tile and brown coat was removed we were able to then knock off sections of the scratch coat before cutting the wire mesh with an angle grinder. Once it was cut into sections a crow bar helped to get behind the wire mesh and pull it off the wall.
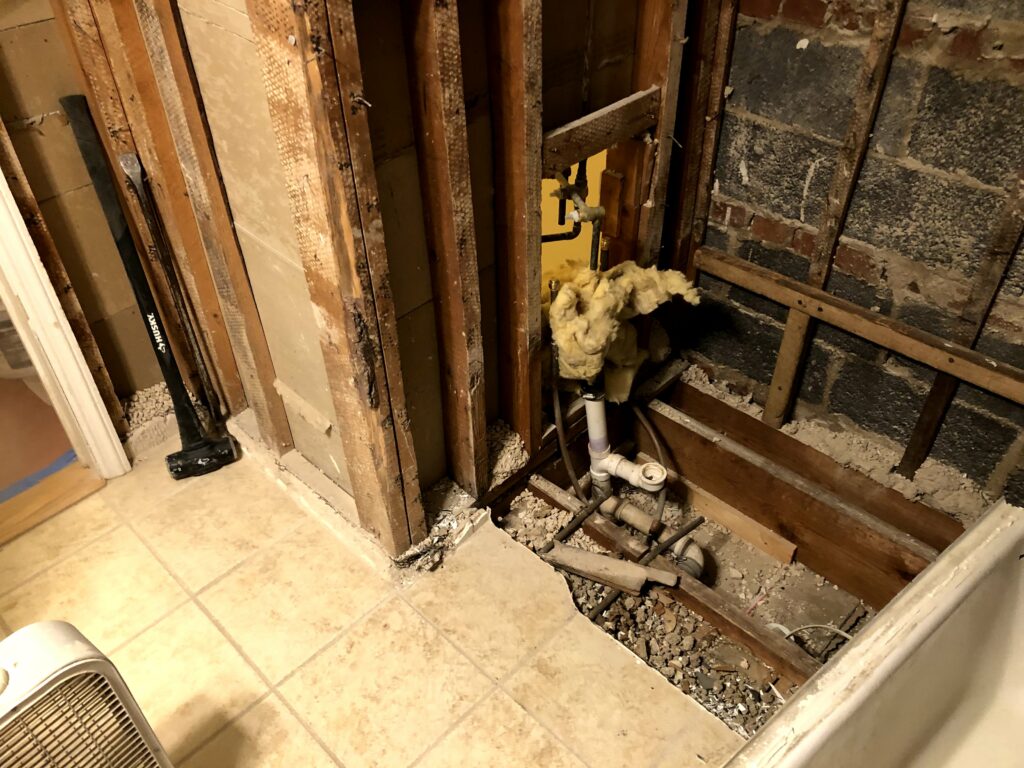
The end result was two sets of hands that are very sore and multiple blisters from swinging hammers all weekend, But the bathroom now has no tiles and is down to the studs all the way around
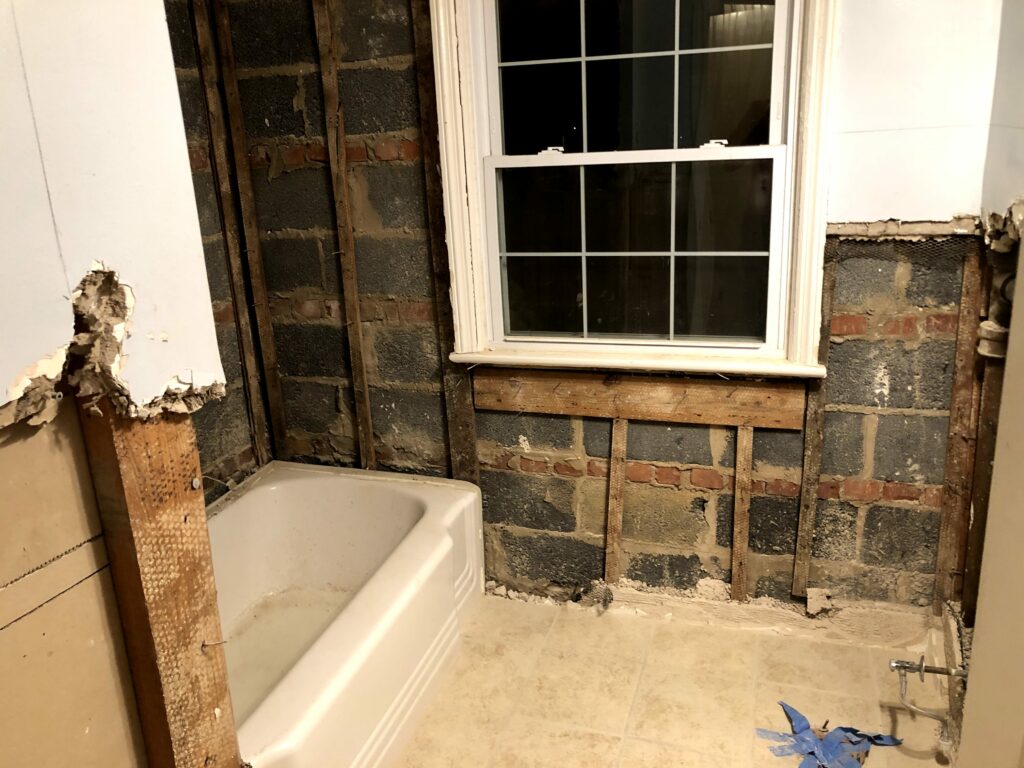
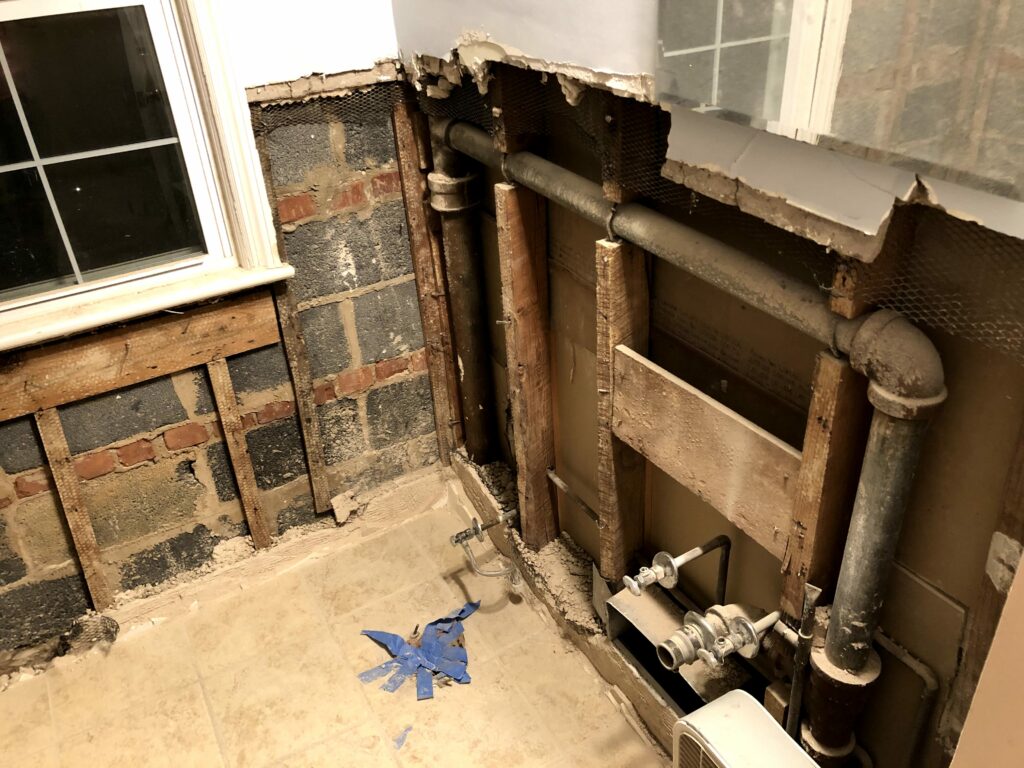
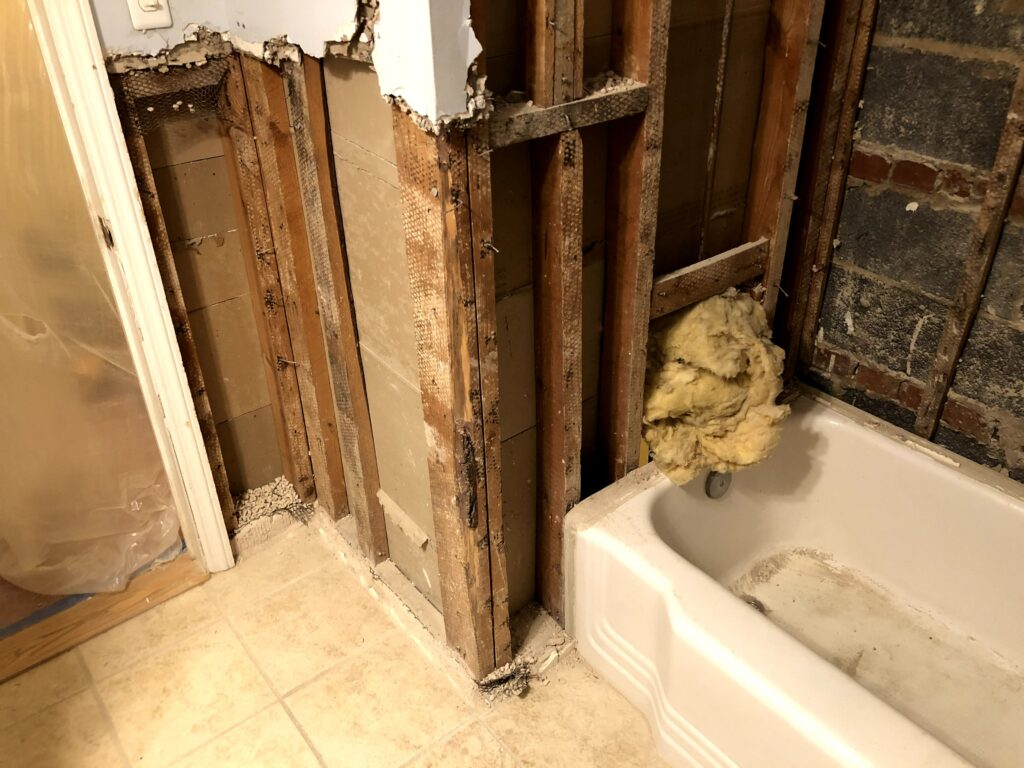
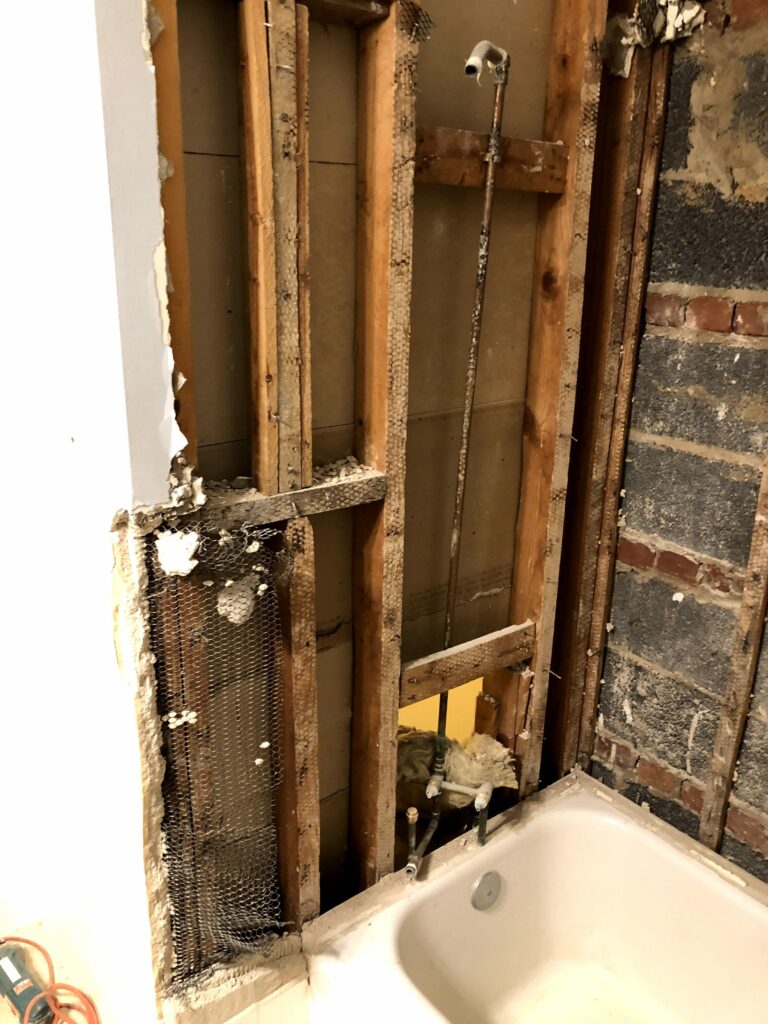
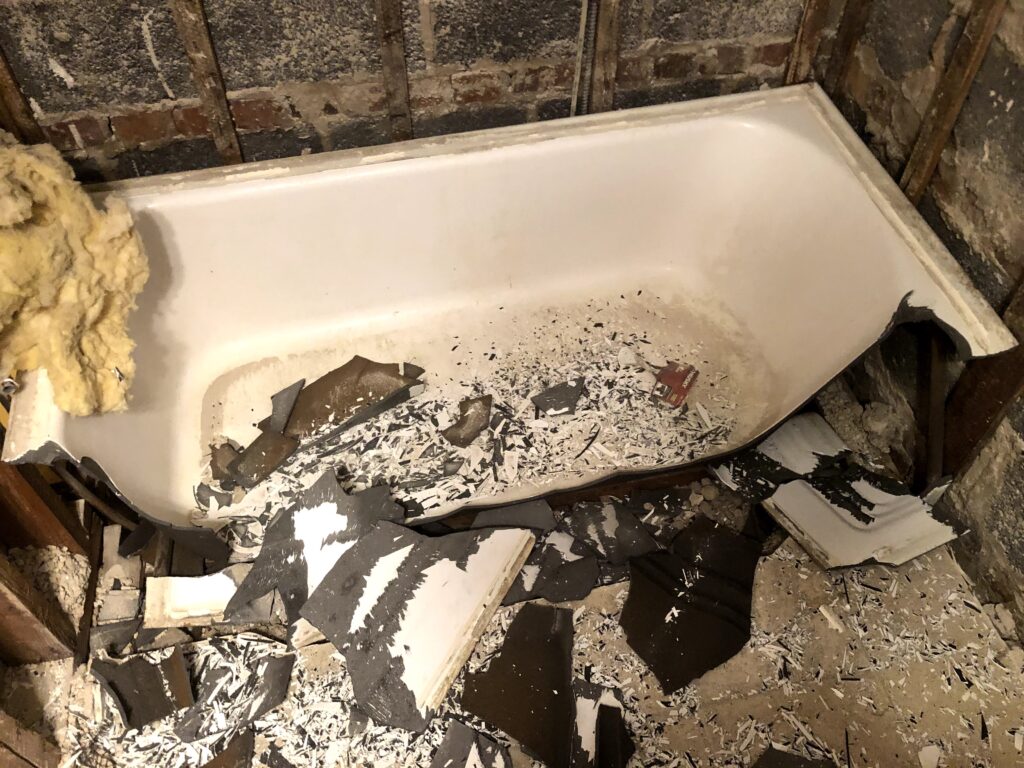
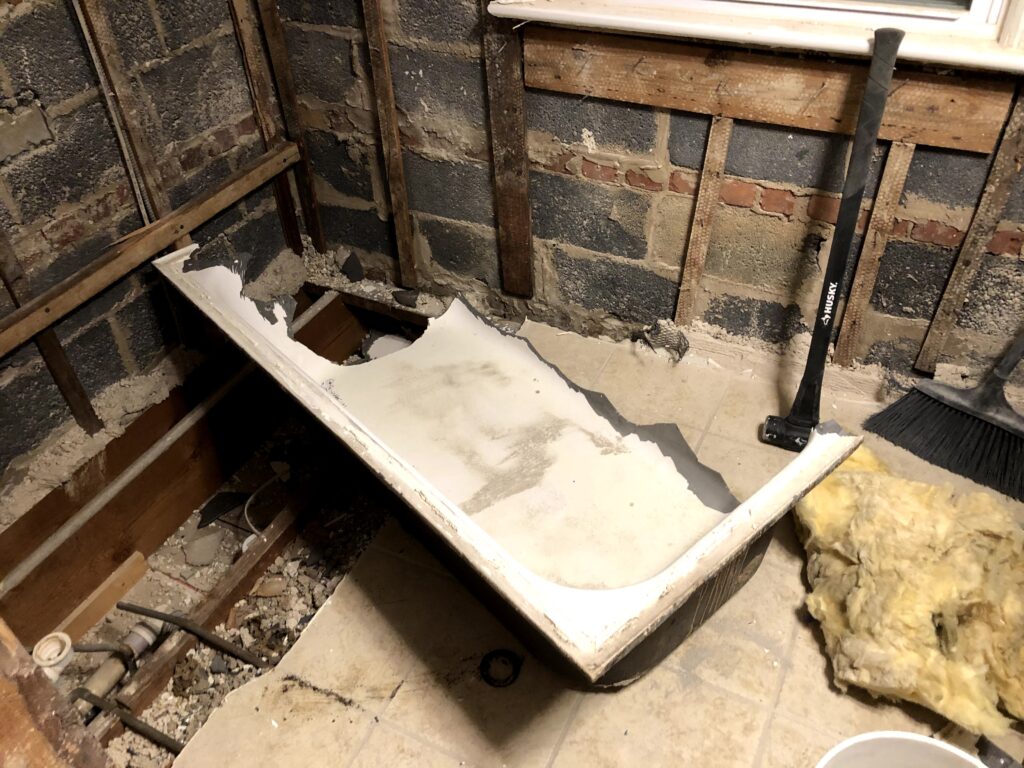
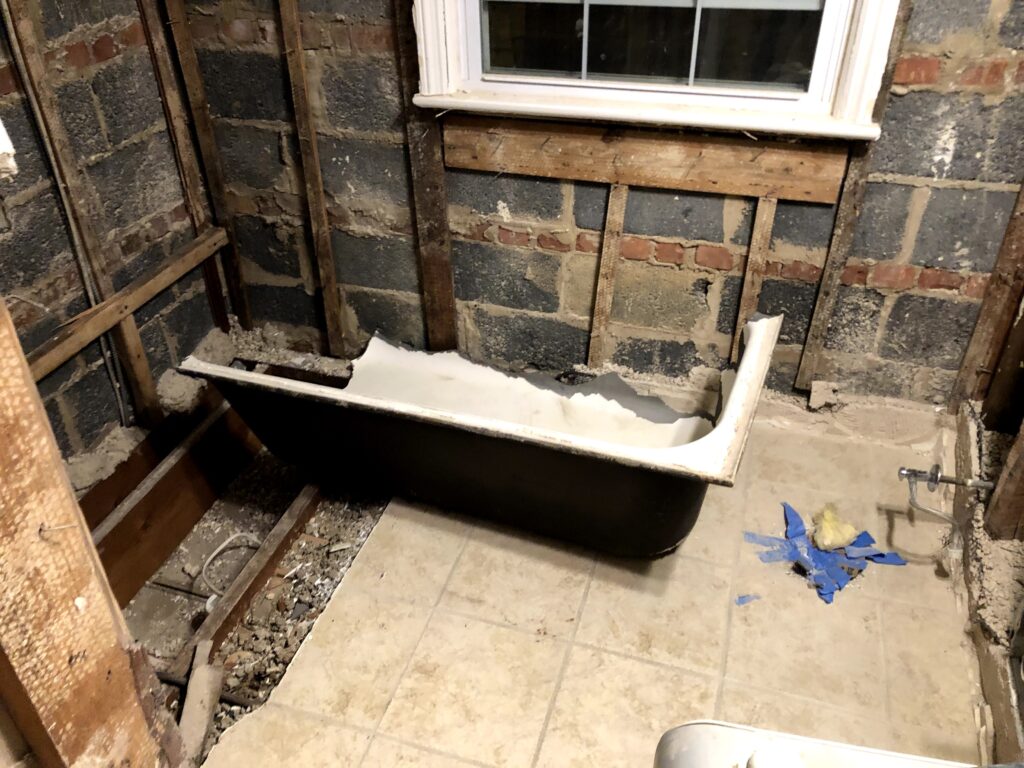
After the walls and two trips to the dump to empty the truck we started on the tub. Turns out cast is extremely hard even if it’s supposed to be brittle. After several whacks with a sledge hammer and moving the tub out of the alcove to make sure it didn’t fall through the floor we finally called the weekend quits. It also might have been due to the puppers being so scared from the loud sounds of the sledge hammer on the cast iron, but either way it was a good weekend .
Next Steps
Well it’s a full work week again, so progress will most likely be limited but the tub needs to be fully demolished and then the tile floor needs to be removed . All the corners and plaster edges need to be cleaned up in preparation before putting it all back together!

