Clean Up
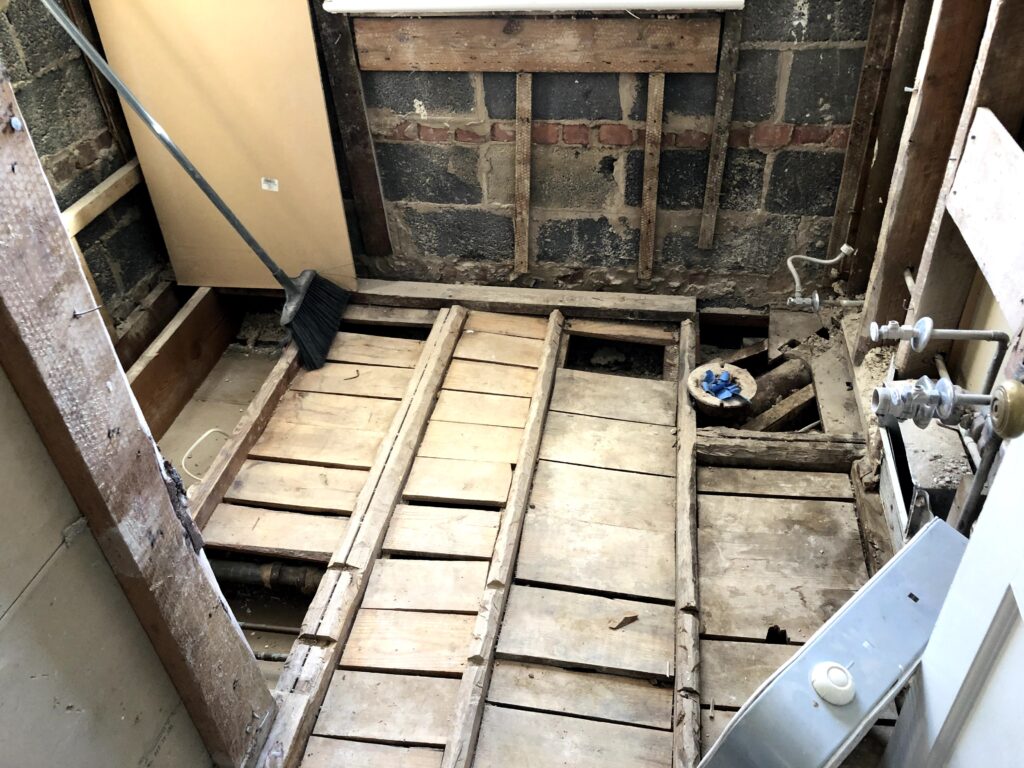
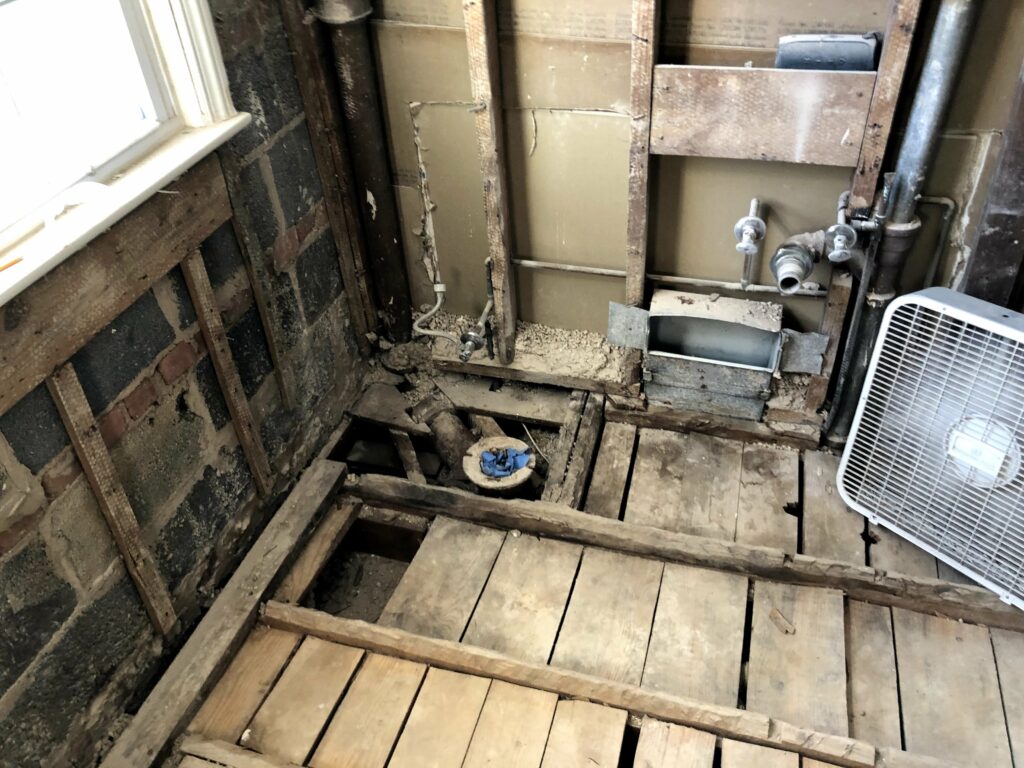
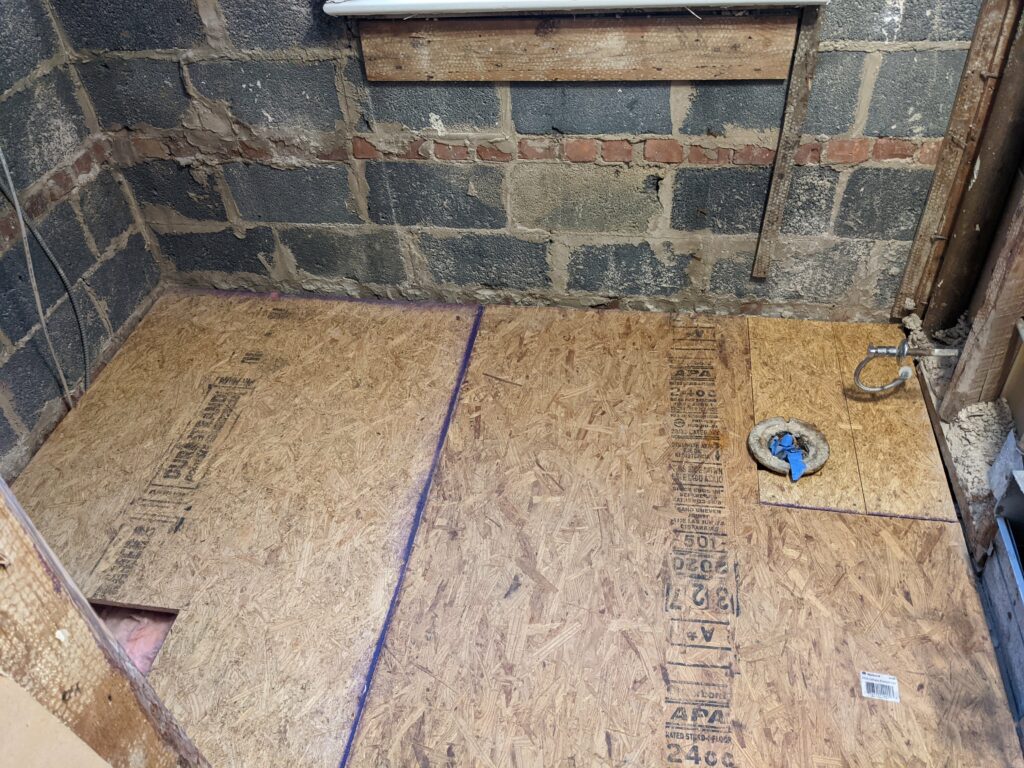
Now that demo was mostly finished, it was time to clean up all the extra concrete, and get ready to put down some new floors. All the floors boards had to be pulled up and luckily they weren’t nailed down so pulling them up was nice and easy. The downside is that all the sledge hammering created so much dust and pieces of wall that fell onto the top of the living room ceiling which needed to be cleaned up. The shop vac came to the rescue even with an old filter that needs to be replaced.
Plumbing
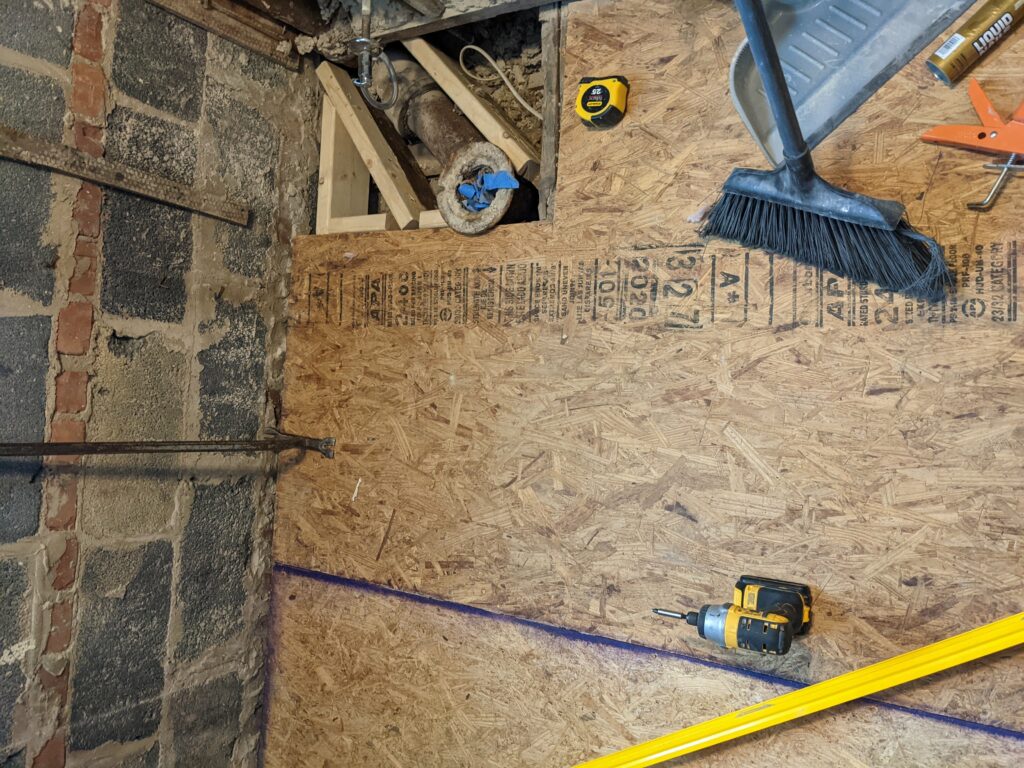
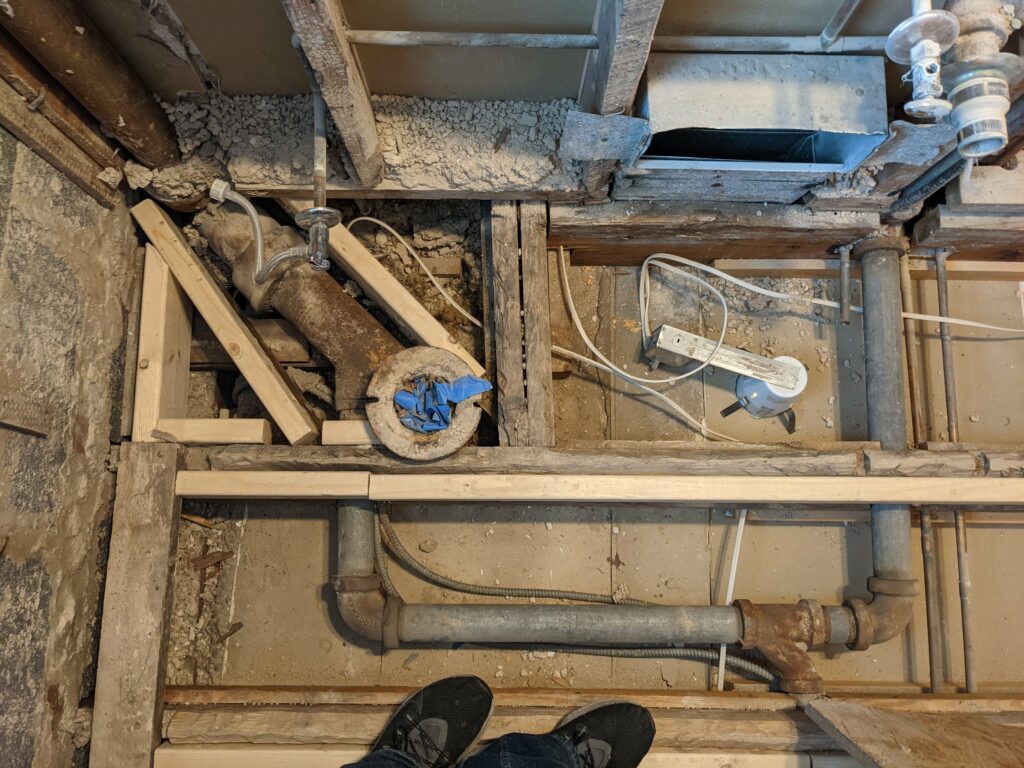
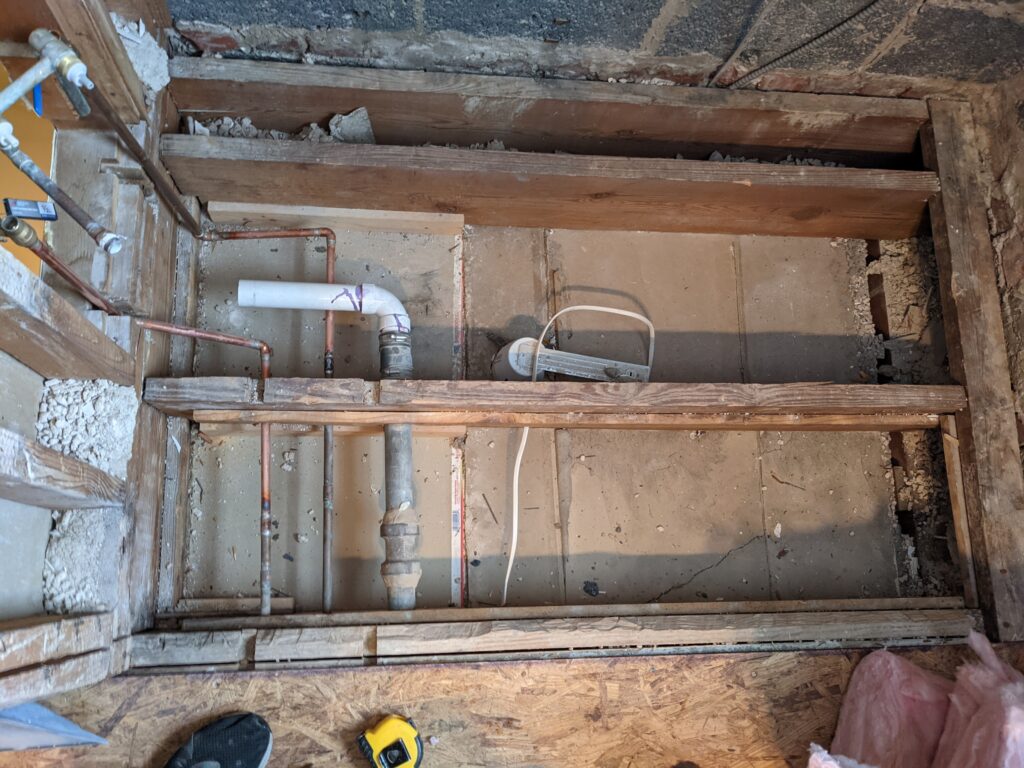
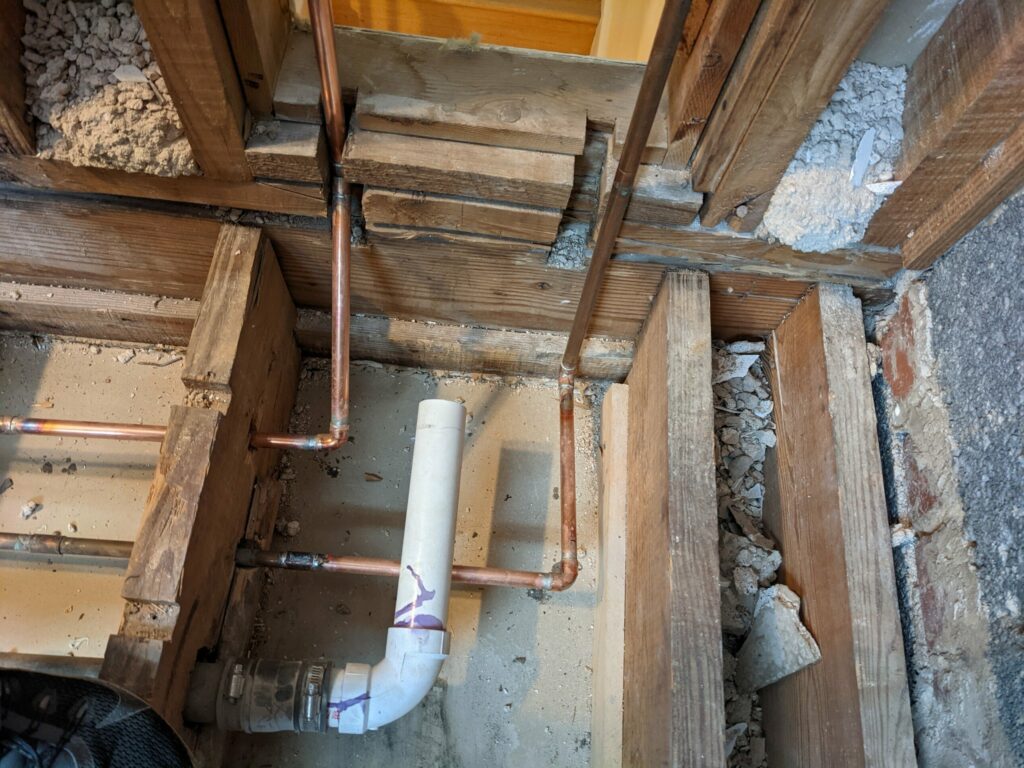
Of course now that there’s no floor, all the plumbing was completely accessible and my initial thought was to replace the toilet pipe as it needs to be a tad bit higher. After buying all the fittings and a trip to multiple home depots it turns out there isn’t enough room to fit in the modern plastic fitting so rather then rip out all the 2nd floor plumbing I’m going to live with the 1/4″ height difference. But it did save me a full day’s worth of work so i’m not complaining.
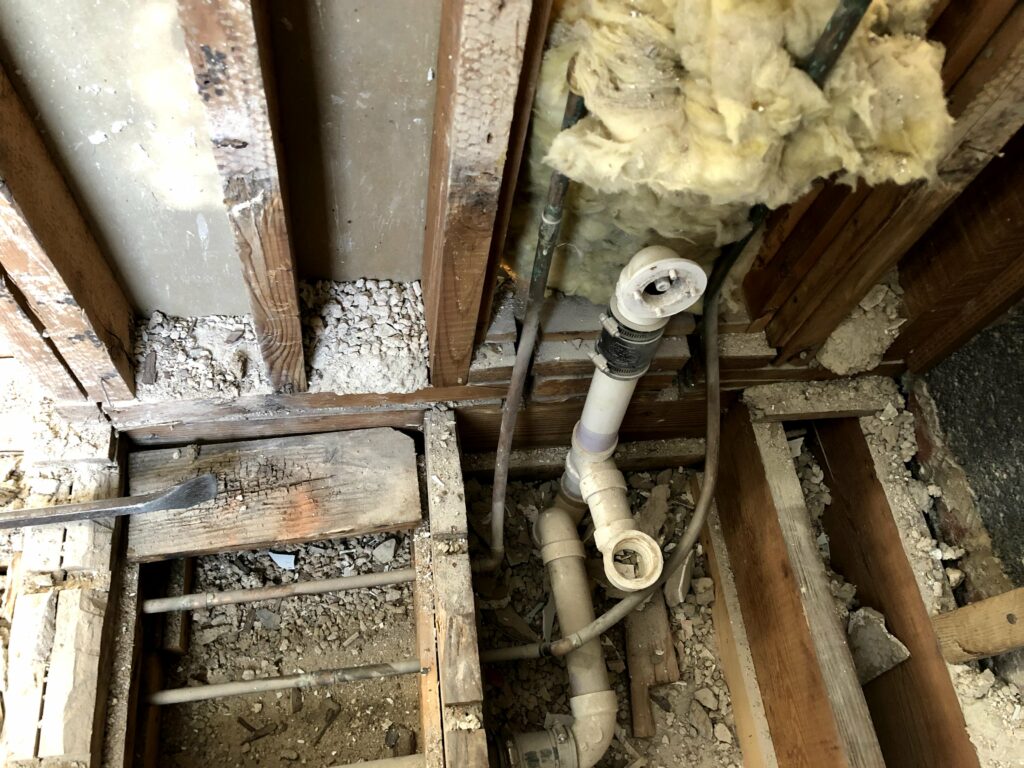
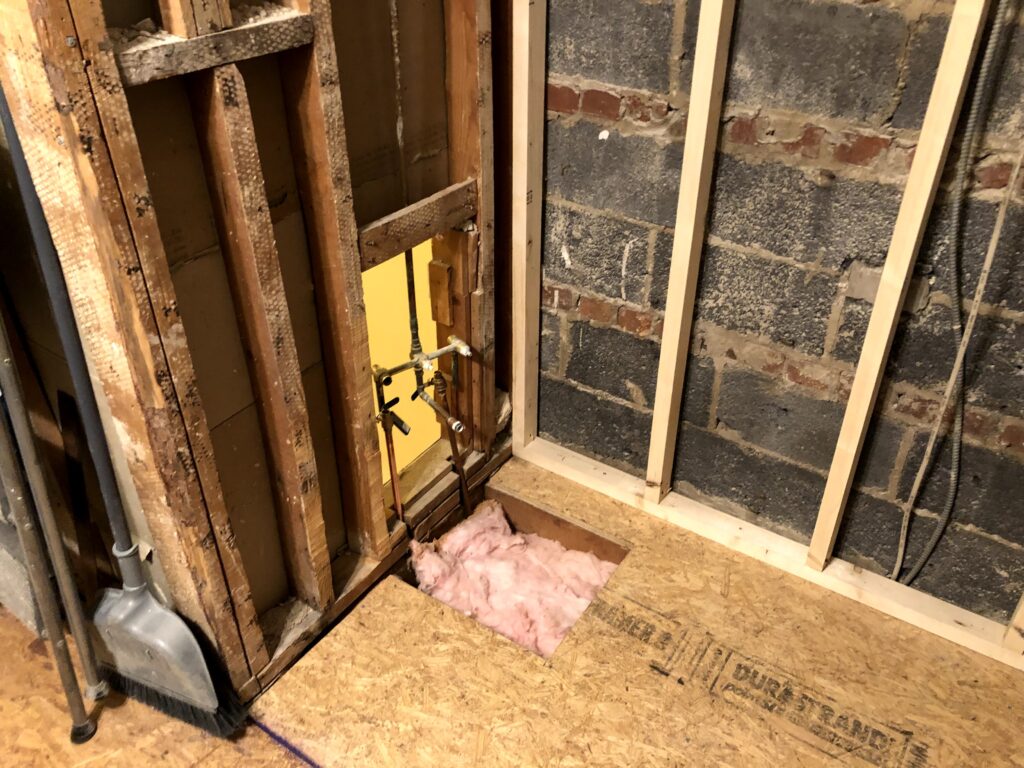
On the Tub side of the world i replaced the connection to the cast iron plumbing and plan on adding a new ptrap and tub drain. I also replace the funkily bent plumbing lines with nice new shiny lines that include shut off valves so future work will be nice and easy!
Floor Time
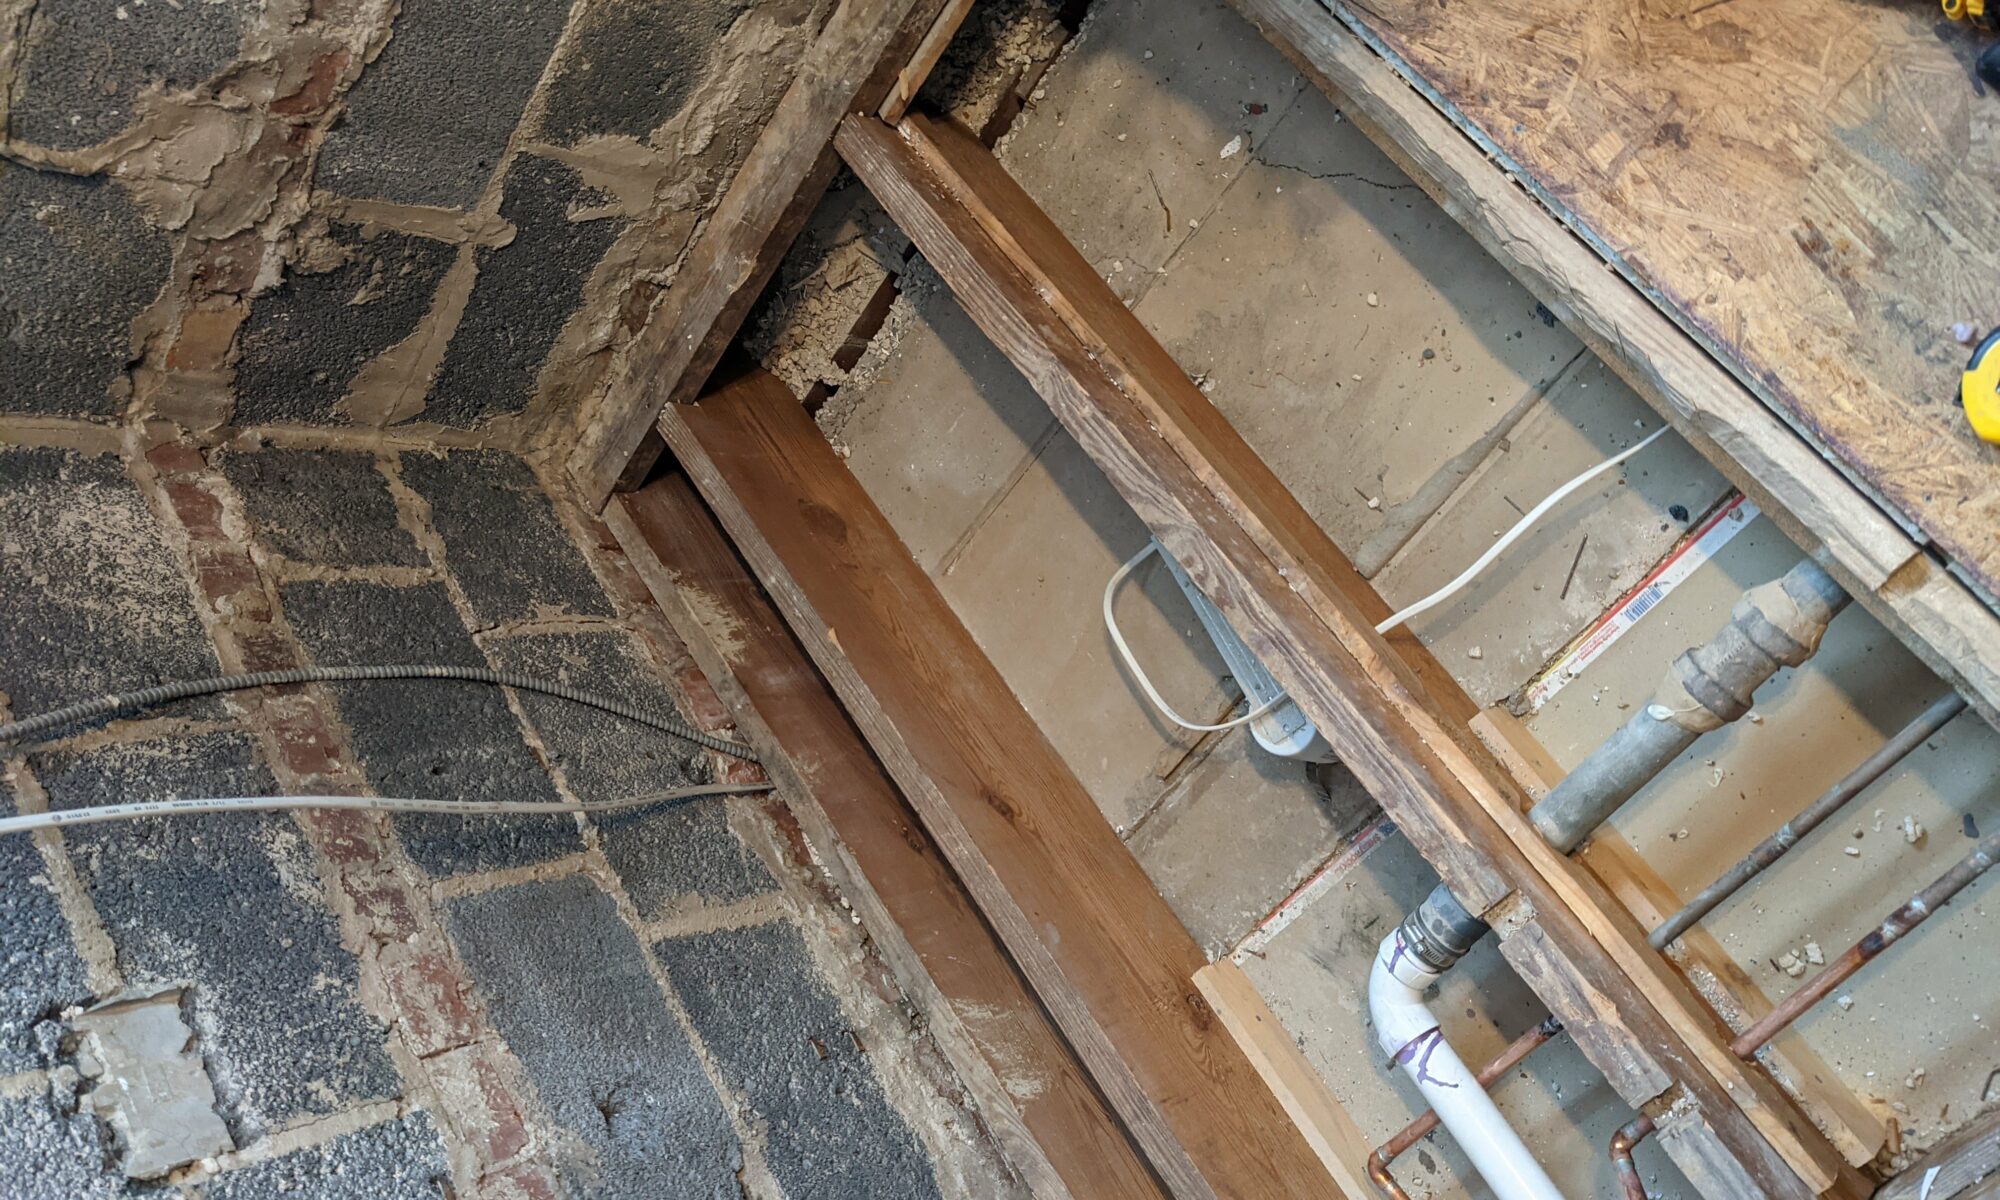
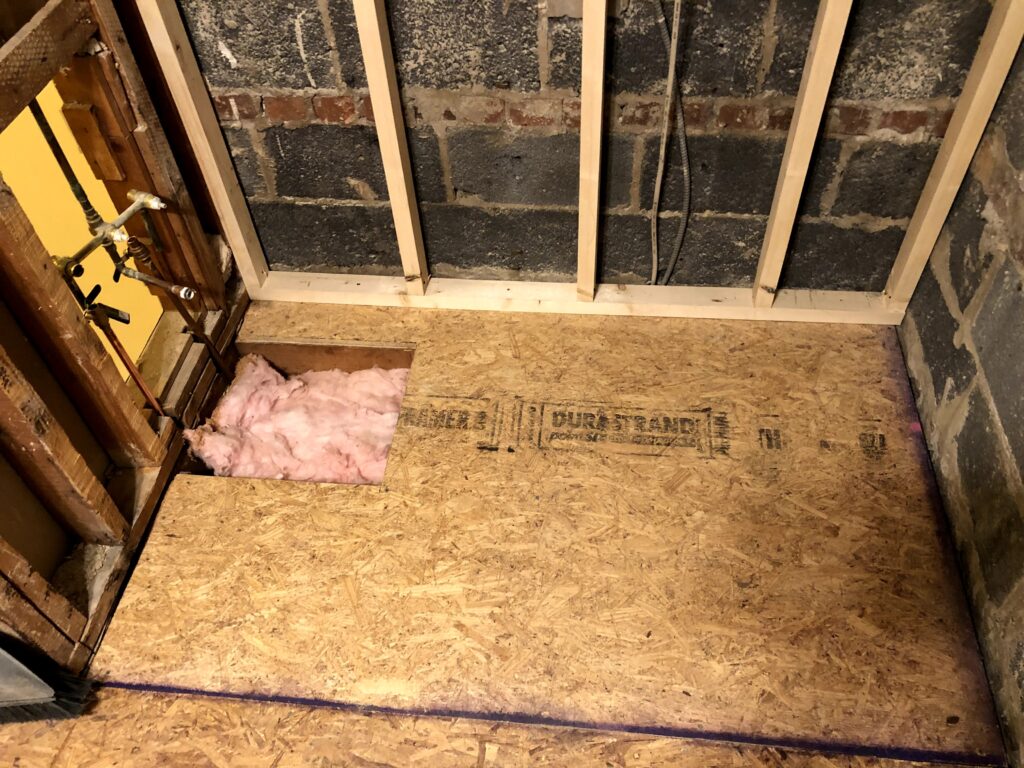
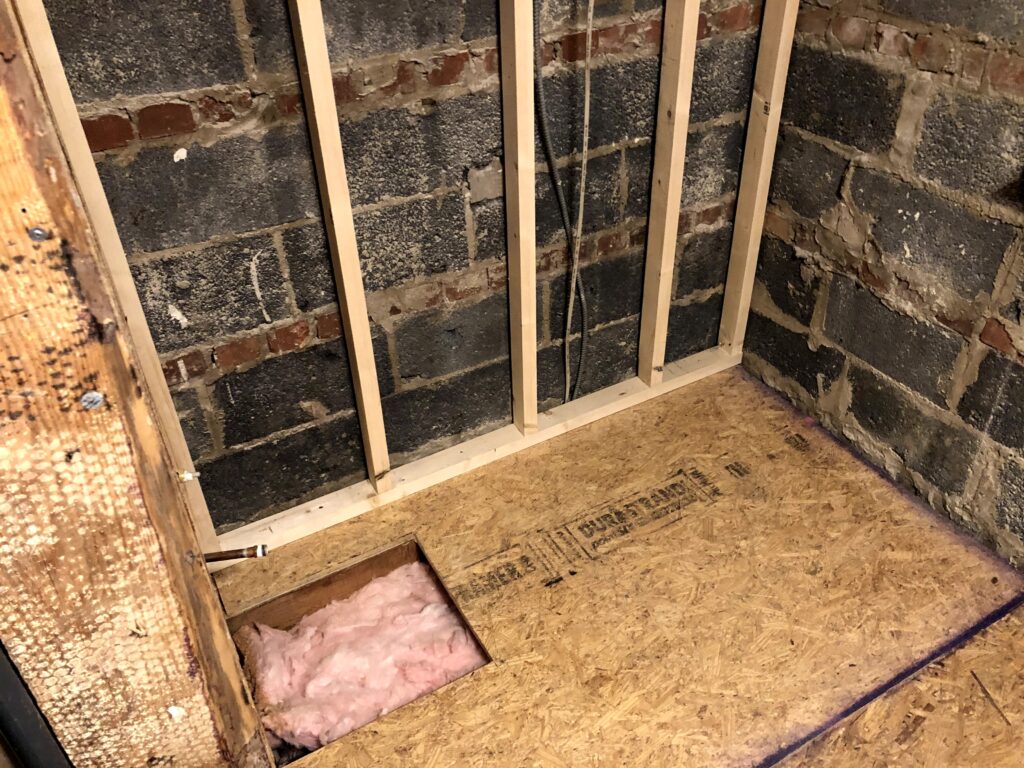
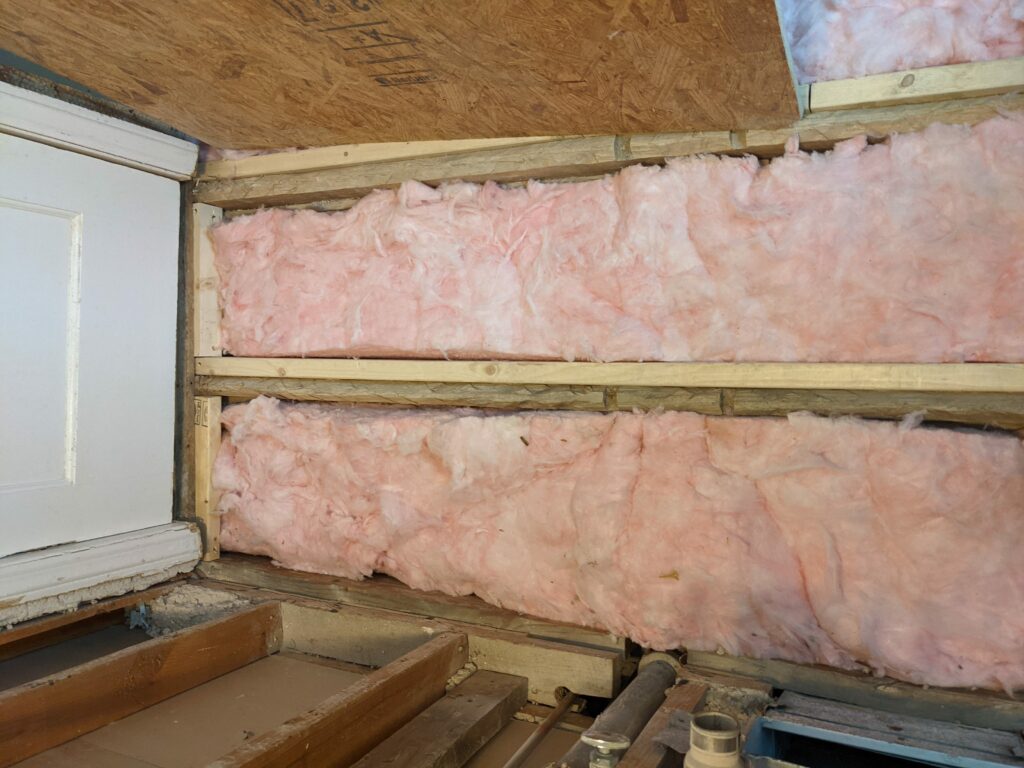
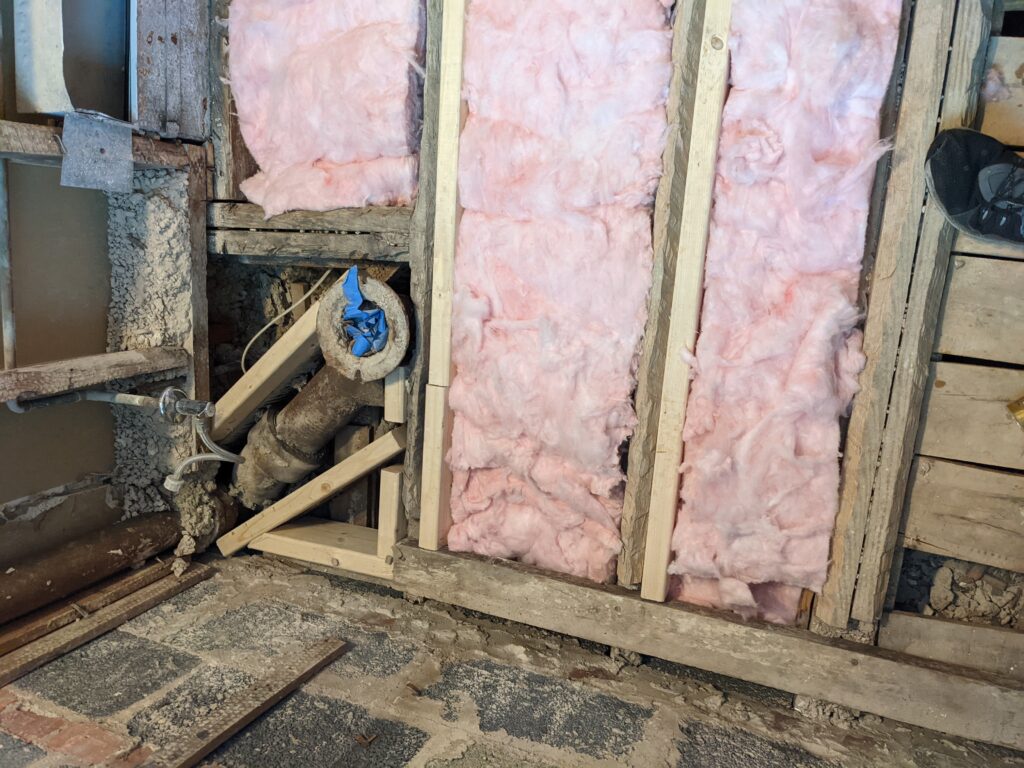
The floor was surprisingly flat but definitely not level. For the tile we are planning the floor doesn’t need to be perfectly level as long as it’s fairly flat to avoid any lippage on the large tiles. The top of the floor joists were actually cut down with what looked like a hatchet to make a better connection to the concrete but provided almost no place to attach a new sheet of plywood. Because of this we sistered the joists with 2x6s ensuring the new joists were nice and flat with all the surrounding ones. After adding some of the nice pink insulation between the floors it was almost time to close them all up again
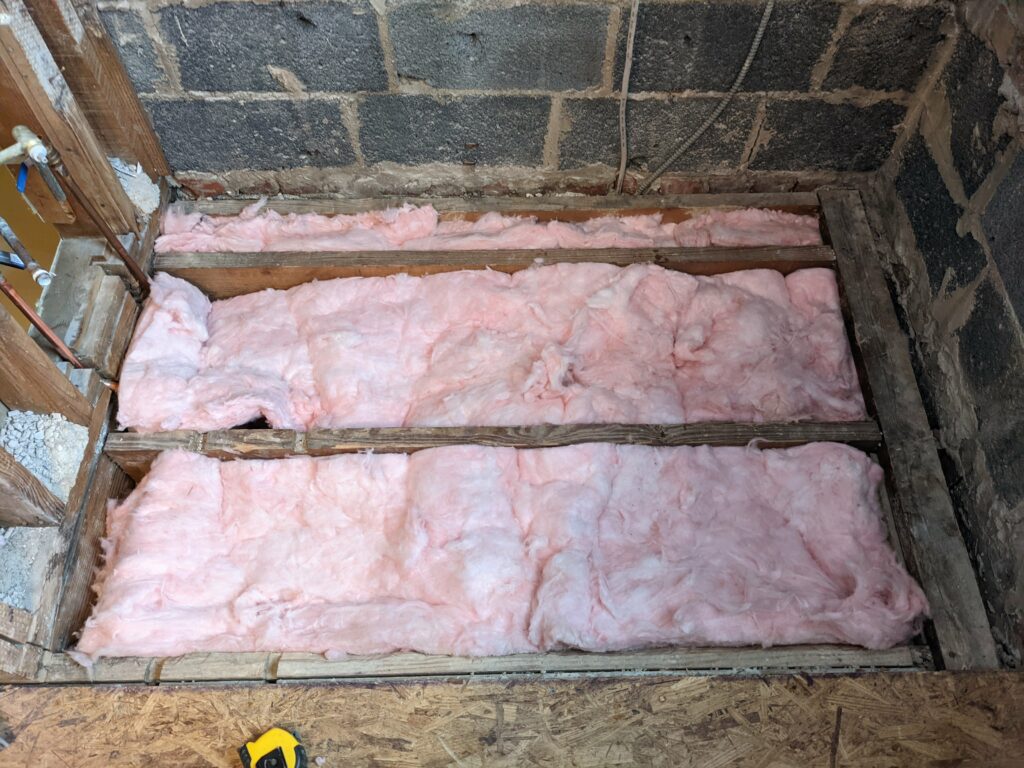
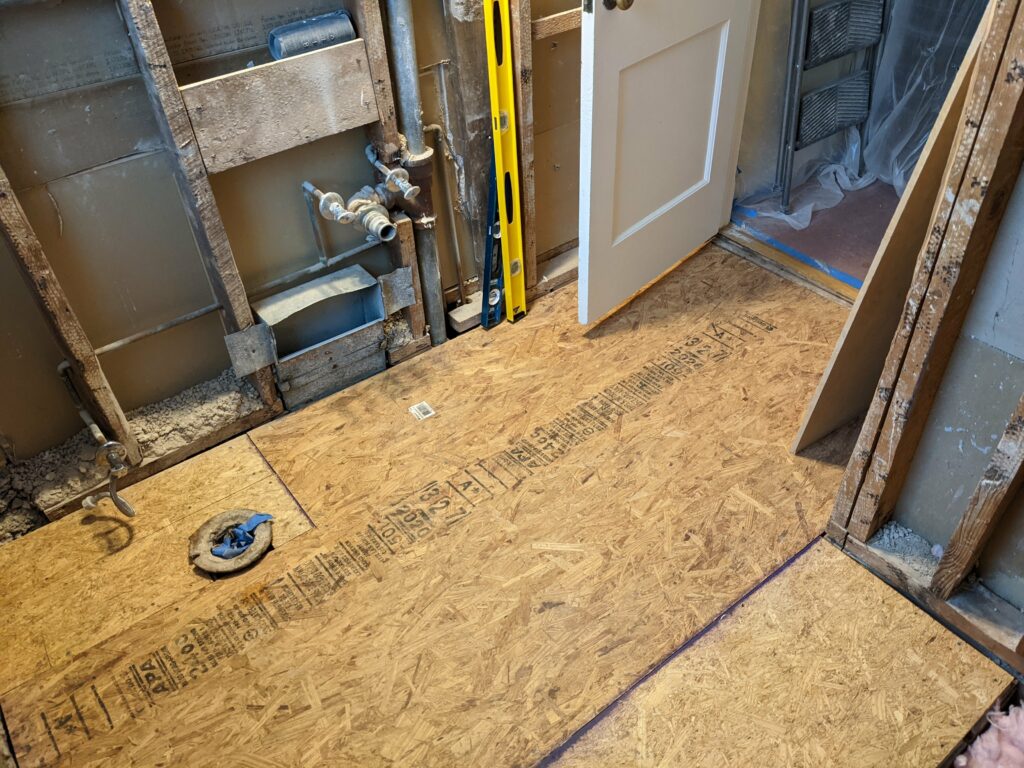
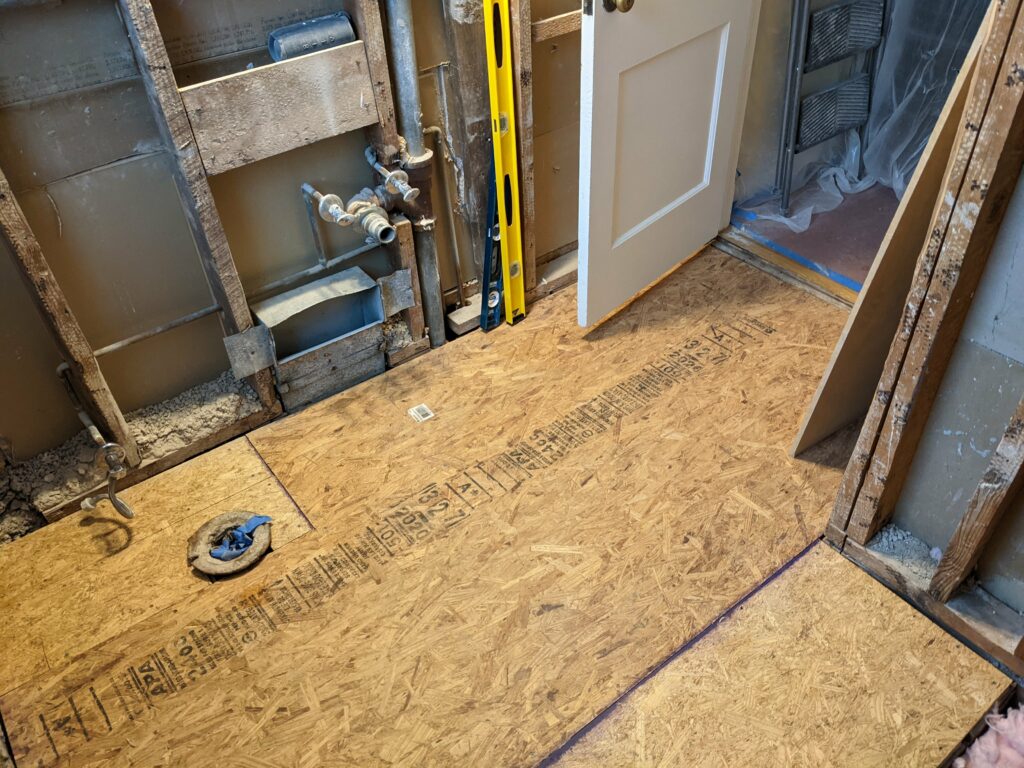
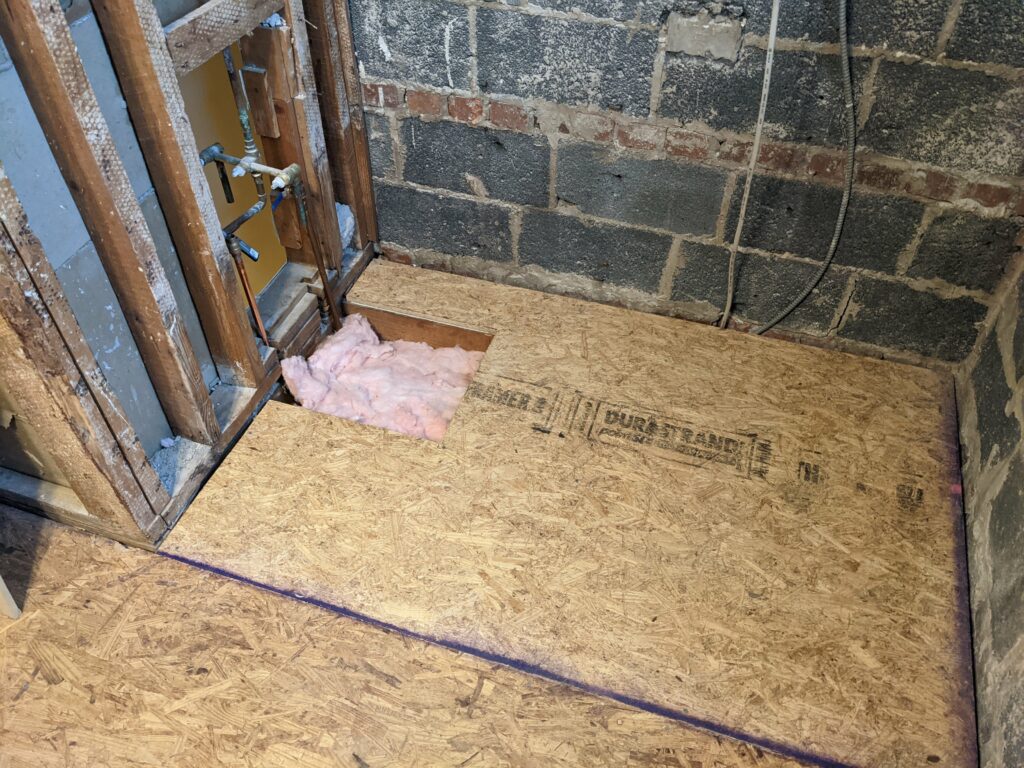
Now with the floor completely prepped, each floor joist add a nice layer of glue applied and plywood was laid down on top. Of course the fit checks and getting the floor to slide past all the drywall, nails and studs that were on the wall was an extreme challenge. Luckily I had Trevin to pull out all the annoying forgotten nails so we could maneuver the pieces down.
With all the plywood in place it can be said for certain that no feet went through the ceiling of the living room which is definitely a win!
Walls? What’s a wall?
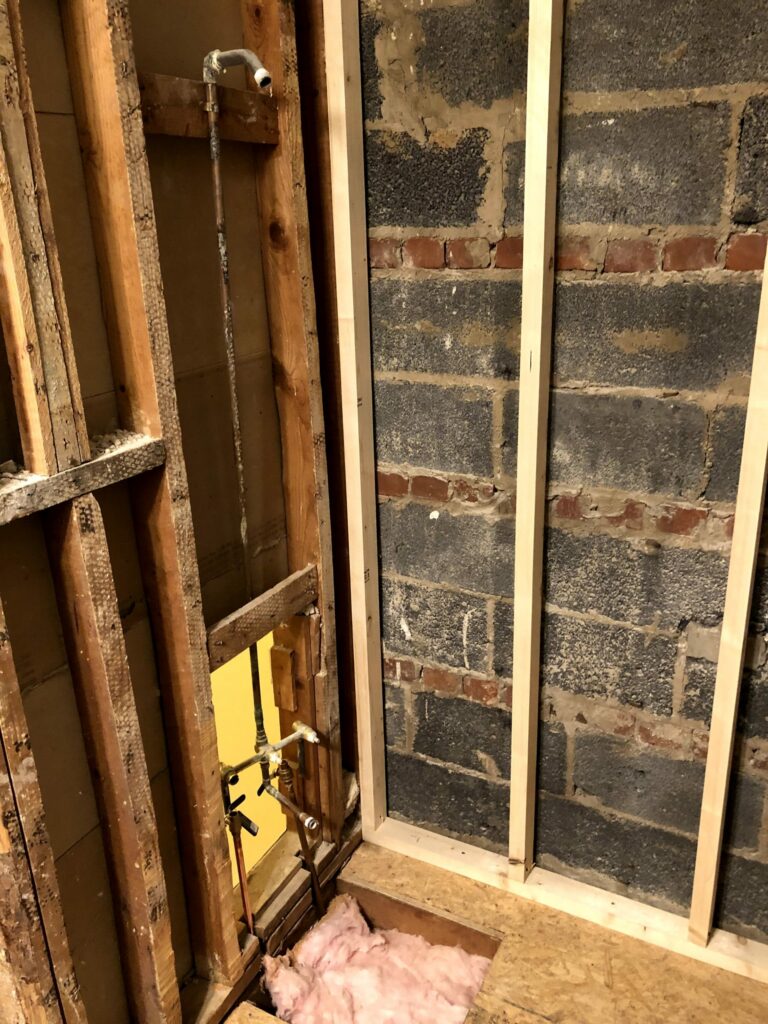
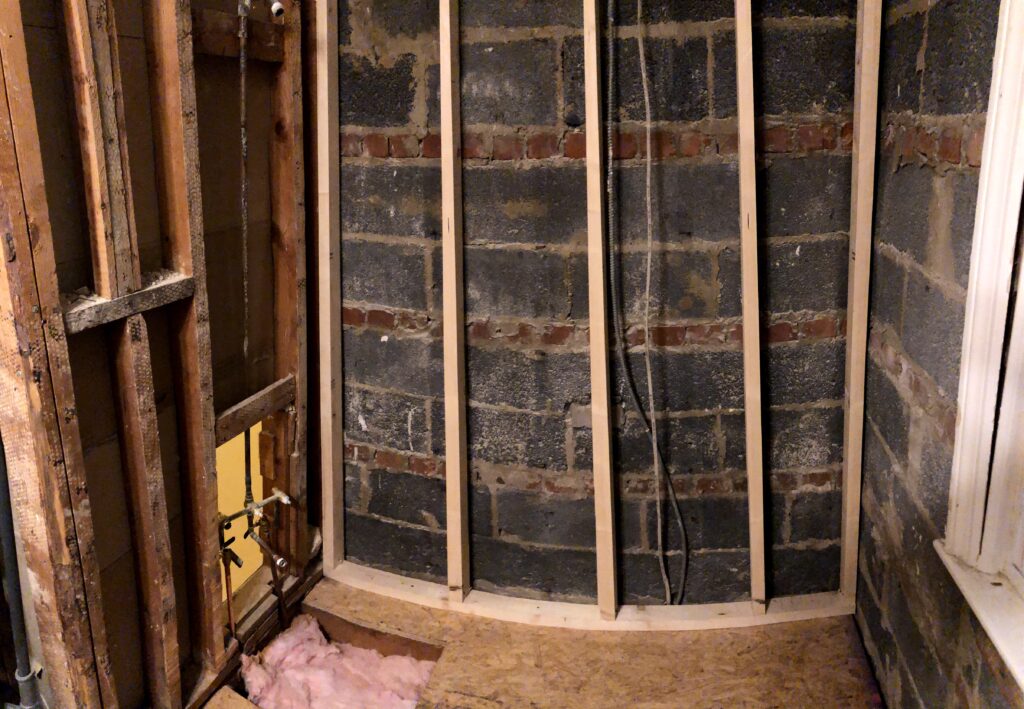
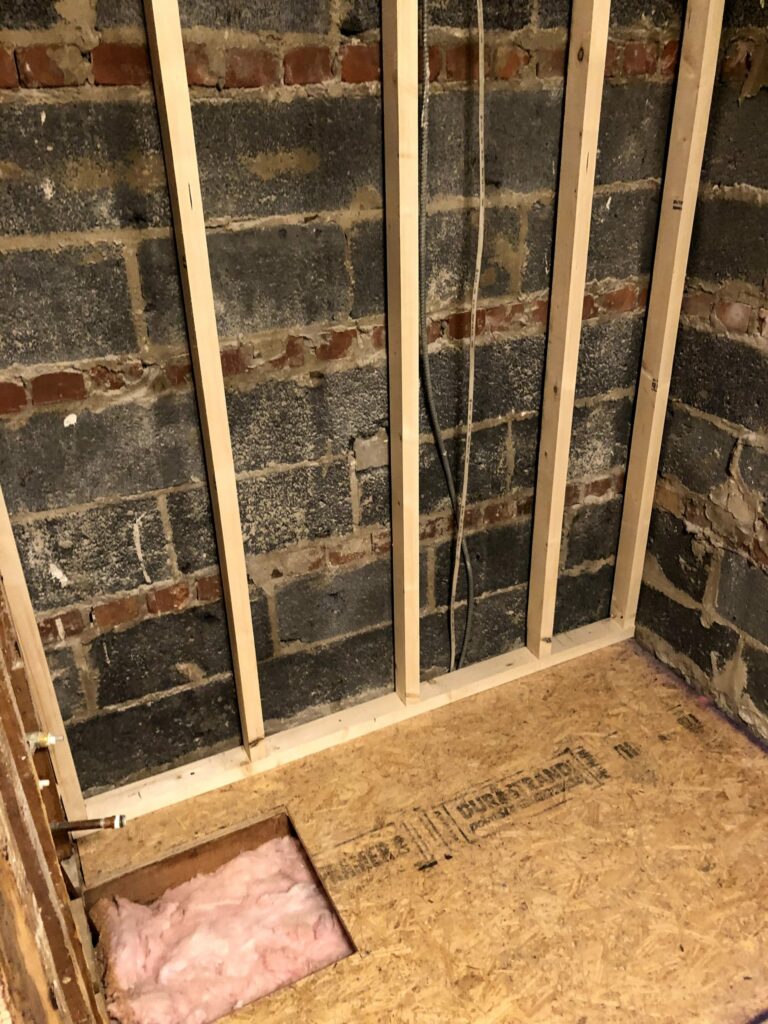
With a nice flat secure surface to walk on, focus could now be turned to prepping for the new tub. The first order of business was to make a flat level wall where the shower controls are so that the back wall could be referenced square from that. With the help of a reciprocating saw and a nice level, the studs were shaved flat.
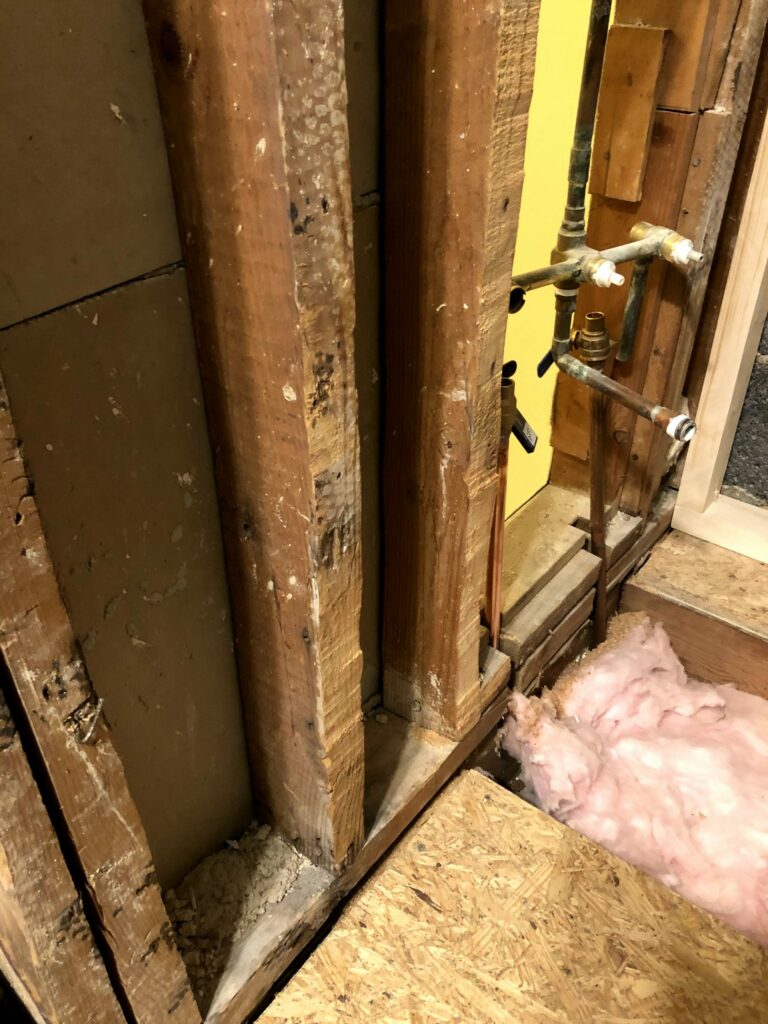
The new back wall was made from cut down 2×6’s for two reasons: 1) It helps ensure they are nice and flat as they were cut with a table saw and 2) It’s what i had and didn’t want to drive to home depot in the middle of a snow storm. Using the square and laser level we got the back wall installed and flat with little issue. Next up is to flatten the full back wall and get it lined up with the existing plaster which will definitely be more challenging then this first wall…

