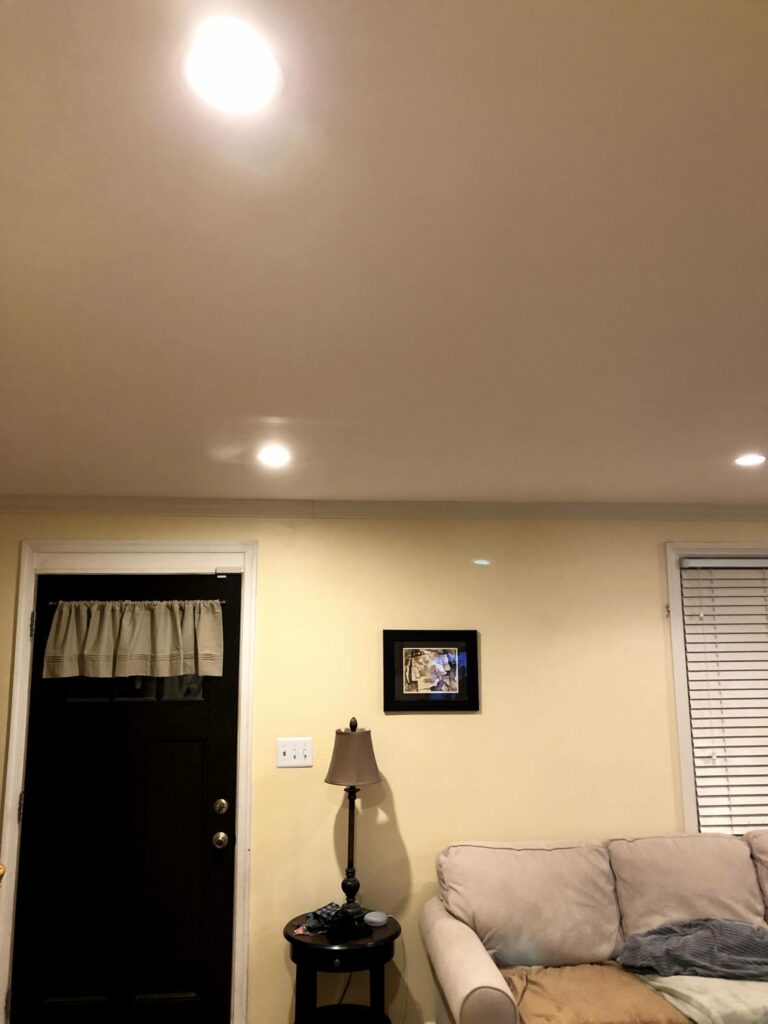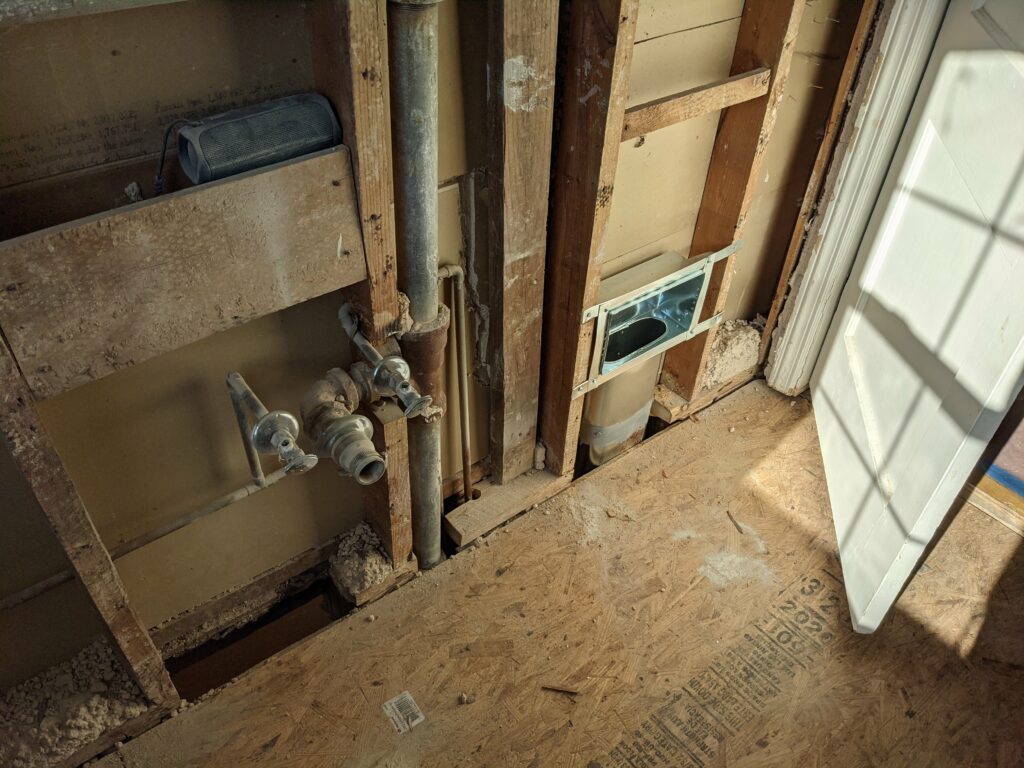
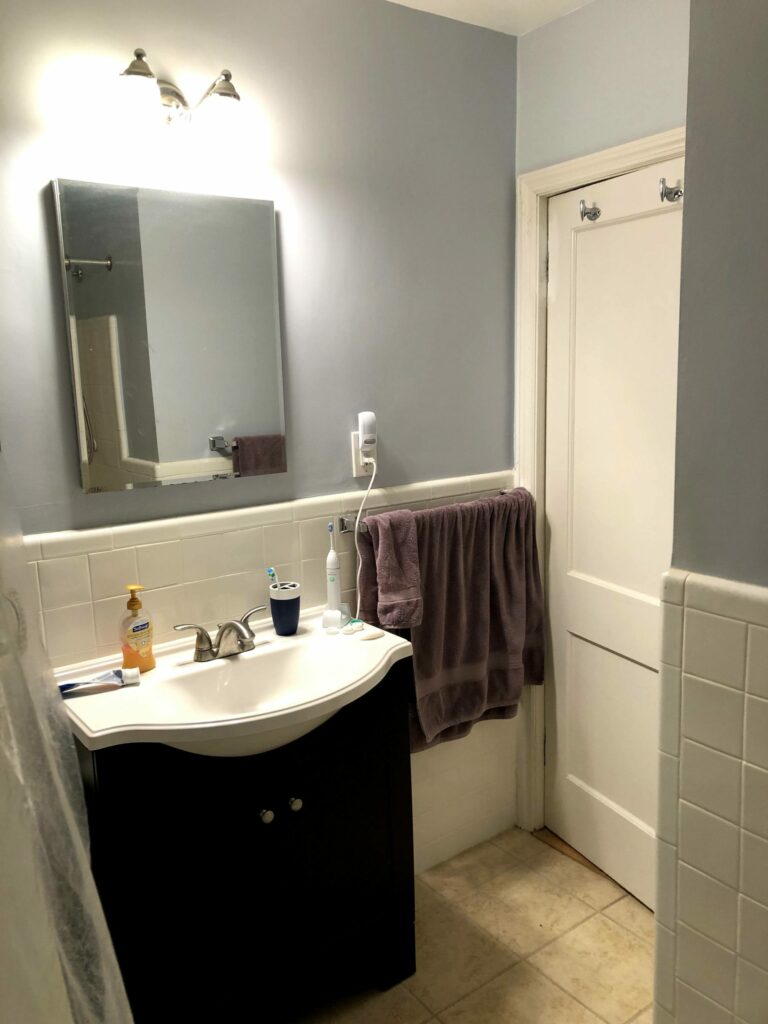
One of benefits of an older home is that with changing designs things don’t quite match up to how we want to use them now. This was evident in the fact that the HVAC supply vent in the bathroom was directly under the sink drain, which was all fine when using a pedestal sink but now with any normal vanity there’s a cabinet under the sink where the vent was trapped. Every morning we’d have to remember to open the cabinet doors to get air into the bathroom. We also couldn’t store any of the normal things under the sink as the temperature was either really hot or cold depending on the time of year. What better time to make giant holes in the walls and ceiling then now to fix this!
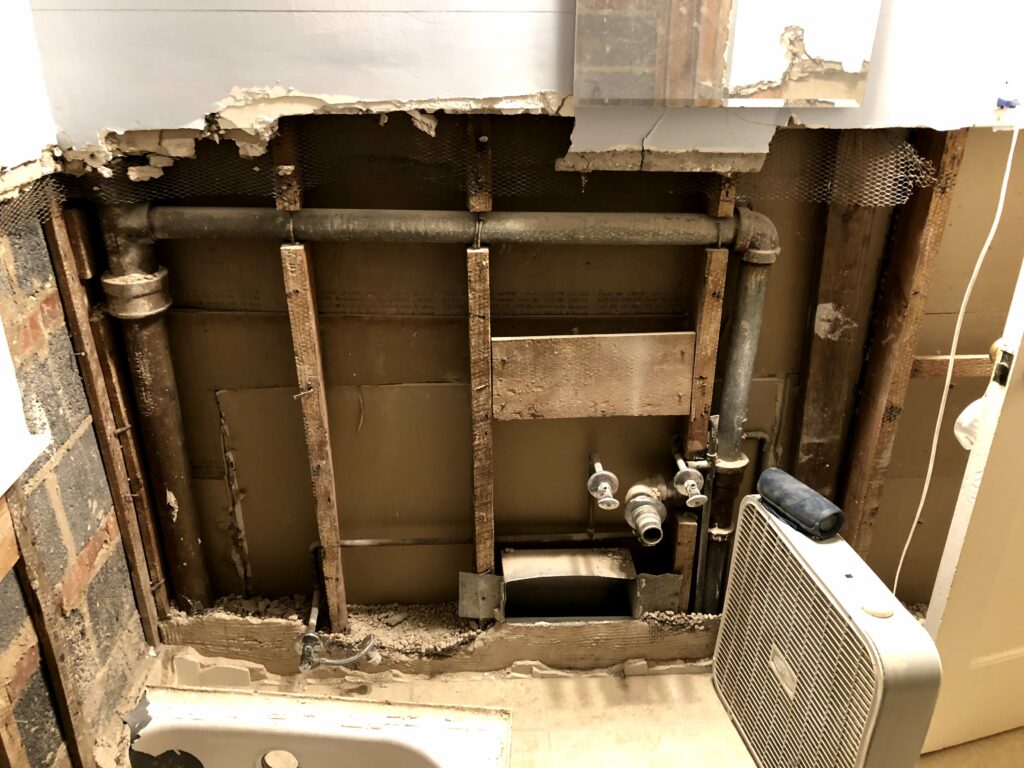
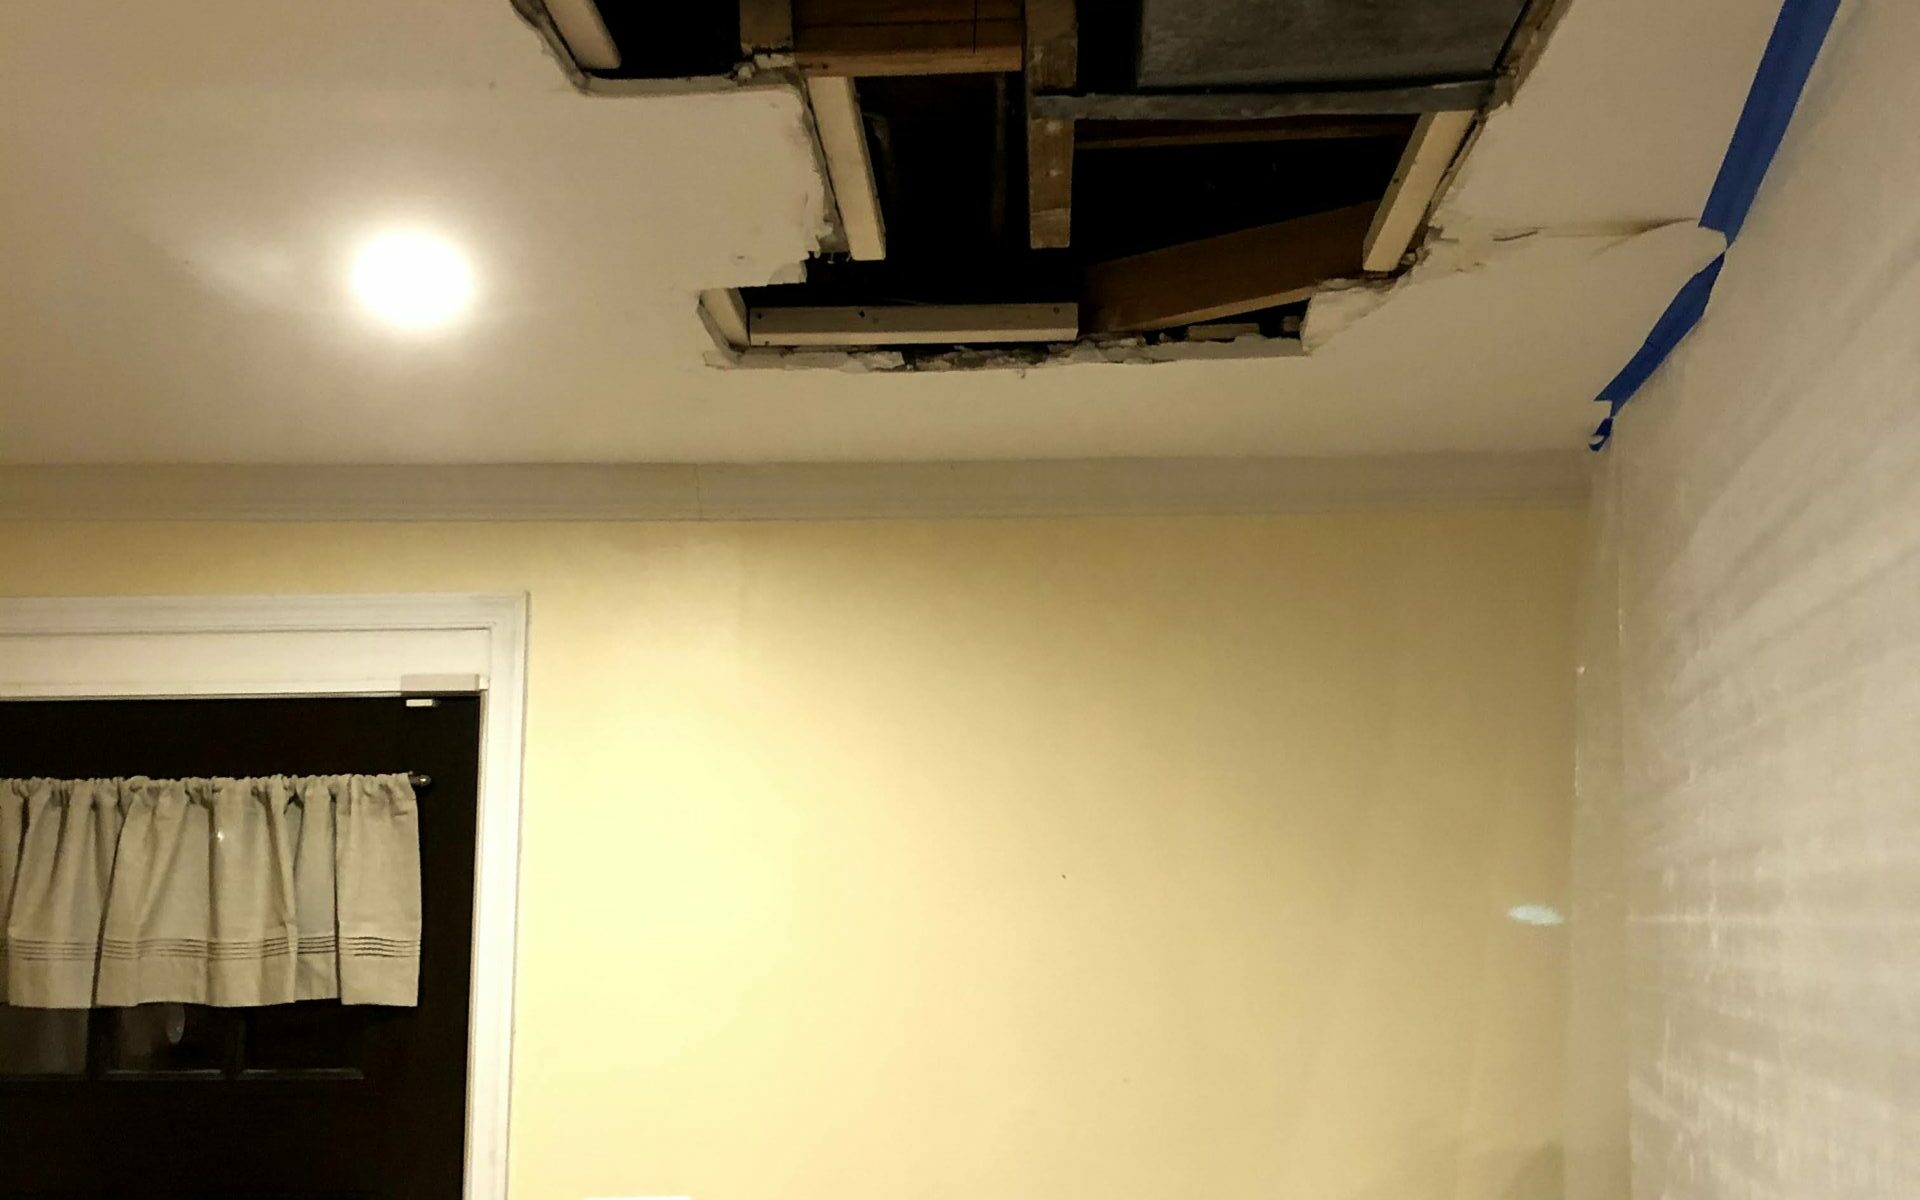
To start off this required some investigation of how the vent was run. From the basement reno I knew the vents ran up the middle of the house and then turned to run in the ceiling of the living room with a final bend going up to the bathroom wall. I was hoping the vent could be moved without cutting a hole in the living room, but alas it wasn’t meant to be so easy. In the bathroom floor there was a joist blocking access to the vent from upstairs, which meant all work needed to be done from down below. It was a good excuse to fix some paint in the living room ceiling….
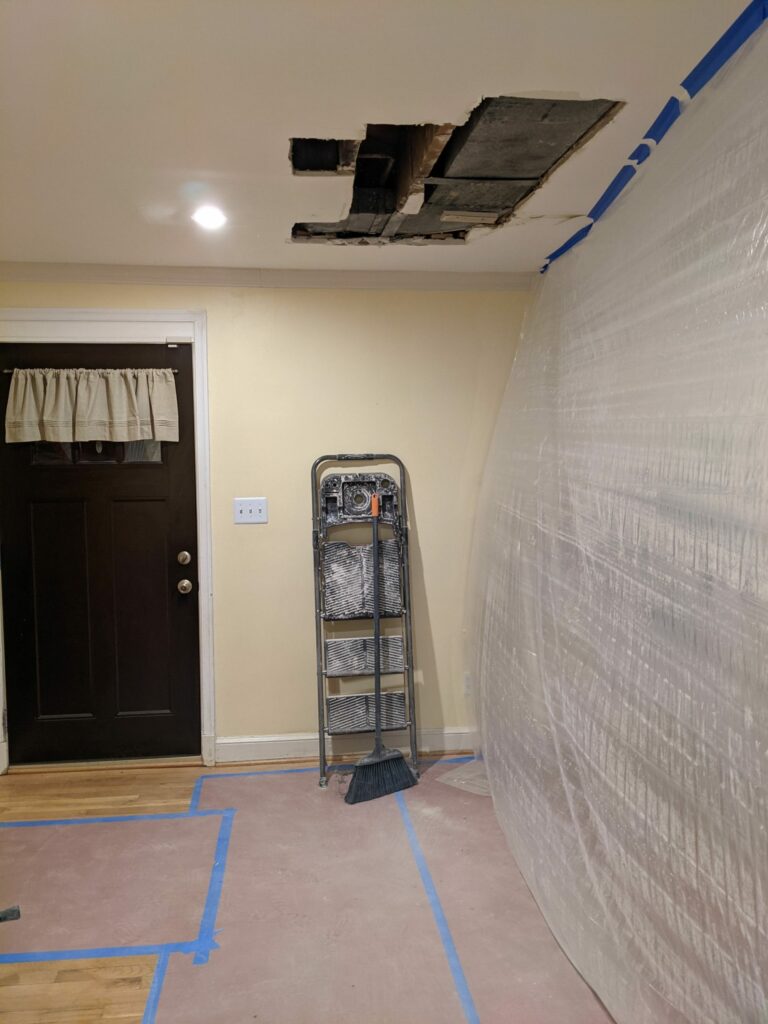
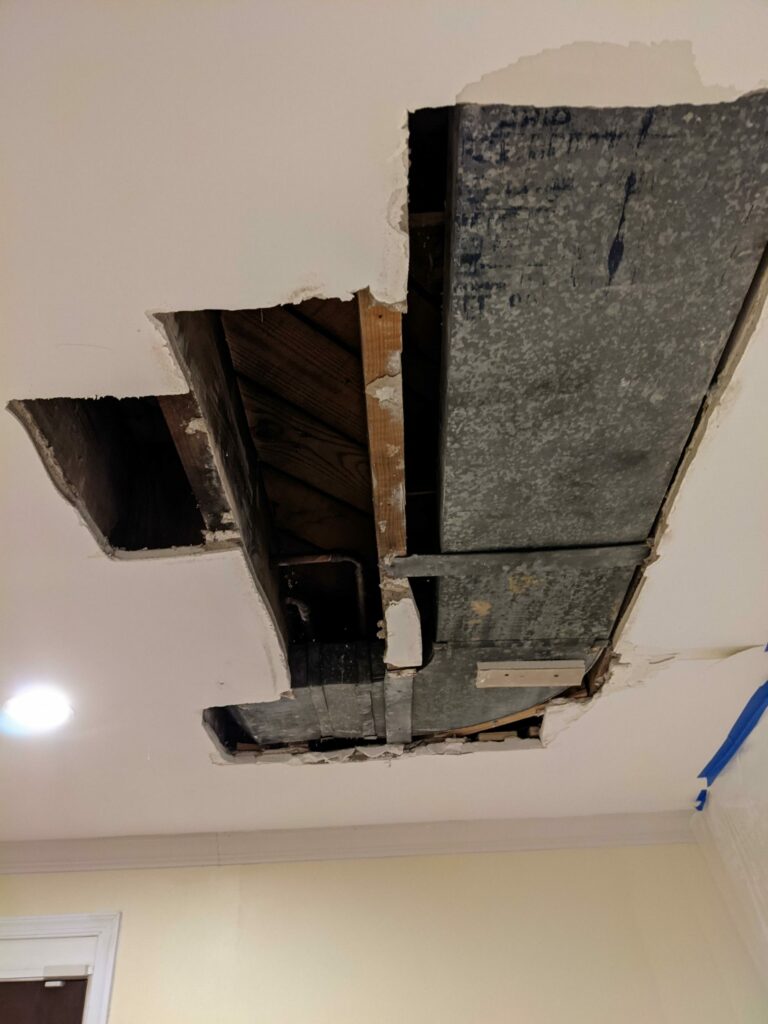
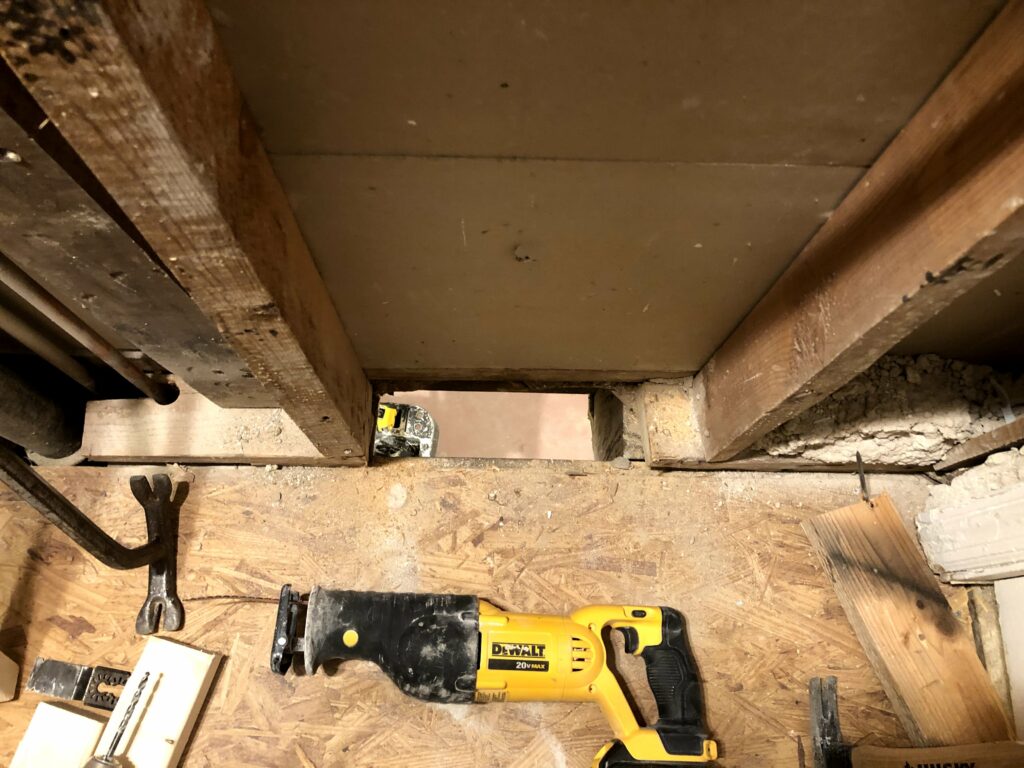
I contacted an HVAC company who was coming out on Friday morning , so on Wednesday night I did some exploratory drilling to find the vent and then with a drywall saw and oscillating saw I cut a nice big opening in preparation for the move. After adding some braces and cutting a hole in the bathroom floor for the new vent I was ready for them to come. After only a little over an hour the two guys had the old vent removed and a nice new vent back in its place.
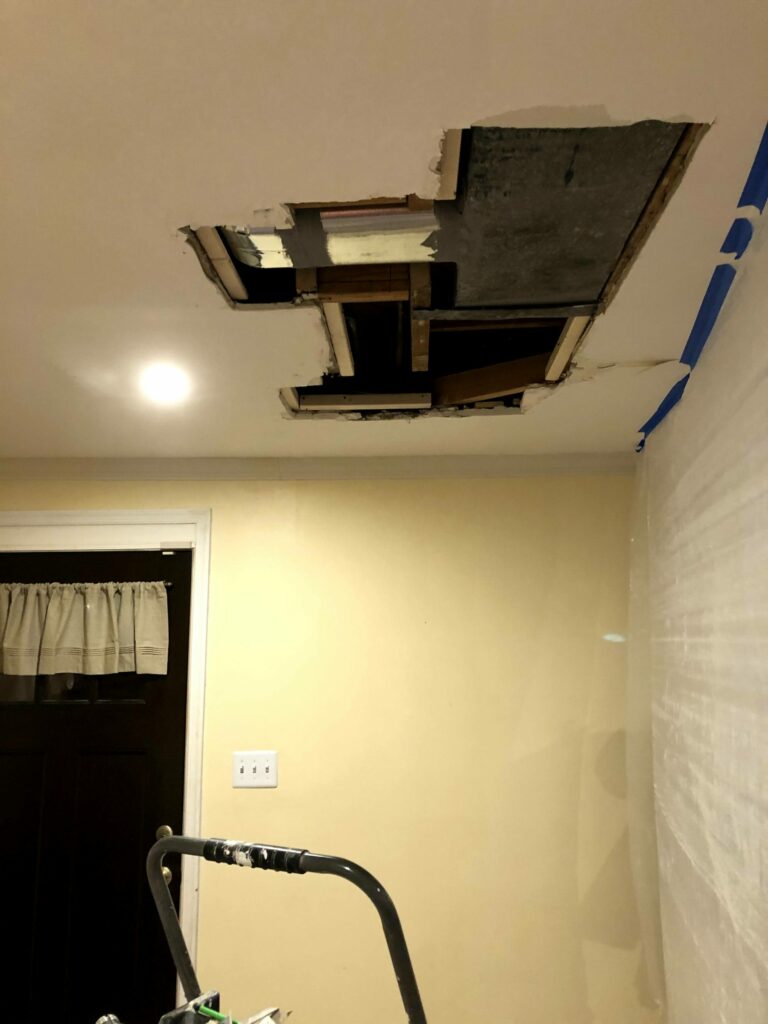

Turns out cutting the hole and moving the vent was the easy part. Now I had to put the living room back together. This involved cutting some interesting shape drywall pieces and adding in a lot of supports to attach the drywall too. Once the drywall was mounted I put my spackling skills to the test. The ceiling wasn’t fully flat and adding the new drywall made a lot of highs and lows in the ceiling. Adding lots of spackle helped to smooth everything out but it took a long time to dry.
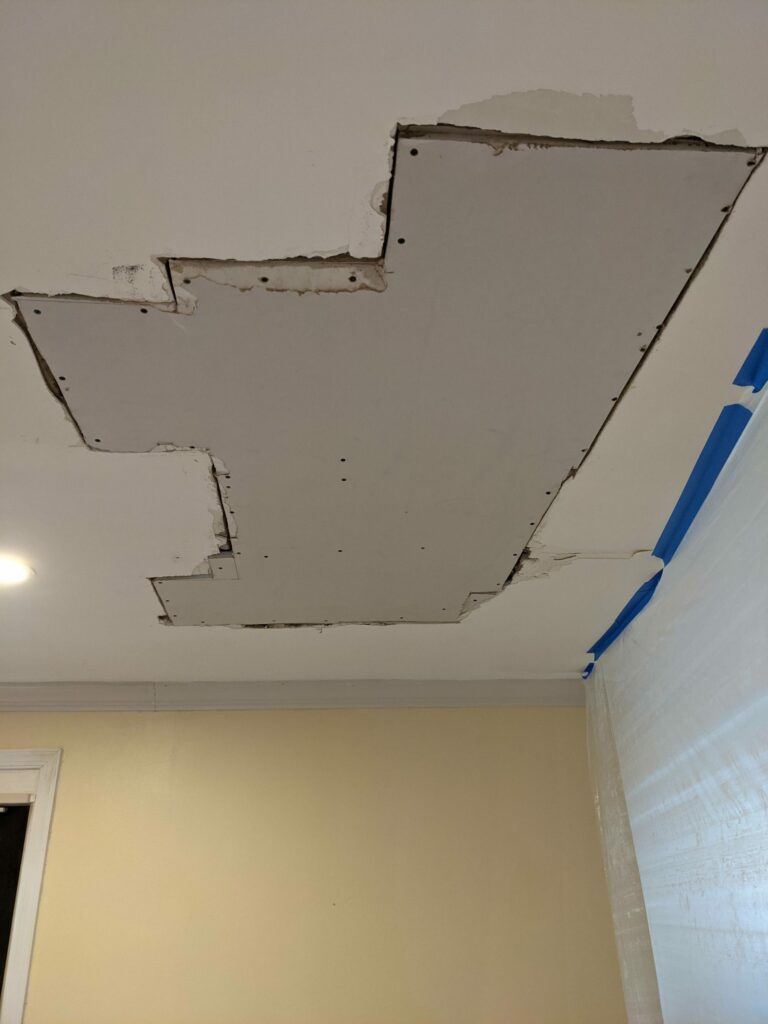
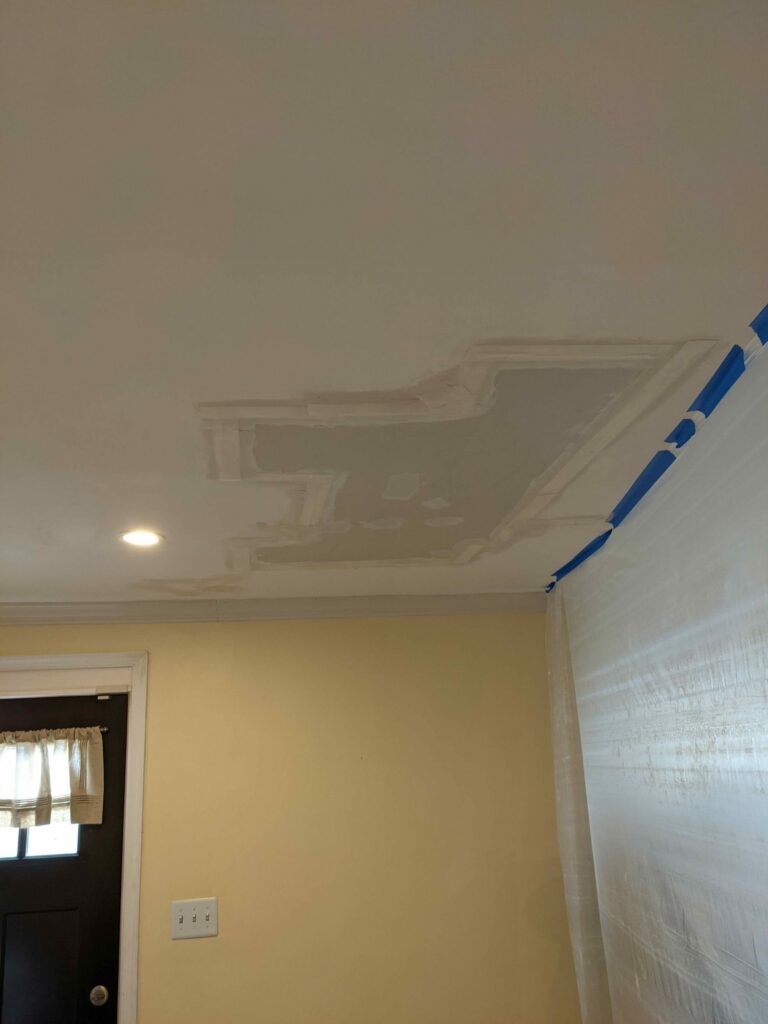
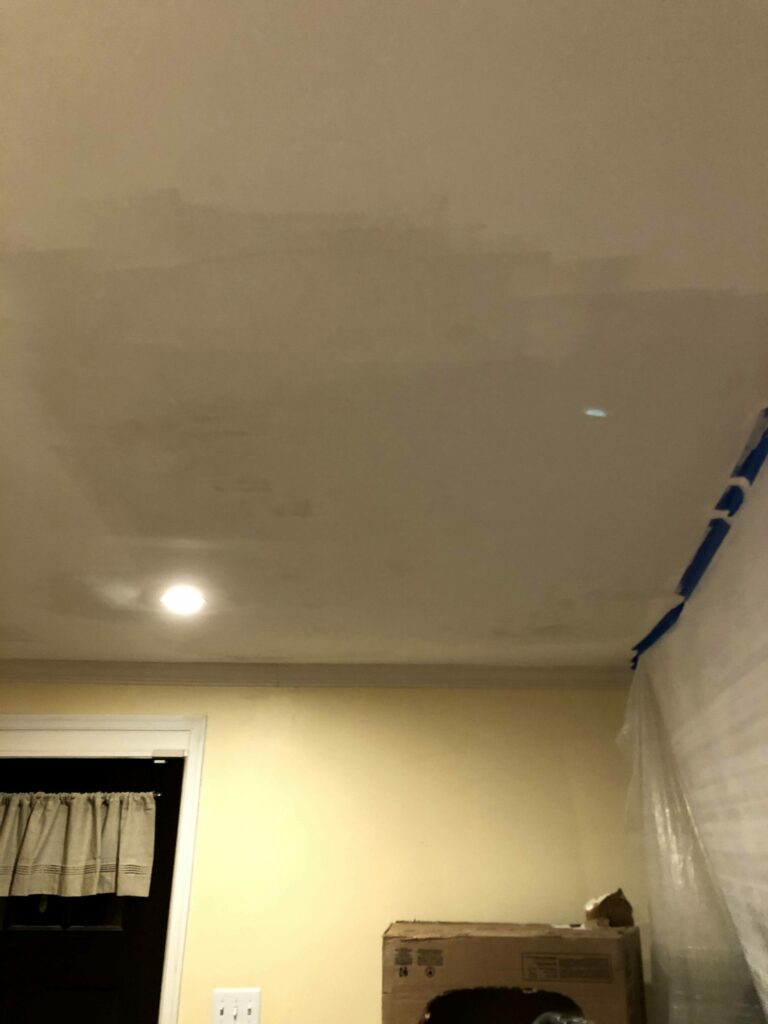
I needed to sand and spackle a few times in order to get a nice flat ceiling. This created a nice dusty portion of the living room, thankfully the plastic really helped from preventing the whole first floor from being covered. Finally after a week of the living room being moved into a corner the ceiling was painted white and back to normal. Not a bad side quest.
