Closing In!

I’ve been tired of looking at studs and wood for a couple weeks so now it’s time to finish all the prep and hang the drywall. Before getting into the insulation and drywall there is a long list of items to take care of while the walls are still open. So on the list to wrap up:

  • Redo the electrical wiring for the light switch
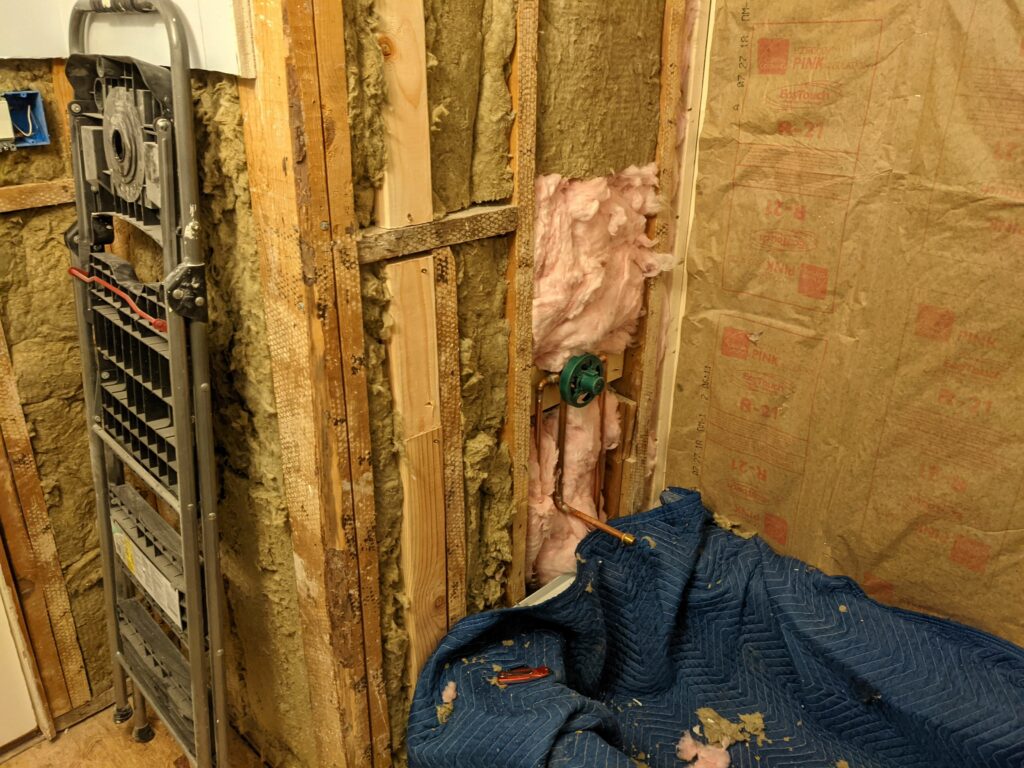
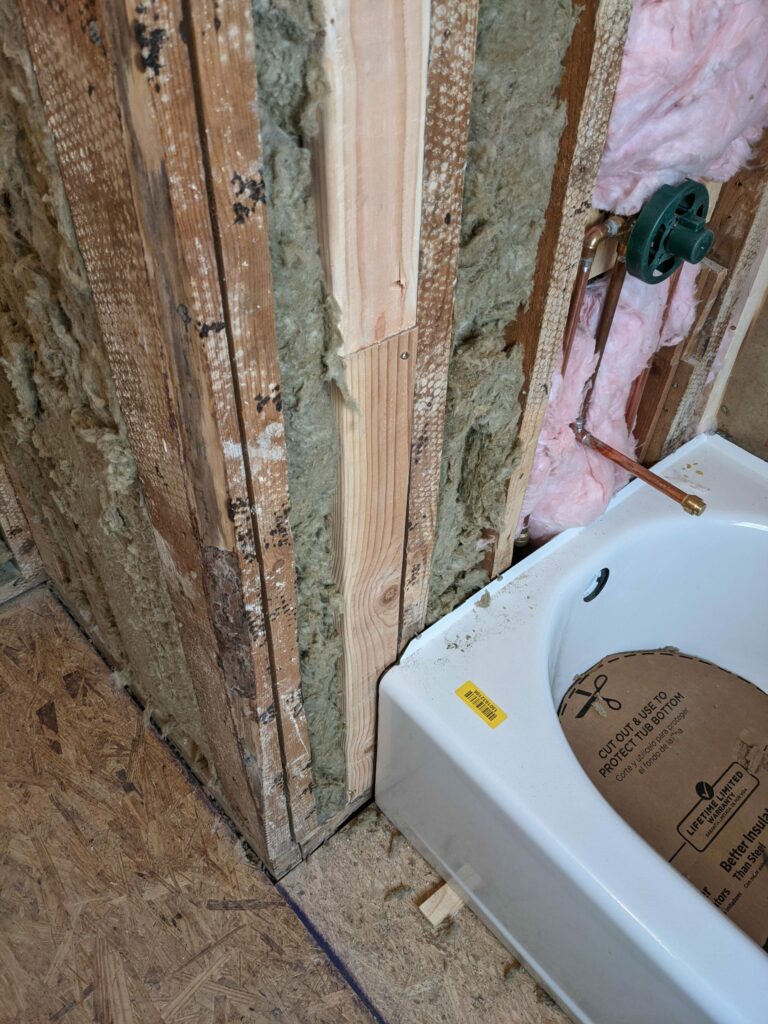
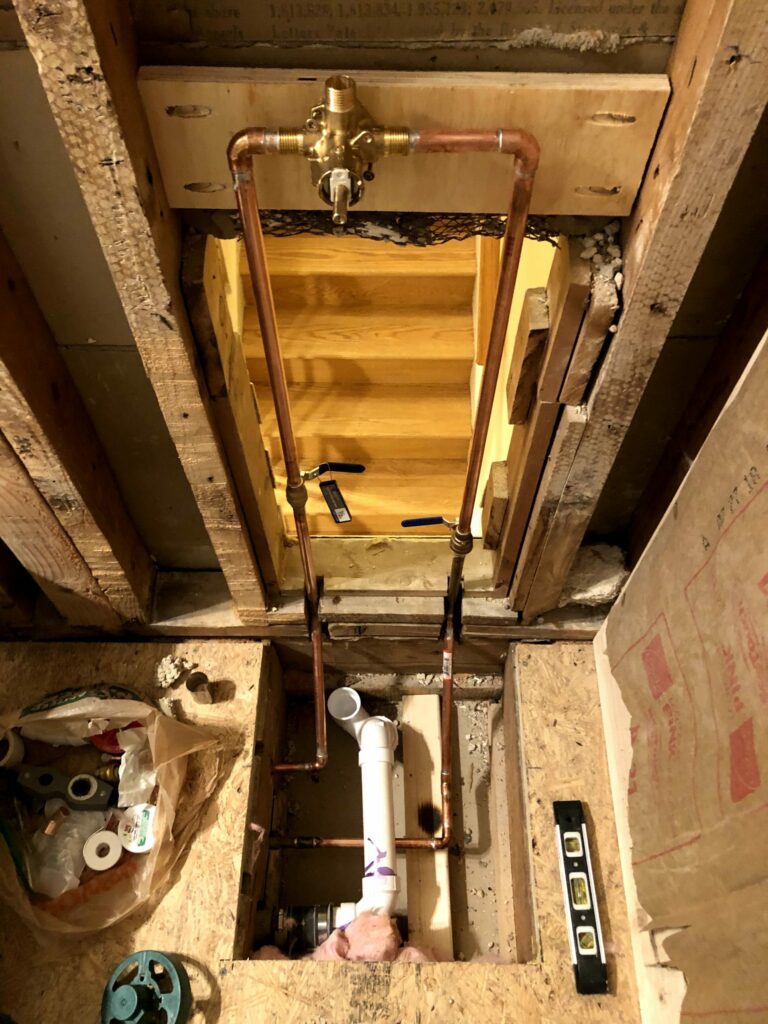
  • Add the plumbing for the tub and shower
  • Clean up all the leftover nails and remaining pieces of wood
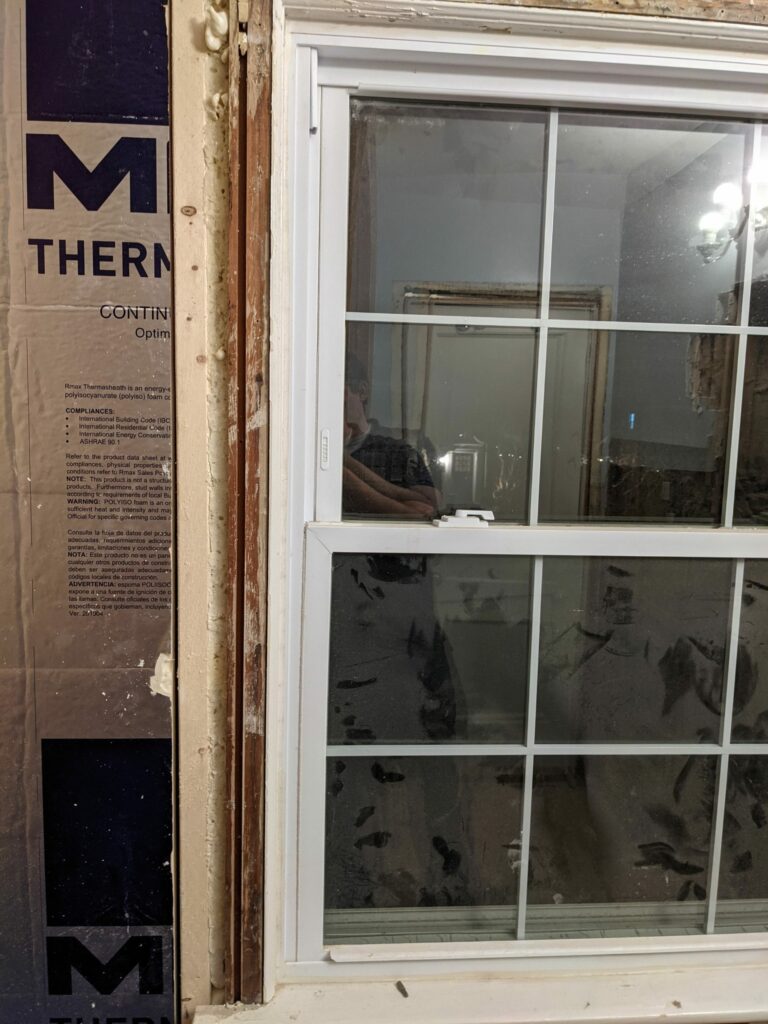
  • Fill in the window gaps with spray foam
  • Adjust the door casing which was crazy out of level
  • Add furring strips around the window to have something to attach the drywall
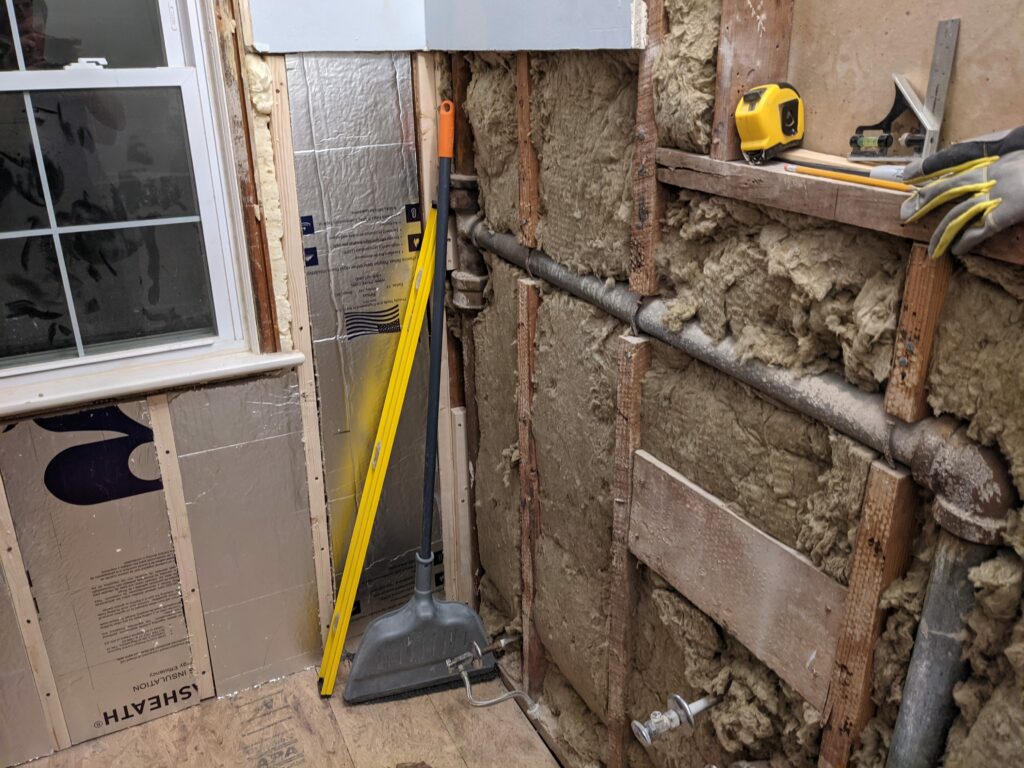
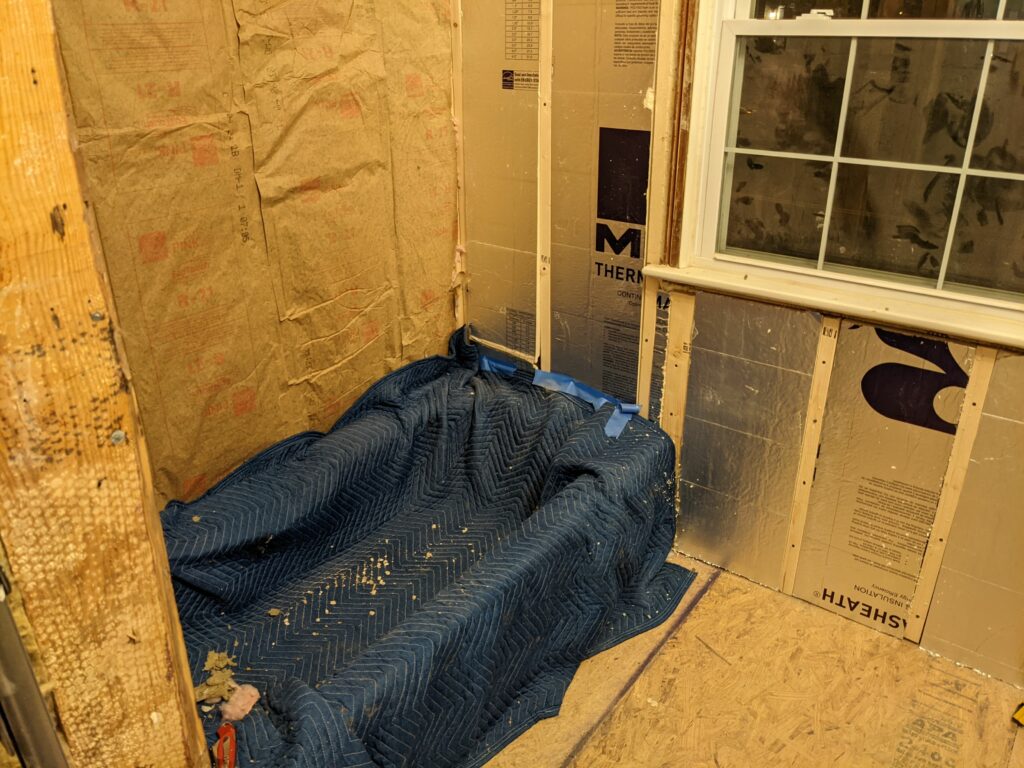
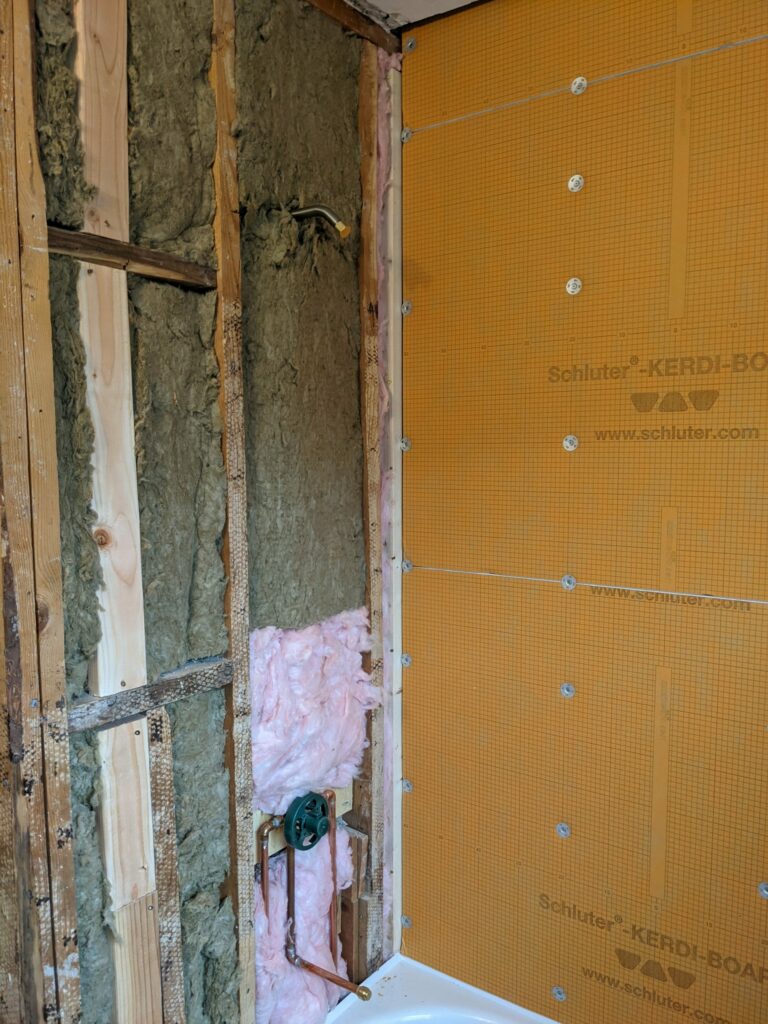
  • Install all the insulation

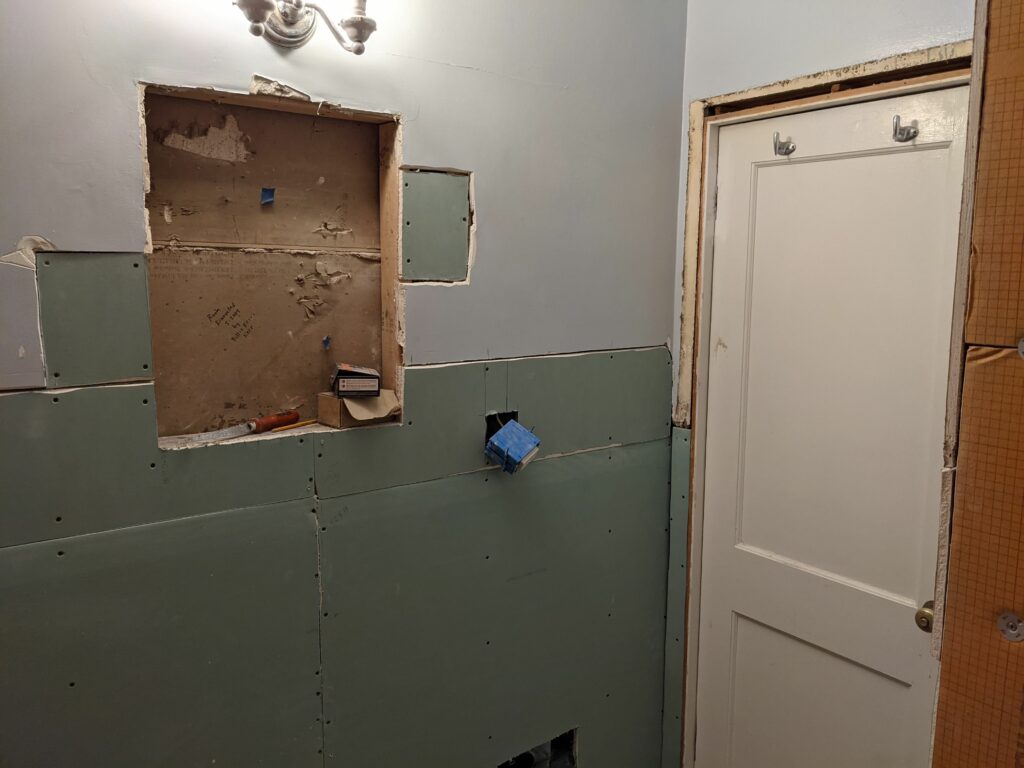
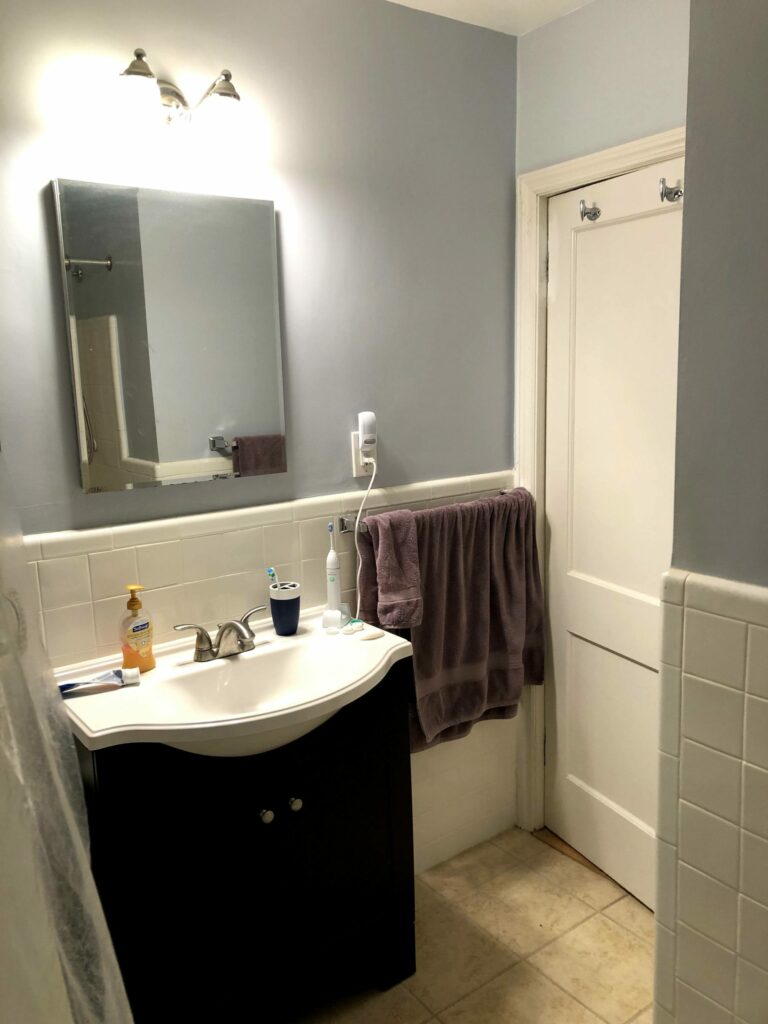
The wiring in the bathroom was as crazy as expected in an old house that’s been partially renovated a couple times. There were hidden electrical junction boxes on both sides of the vanity mirror which required a couple extra holes in the plaster.
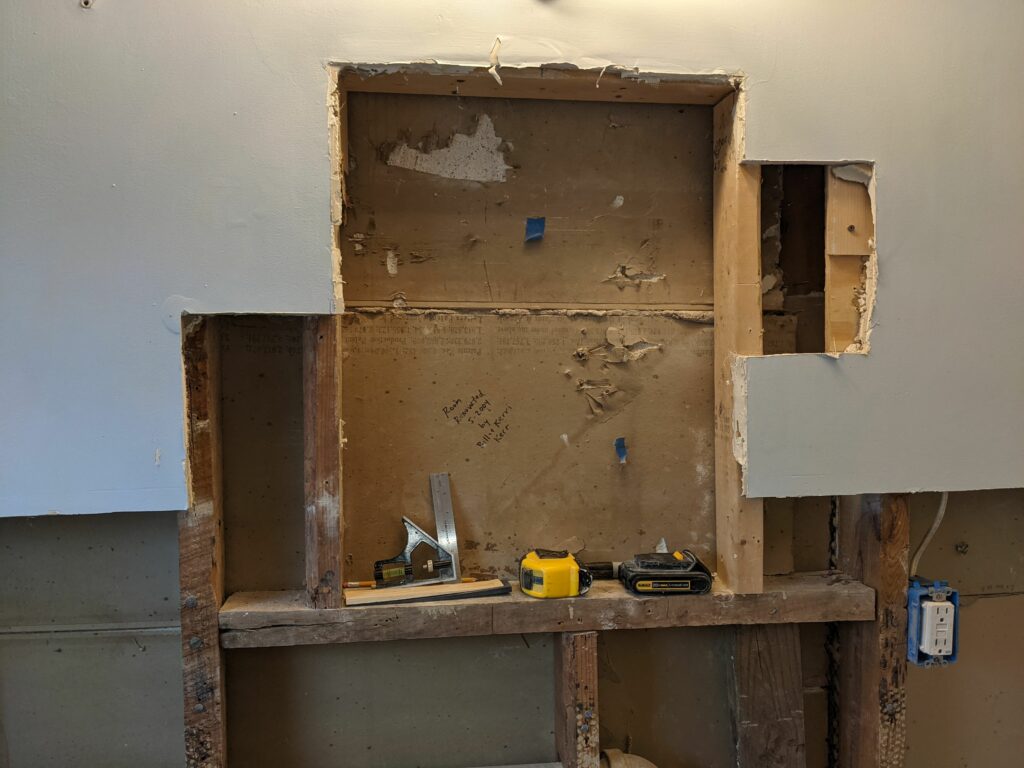
I recruited Rebecca to pull all the nails and trim from the window and door so we can have access for the drywall while I was off messing up the plumbing. I installed the tub and shower spouts only to realize that the valve was installed upside down. Classic. But oh well only 20mins later and i got the valve all fixed up.
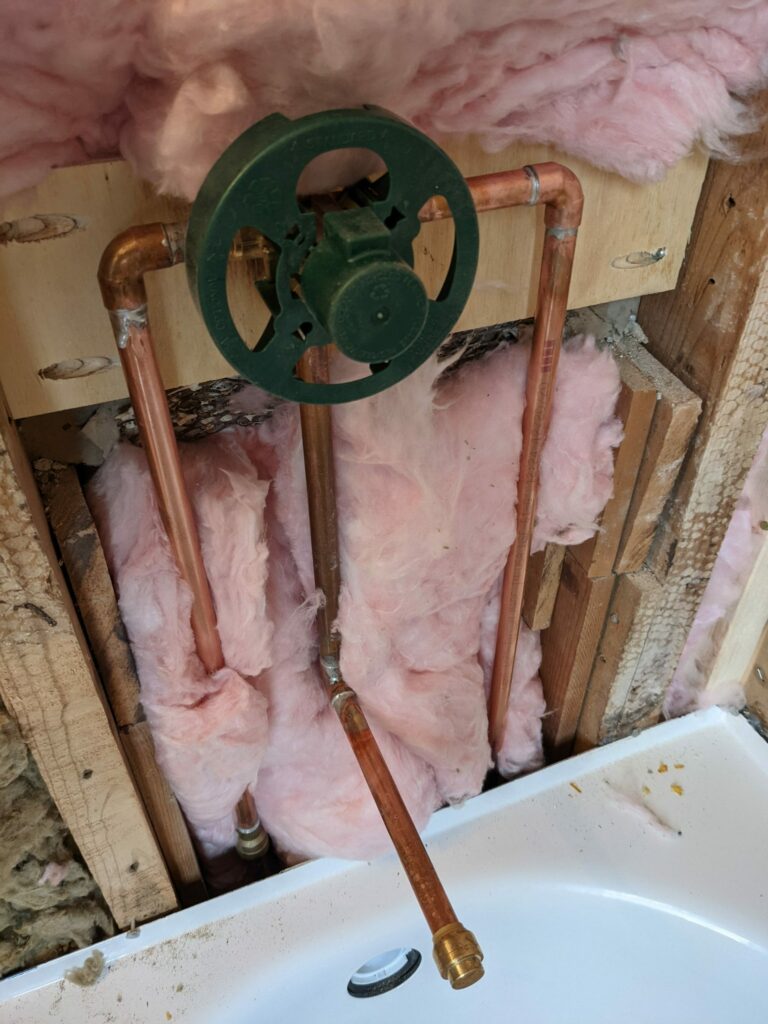
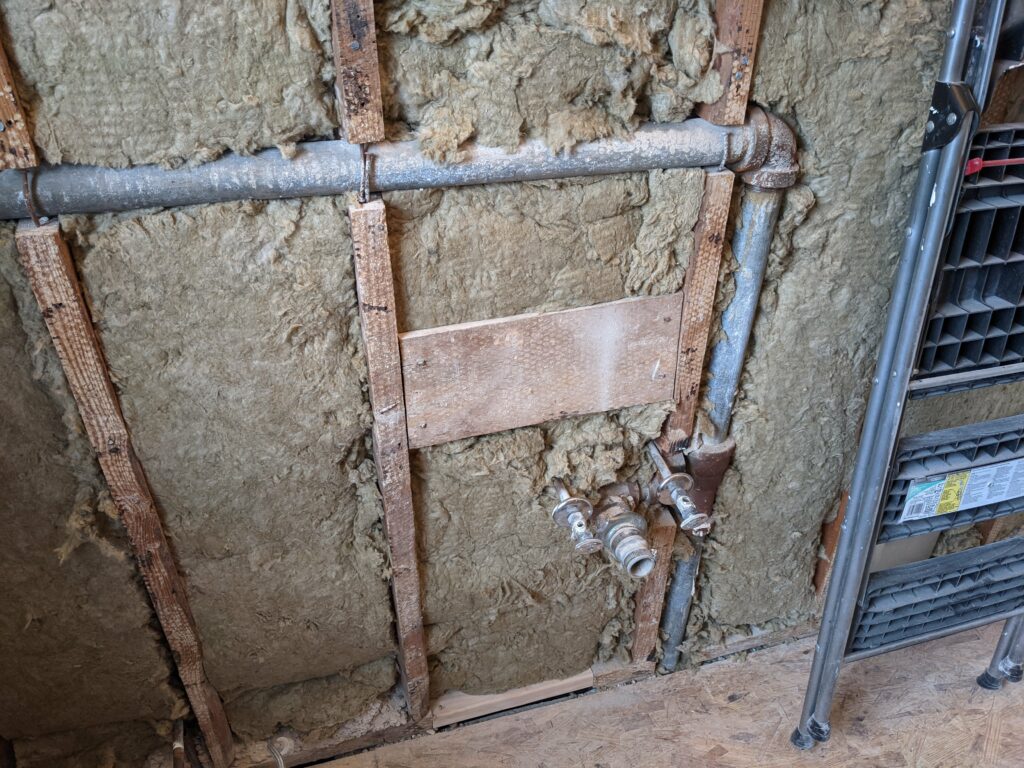
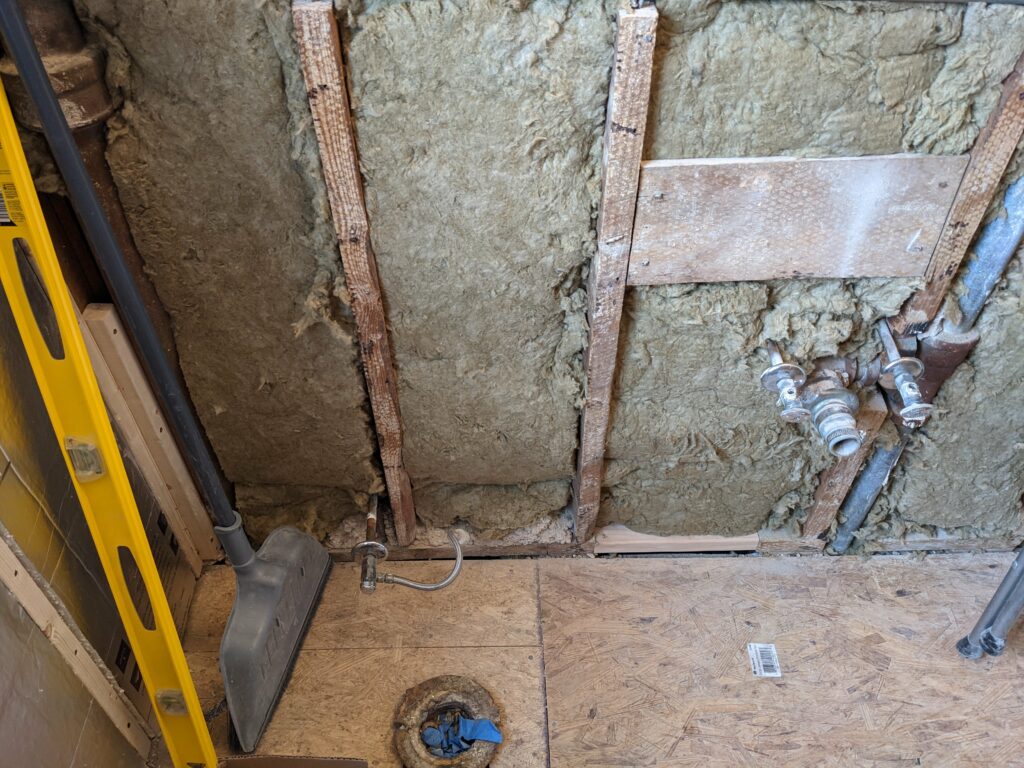
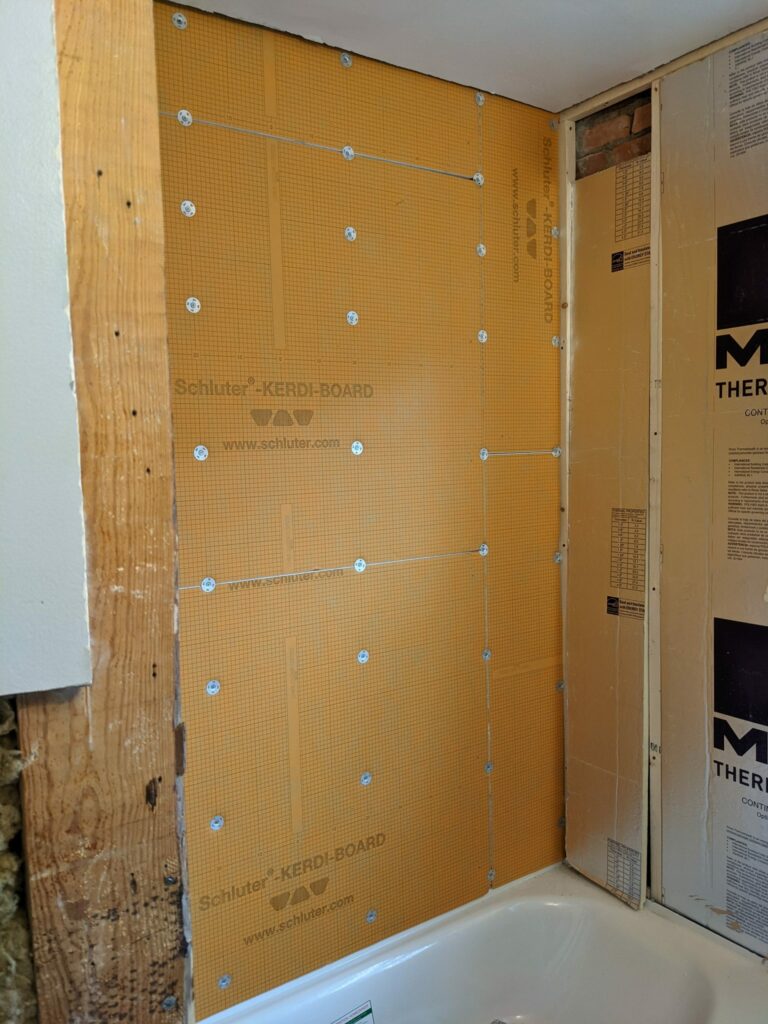
It took us two full days to finish all these little tasks, it’s amazing how just a long list of short items soaks up a lot of time. But we finally got everything all wrapped up and installed a bunch of insulation. I used sound proofing insulation since before we took out multiple trucks full of concrete our bathroom was super quiet and with some heavier insulation i hope it’ll be close to what it was. But at last we were ready for drywall and thus had to take lots of pictures before it was all covered up forever.

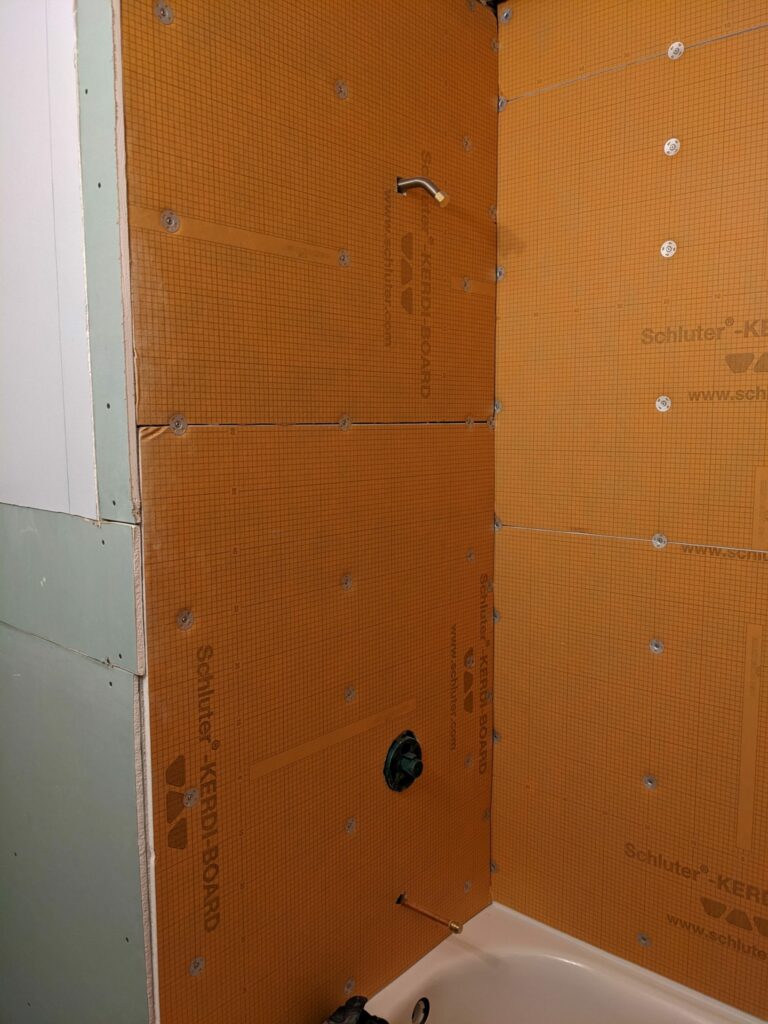
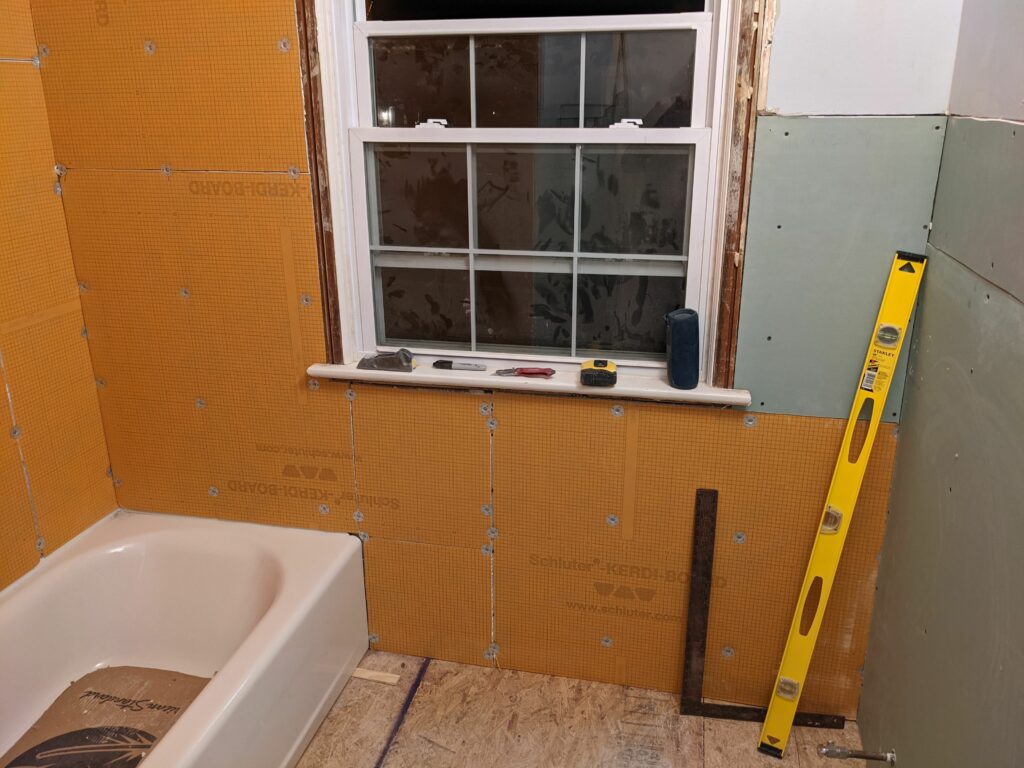
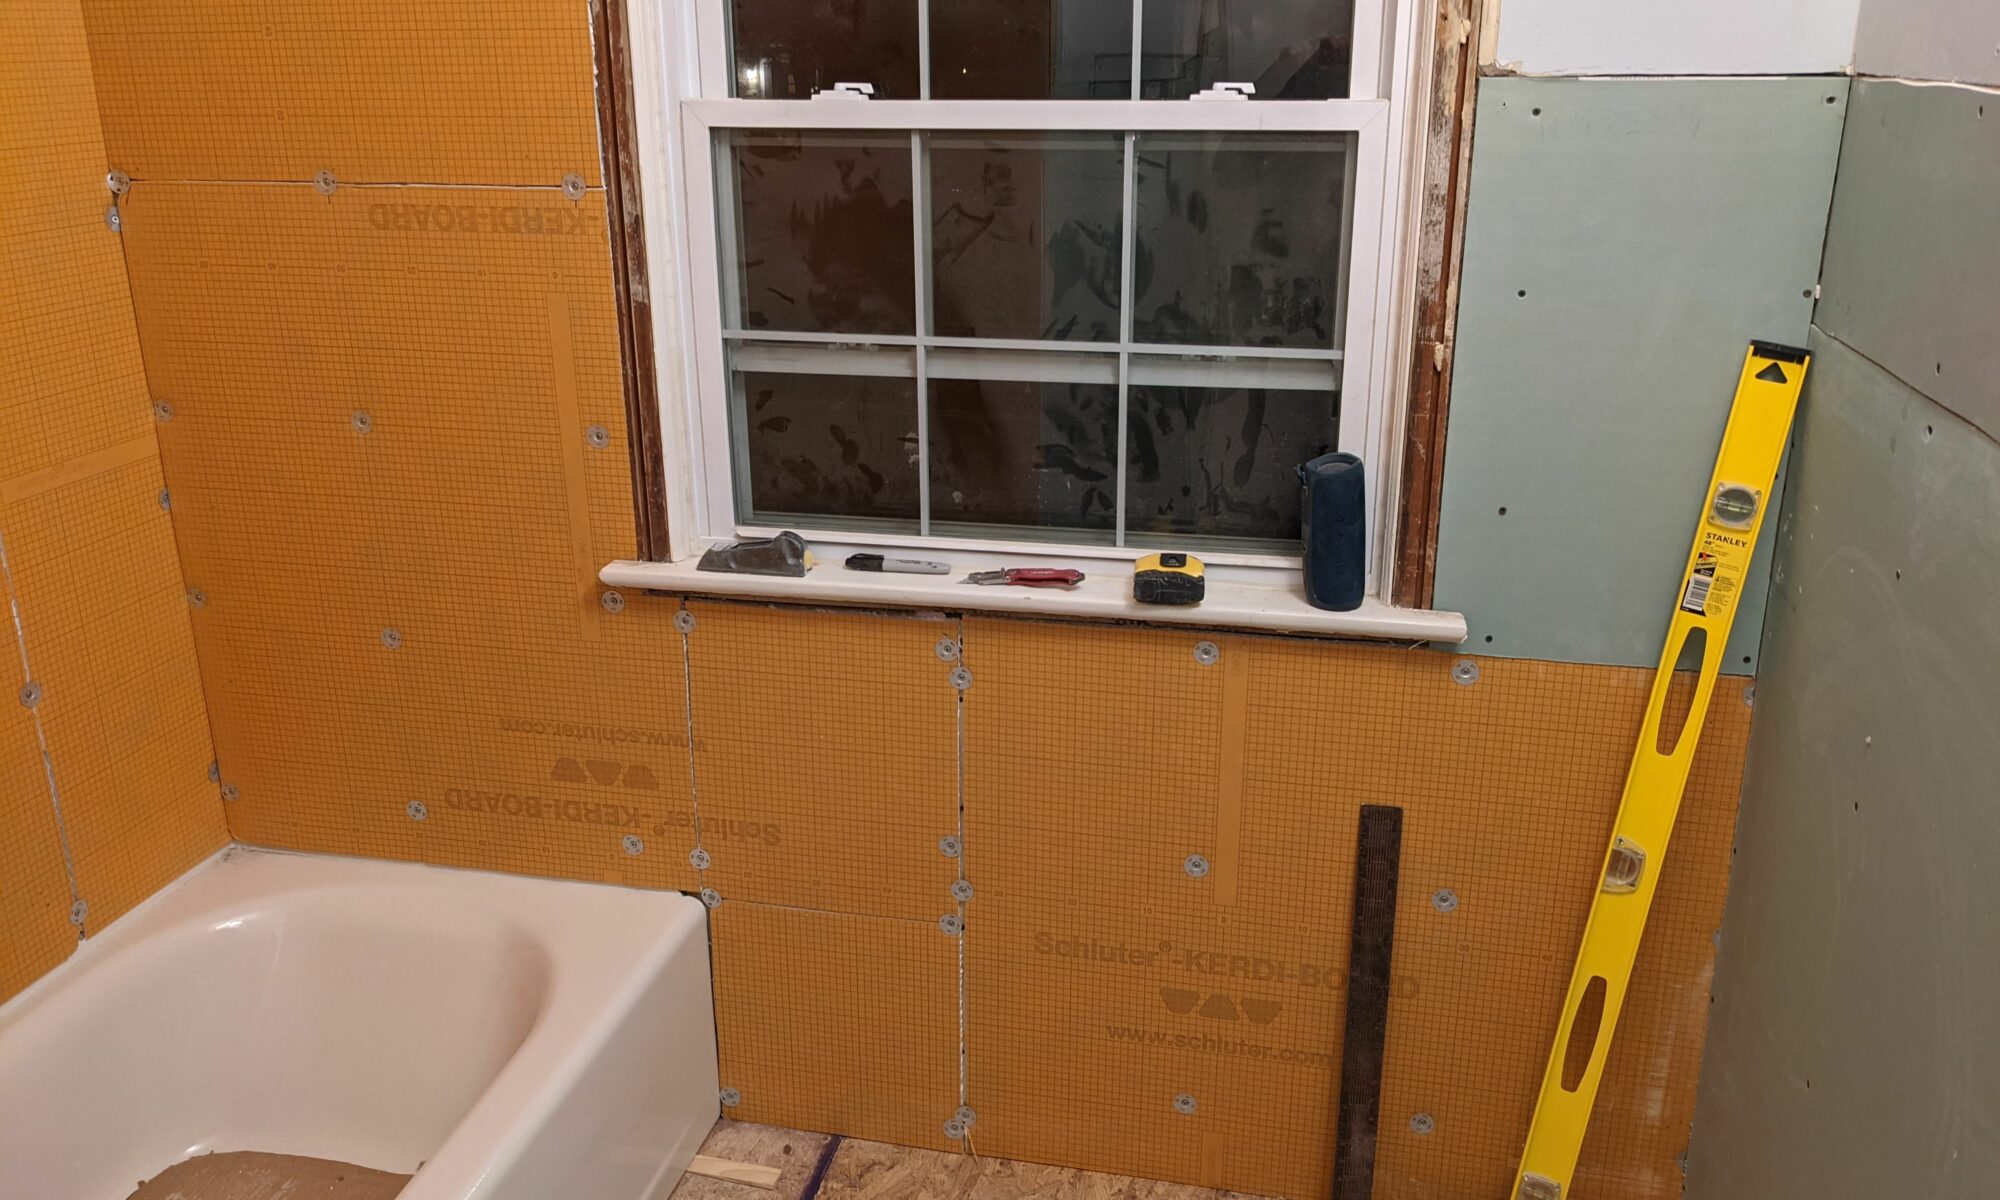
So onto the last day of the nice 3 day presidents day weekend and calling in some reinforcements aka Pops. Around the shower i am using Kerdi Board for the waterproofing. It’s a great lightweight board that just screws right to the wall. Then using thinset and strips the gaps and cracks are filled in creating a fully waterproof shower that the tile can go right over. Compared to cement board it’s significantly easier to install and also super light. I ordered a kit from amazon that had everything needed for the tub install. All the panels only took an hour to cut to size with an exacto knife and screw them to the wall.

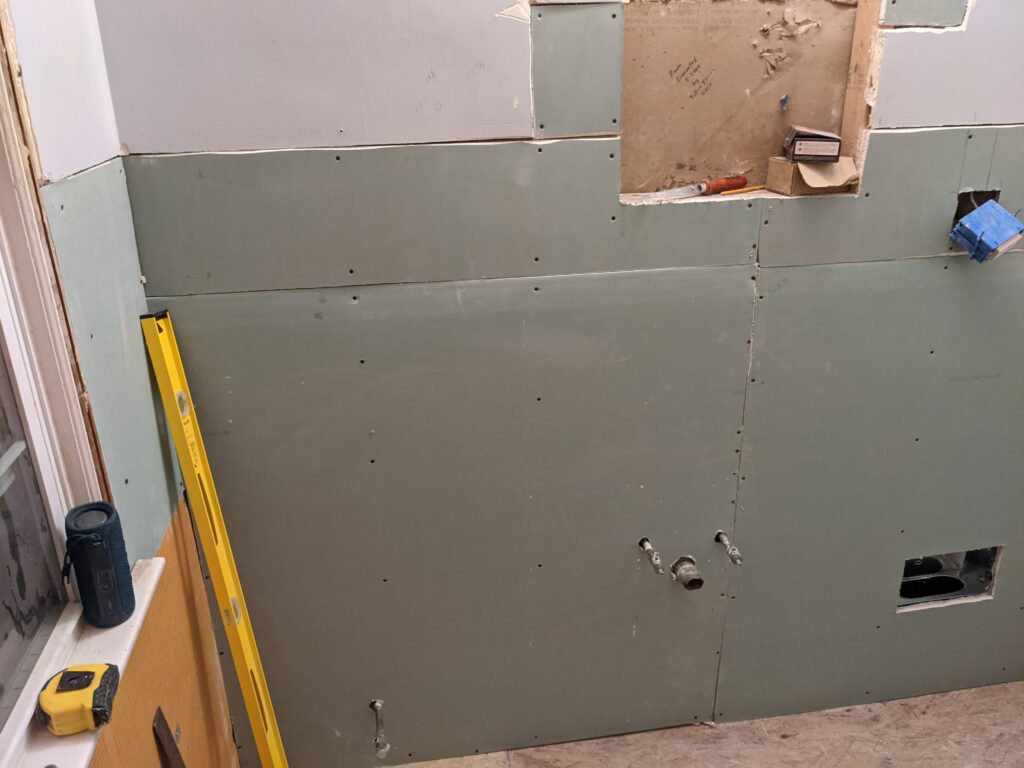
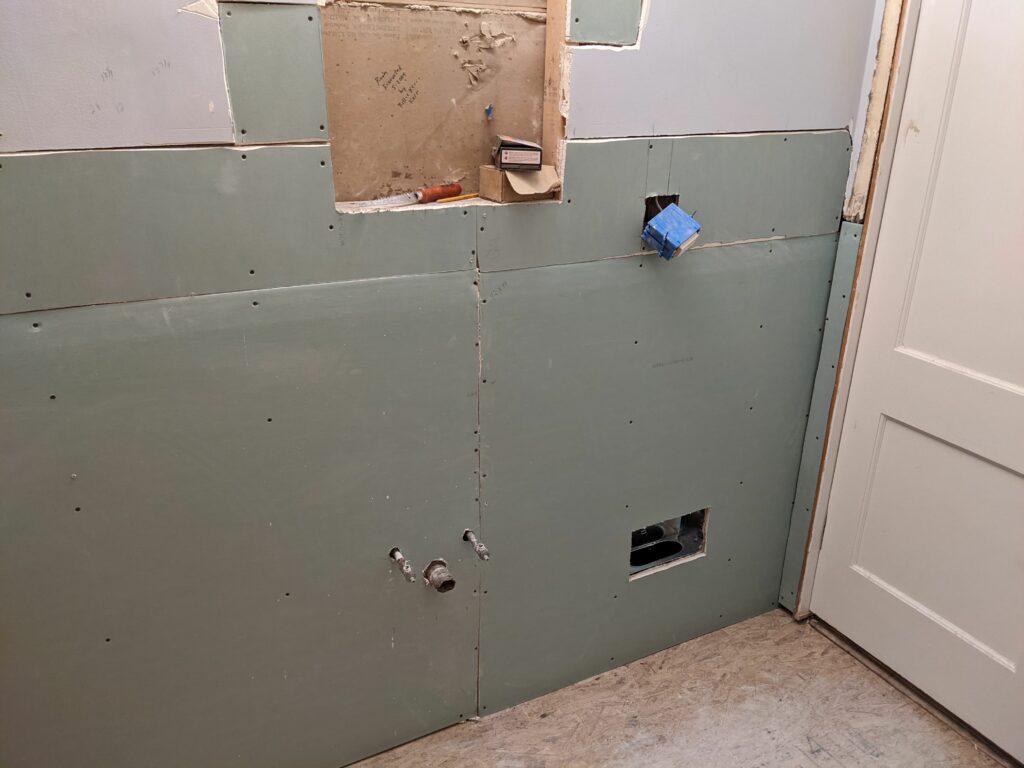
Then it was onto the drywall! Only 4 sheets were needed and even less were actually required but since we were matching it up to the plaster it needed to be 1″ thick so it was doubled up. So after a couple more hours to get all the weird shapes and angles fitted in the room was actually looking like a room again! Next step is on to spackle and getting ready for some more big changes!

Tub Time!

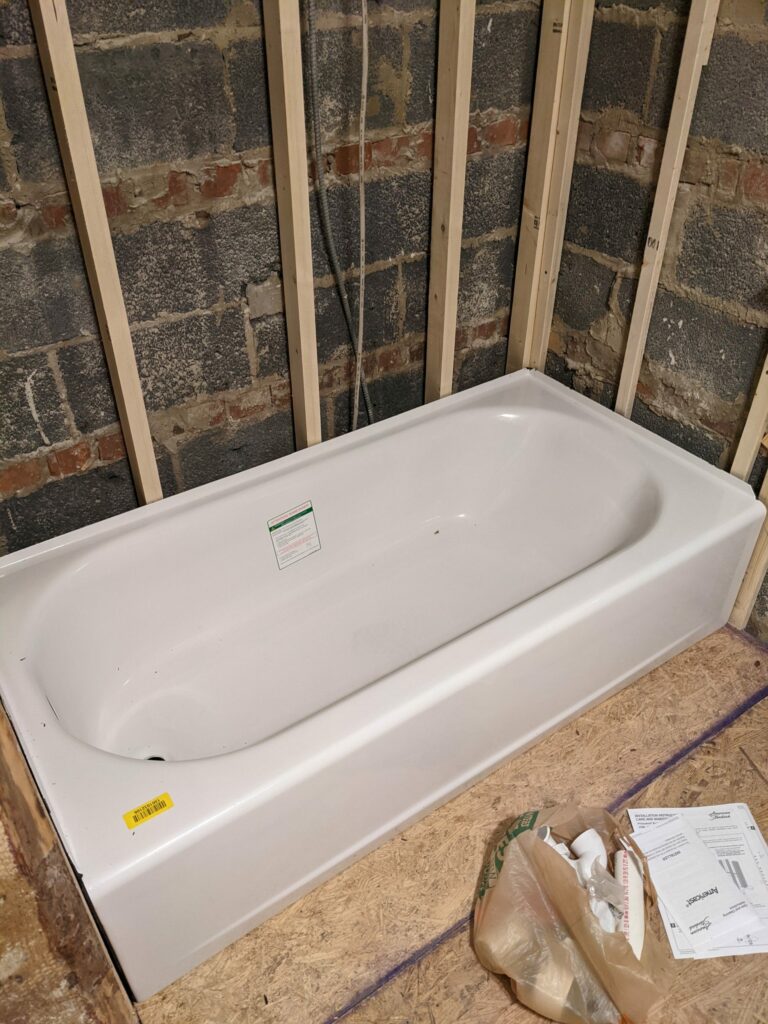
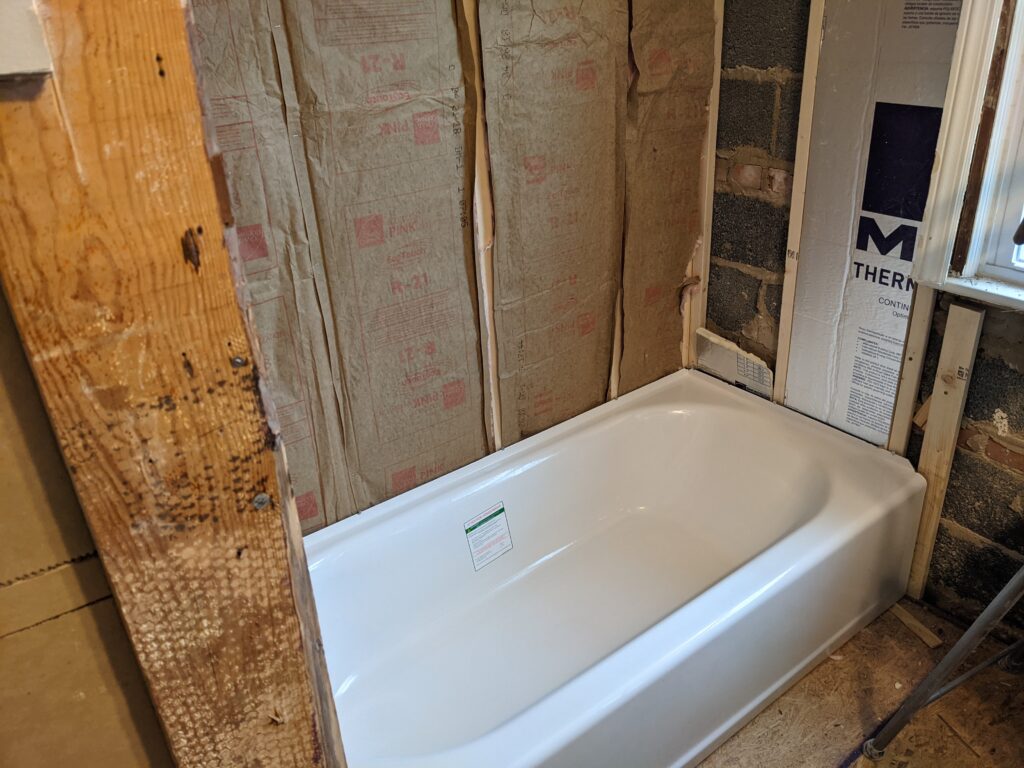
With the demo and vent all done, it’s time to crest the hill and start putting the room back together. First up in that plan is to install the tub. We purchased an American Standard Americast Princeton tub it’s fairly standard at 30″ wide and 60″ long. After finding a Lowes that had the correct left hand drain, we headed over to pick it up. Luckily they had multiple tubs since the one on the floor was taken in the time it took us to find a cart. There were multiple ones up on the rack but just took some extra time for someone to get it for us.

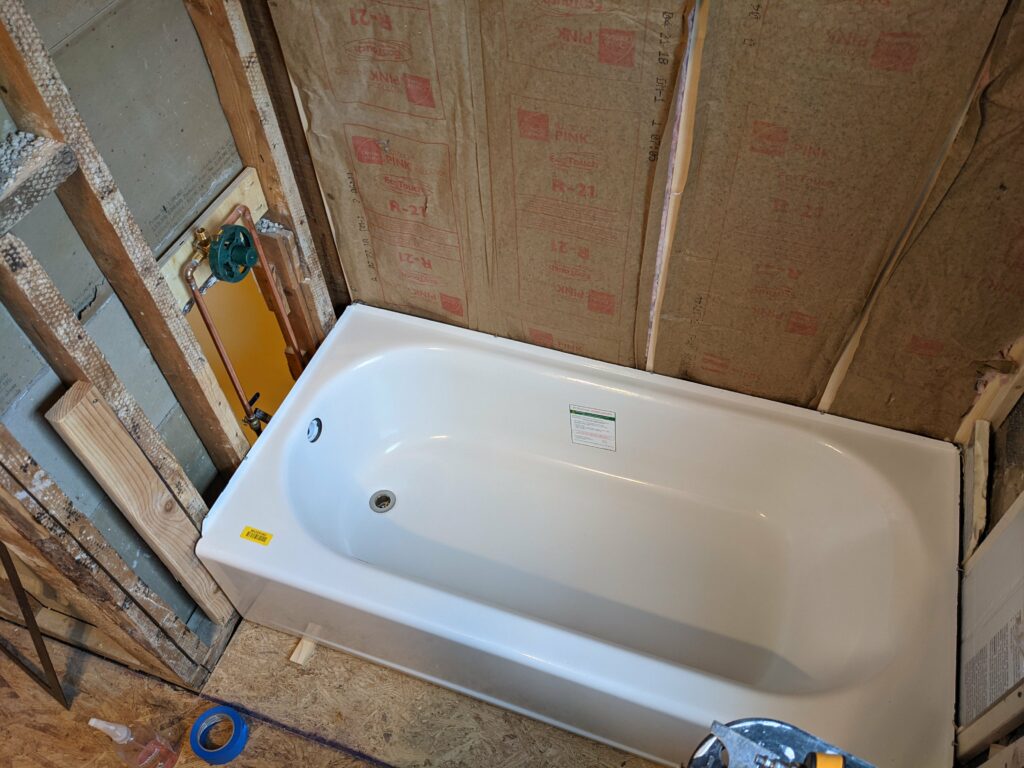
The tub is fairly light which made it no problem for me to trick my parents to help carry it up the stairs when they brought dinner. With it upstairs w could do our first fit check and it slid in like a glove.

Fit Check

Now it was time to finalize the walls all around the tub first by adding insulation onto the two exterior walls and then button up the plumbing that wouldn’t be accessible after the tub was installed.

The tub plumbing seems simple but since so many things are locked together it needed to be a perfect fit. I did a lot of fit checking of the overflow tube and the p-trap and finally decided it was close enough for the final install. I also fixed the copper plumbing and added a mixing valve-> Which came back to get me later….

P-trap and copper lines installed

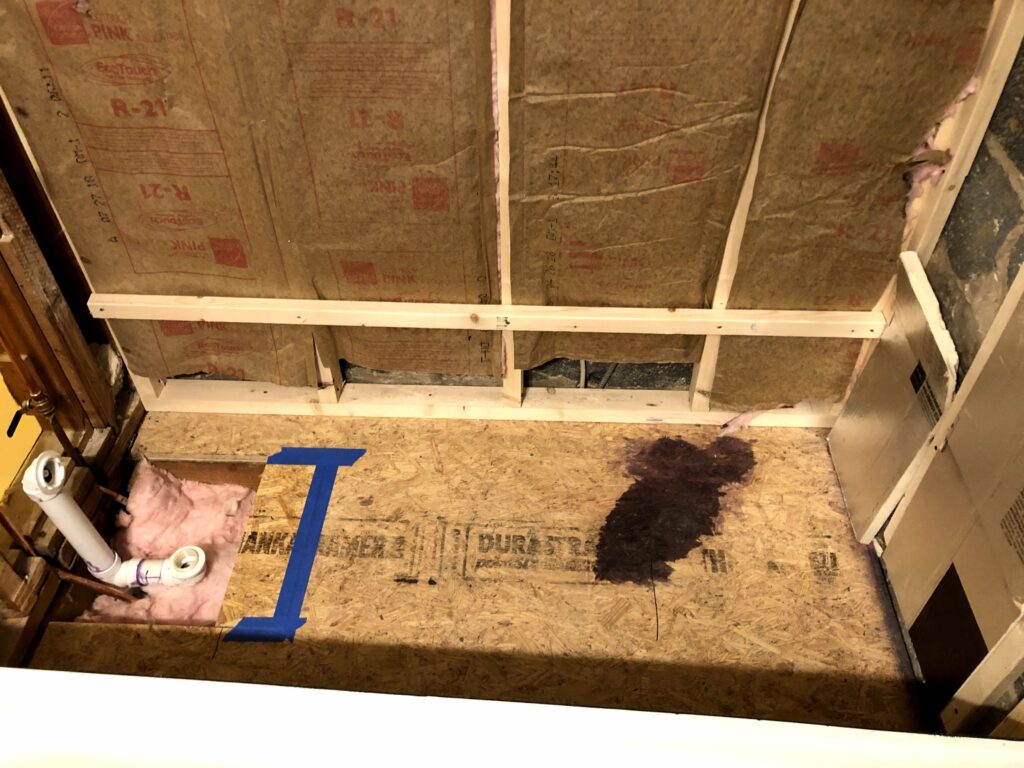
This was also the time where I accidently knocked over the PVC primer and it spilled all over my shoe turning my sock purple. It also stained the plywood which is evident in the picture below. Always something fun…

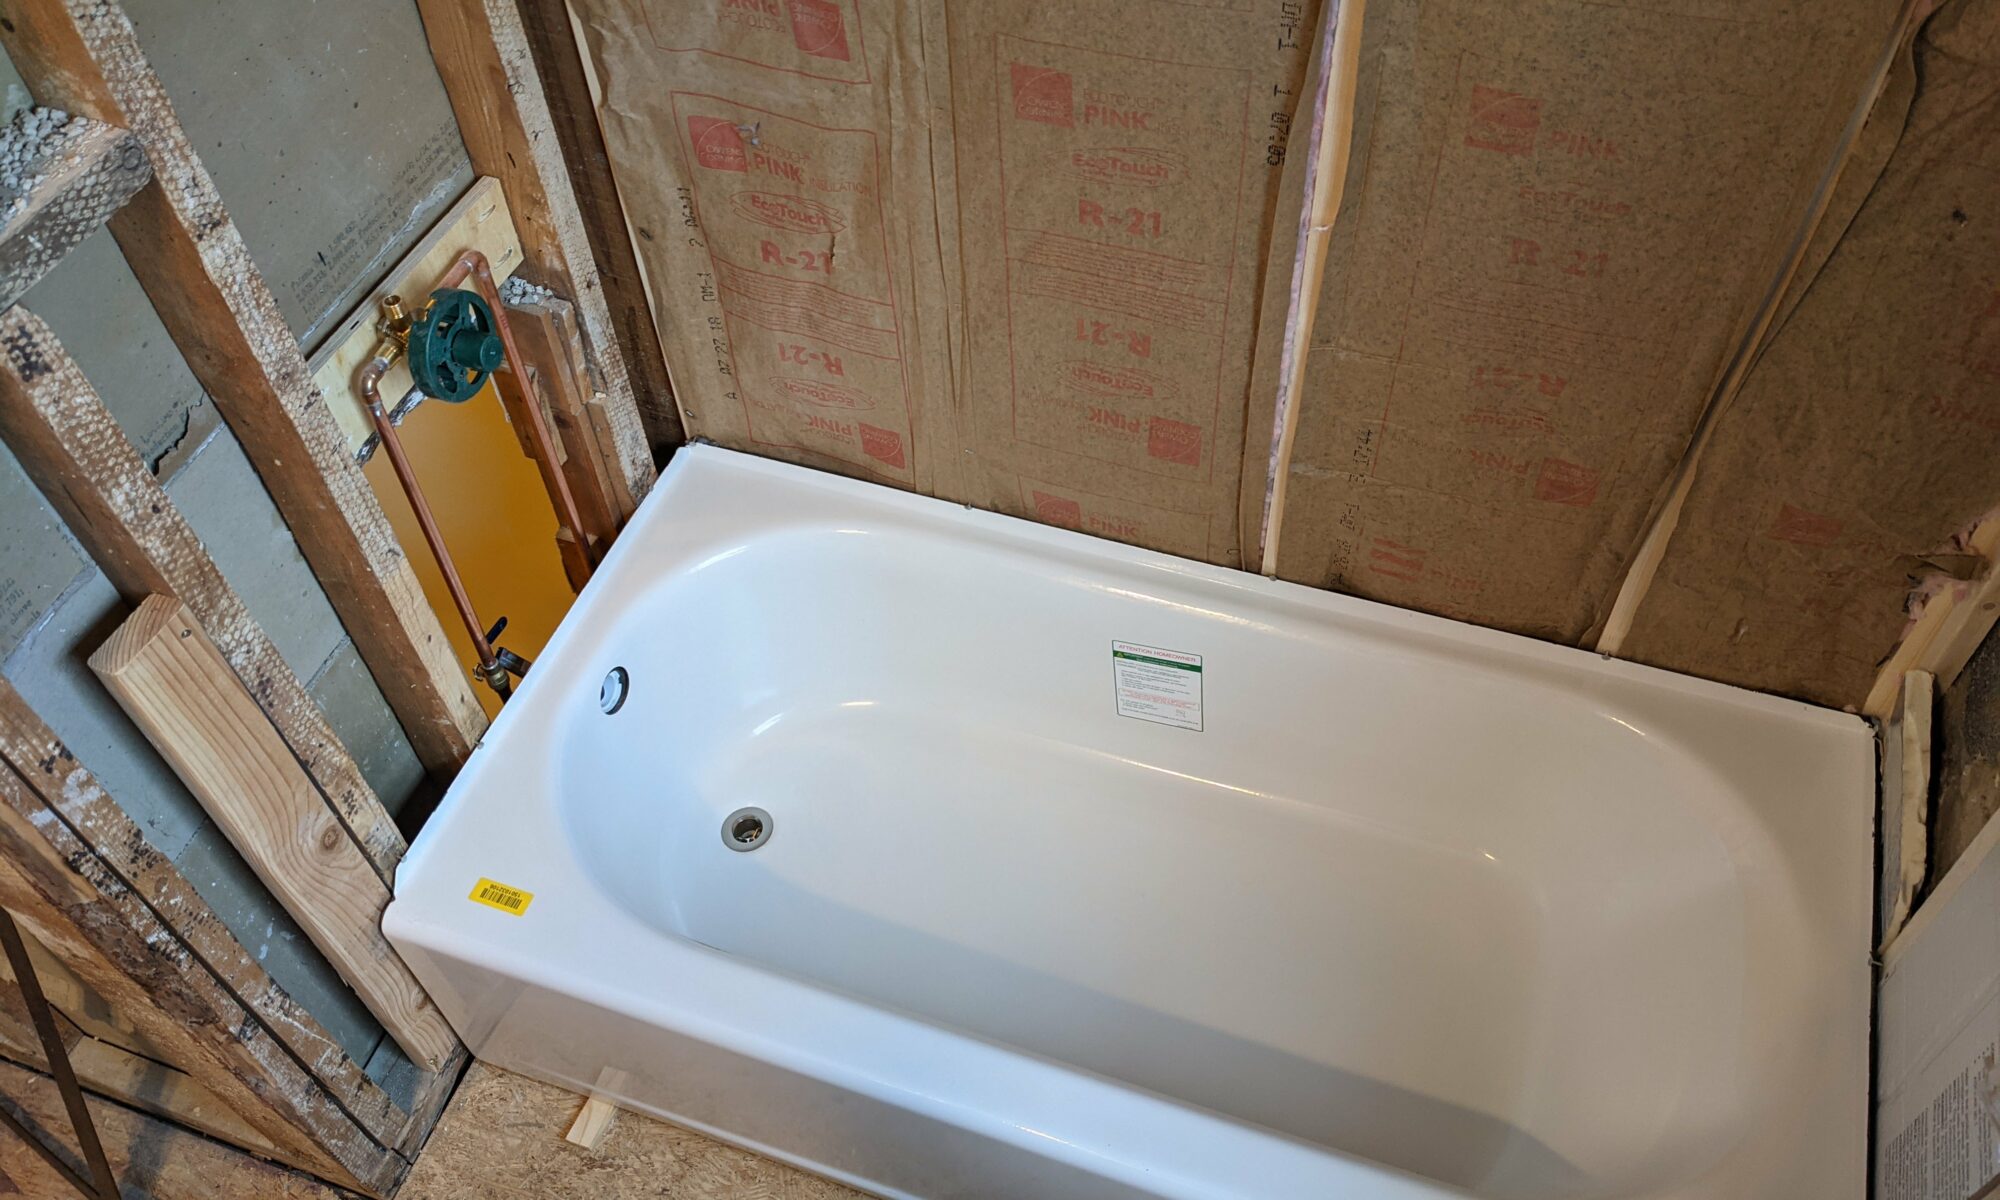
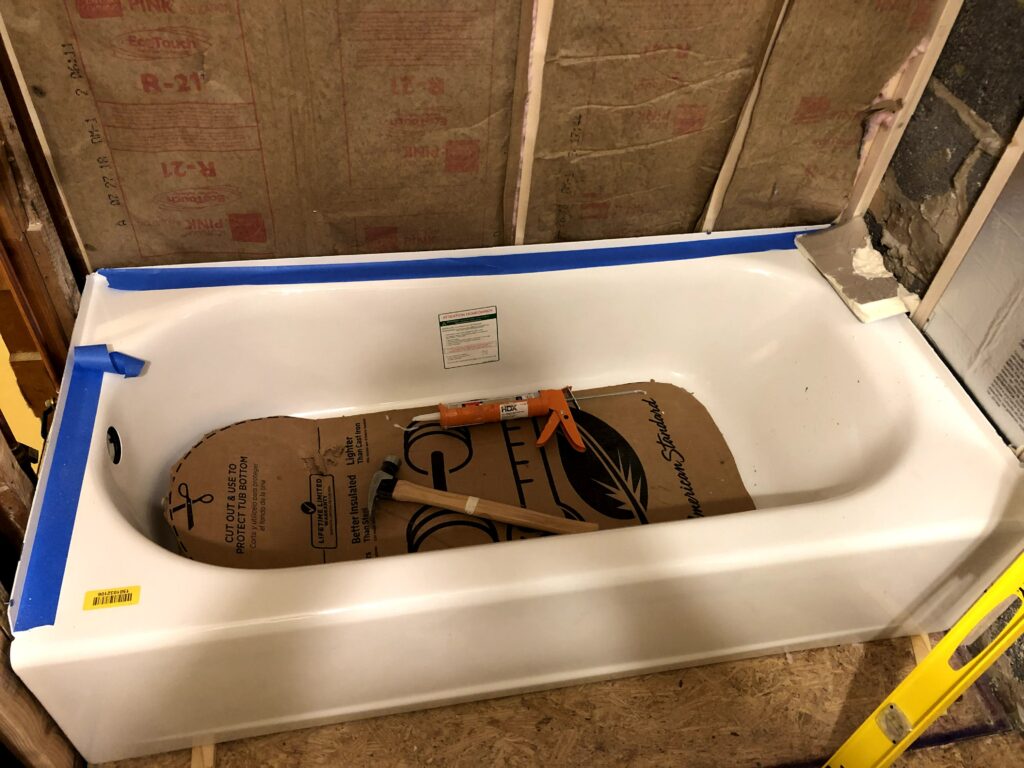
Now that everything was ready I was ready for the mad rush to get the tub permanently mounted. I added a ledger for the far edge of the tub to rest on and mixed up thinset mortar for the tub to rest in. I should have made the mortar a bit more runny to help pour it out but after taking it upstairs there was no turning back. I slid the tub in and then realized I forgot to put silicone on the ledger so with a few sprints up and down the stairs we go the tub situated and all the drain components mounted. This was such a great feeling to start putting things back together.

What’s in the Vent?

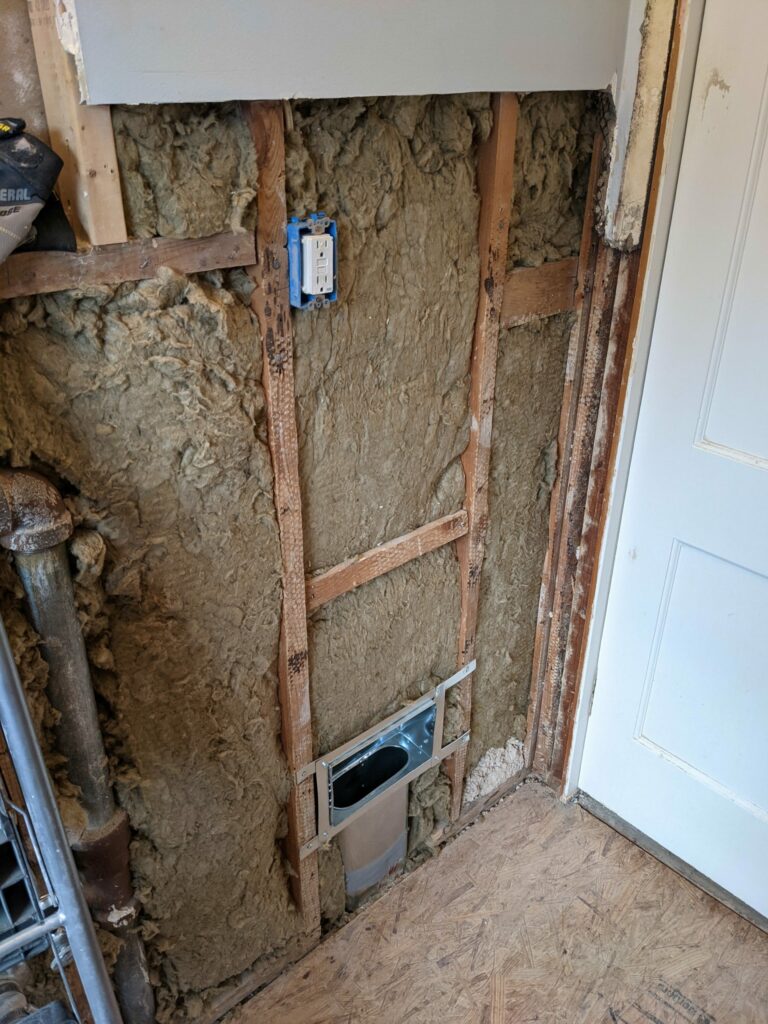
The new vent

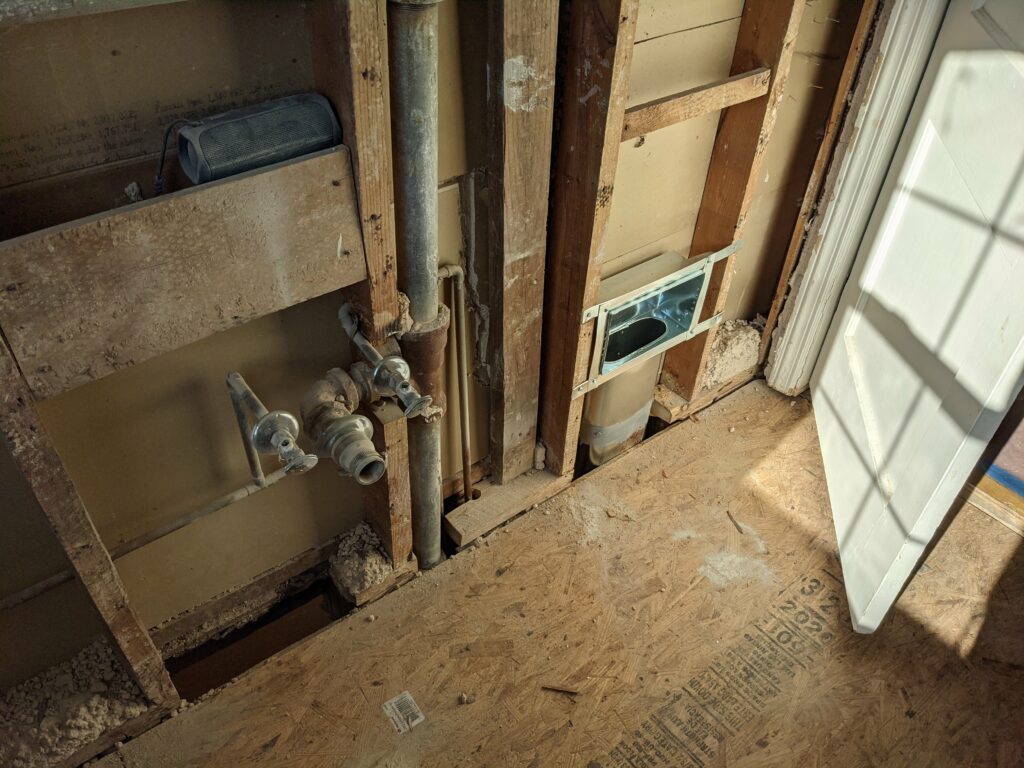
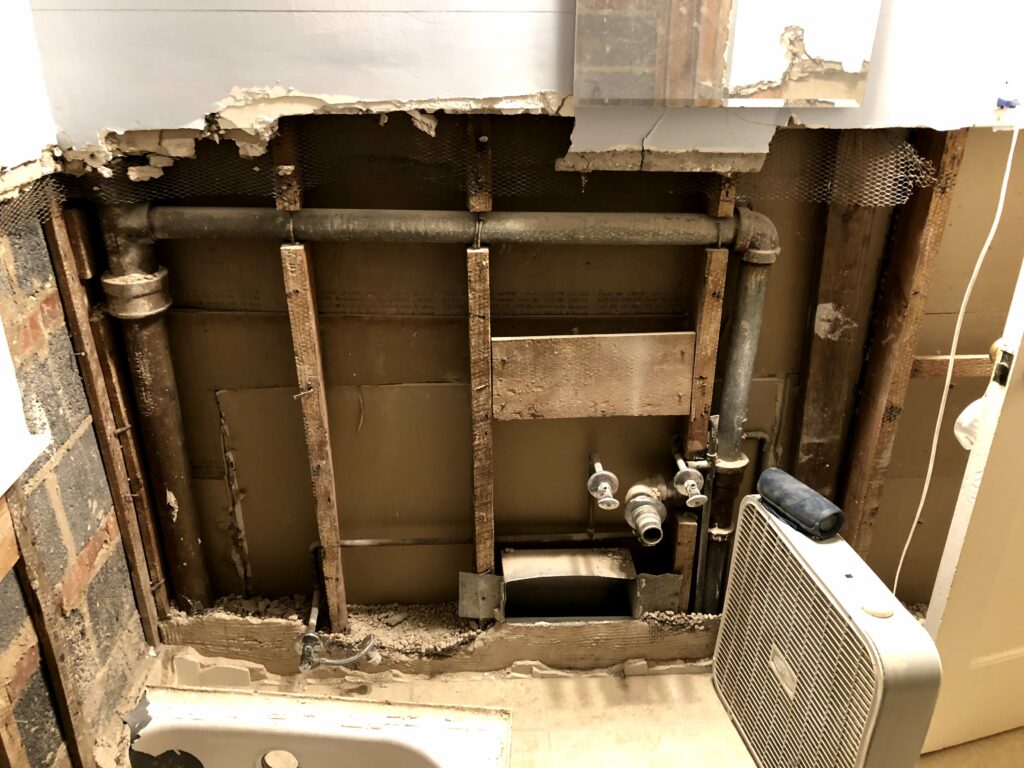
One of benefits of an older home is that with changing designs things don’t quite match up to how we want to use them now. This was evident in the fact that the HVAC supply vent in the bathroom was directly under the sink drain, which was all fine when using a pedestal sink but now with any normal vanity there’s a cabinet under the sink where the vent was trapped. Every morning we’d have to remember to open the cabinet doors to get air into the bathroom. We also couldn’t store any of the normal things under the sink as the temperature was either really hot or cold depending on the time of year. What better time to make giant holes in the walls and ceiling then now to fix this!

The start, where the vent was inside the vanity
With the wall removed the vent is right below the sink drain

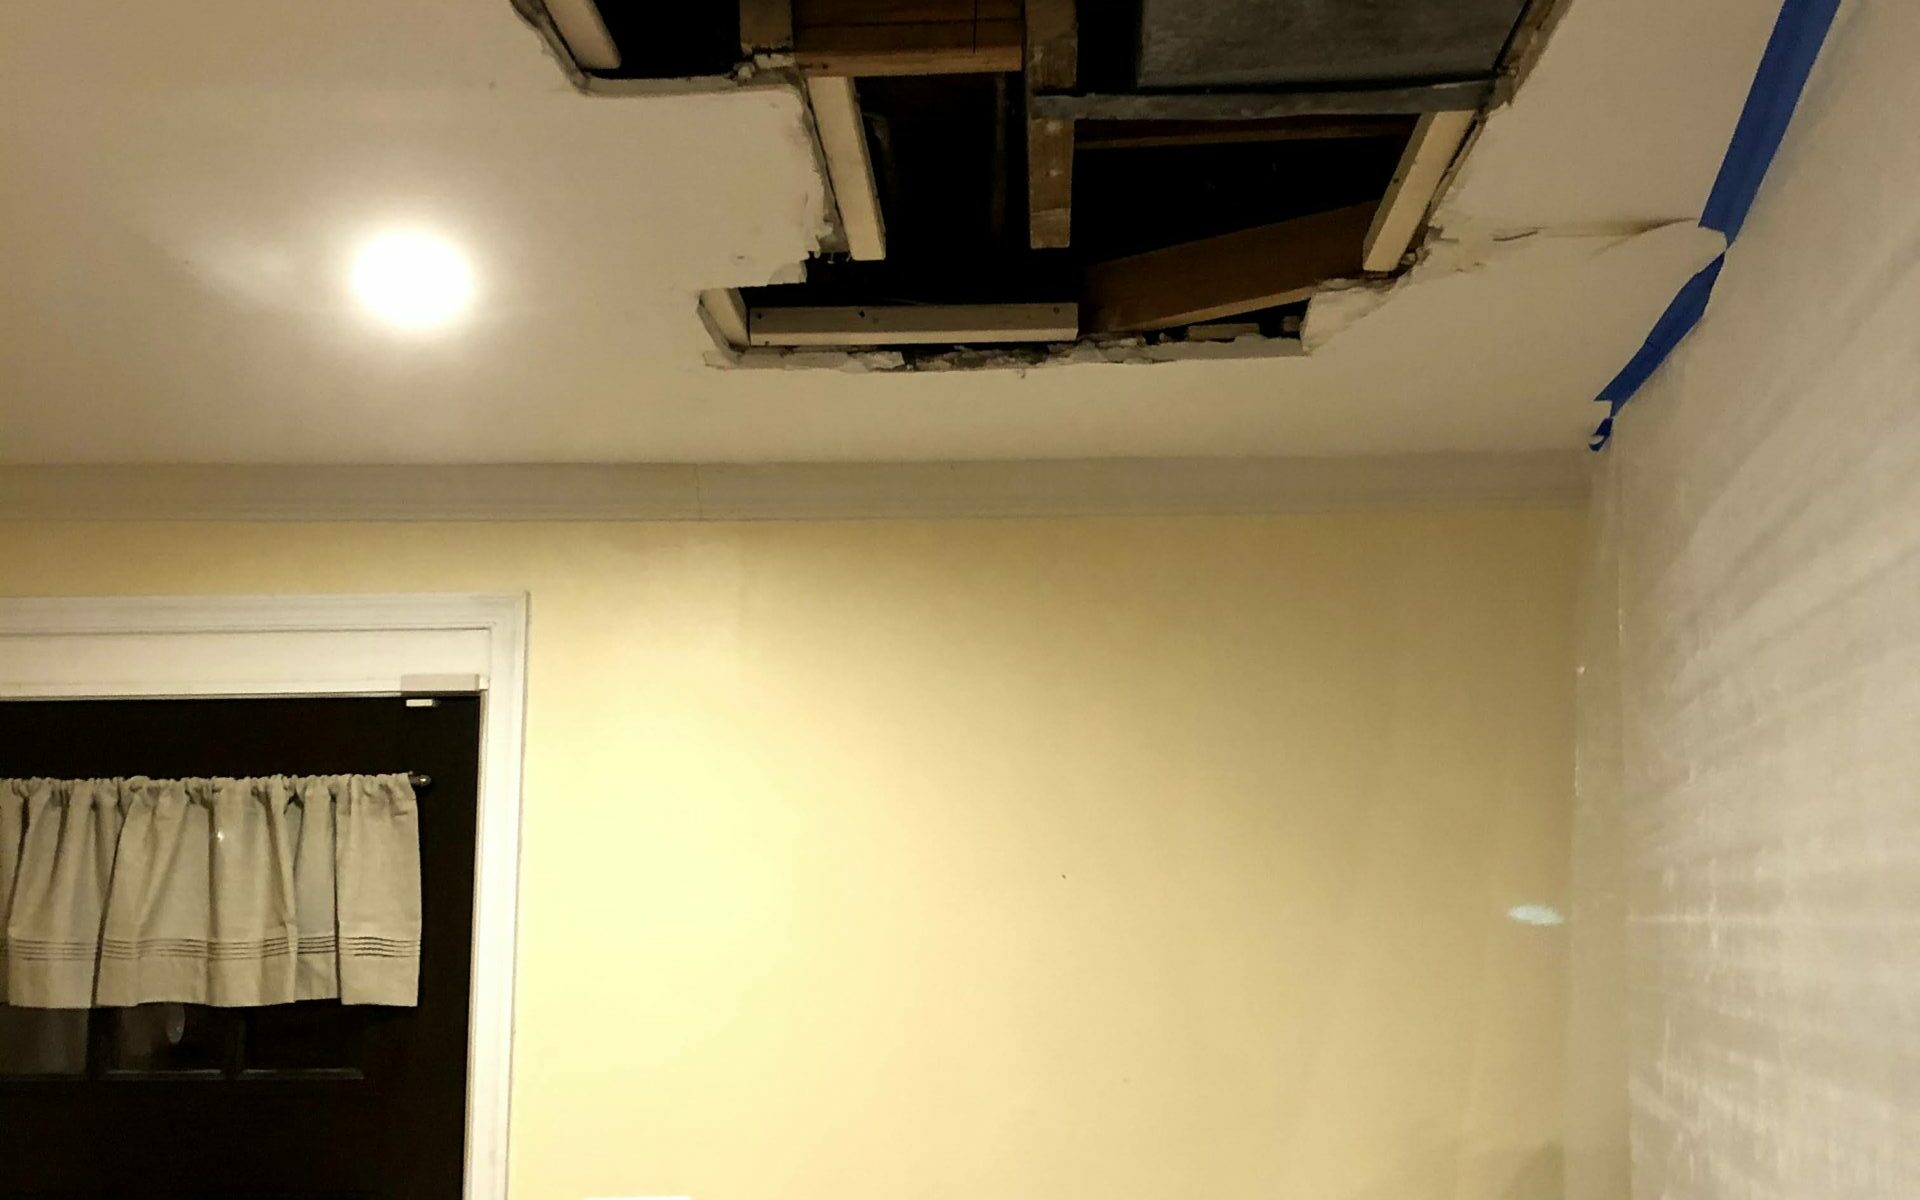
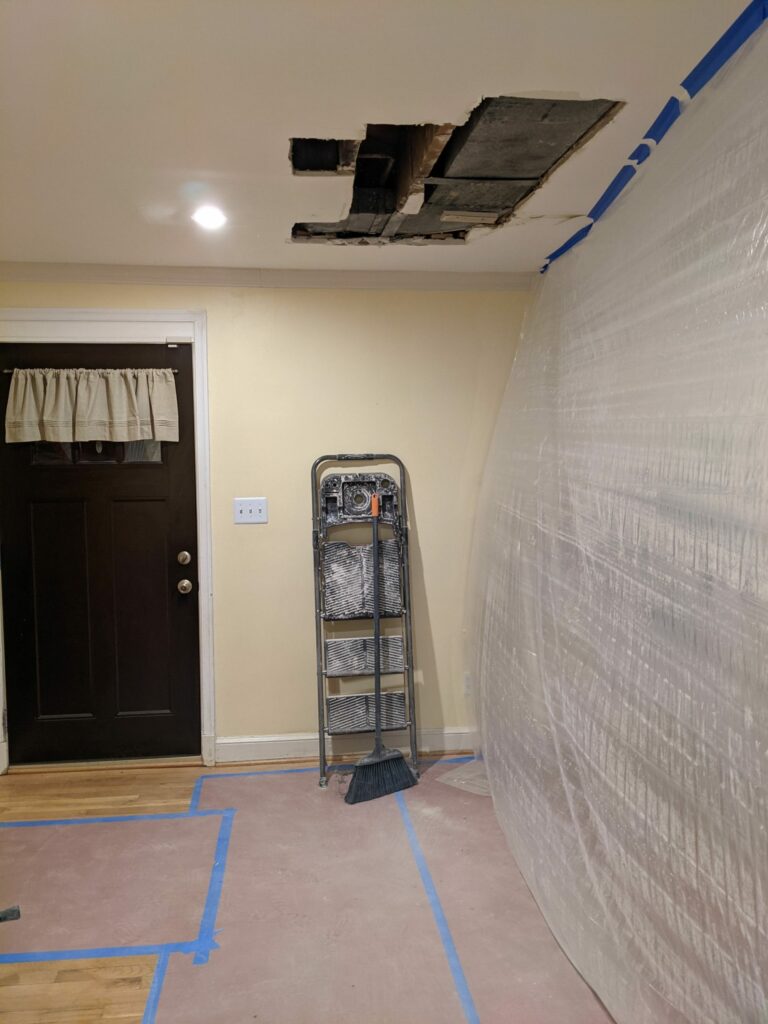
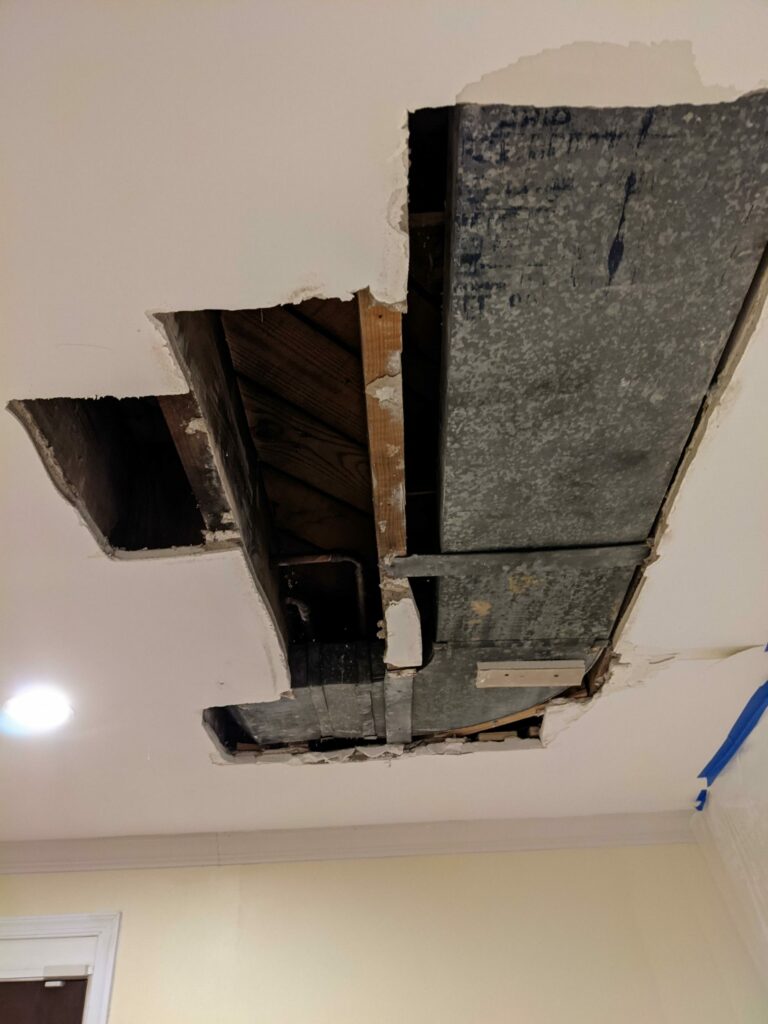
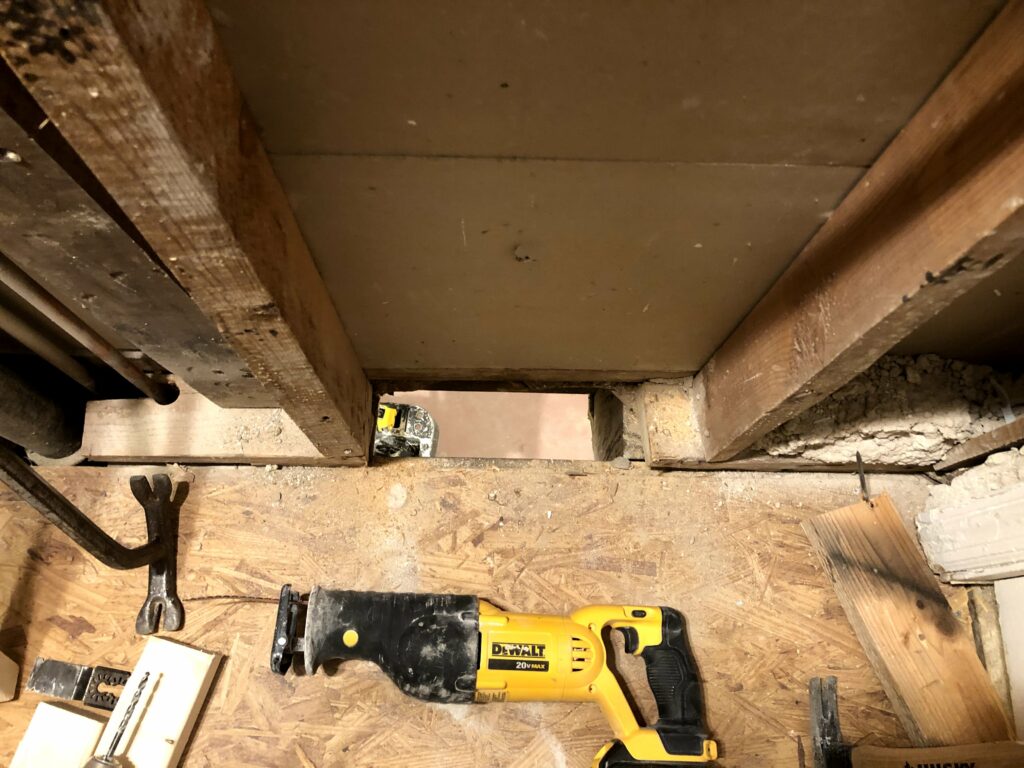
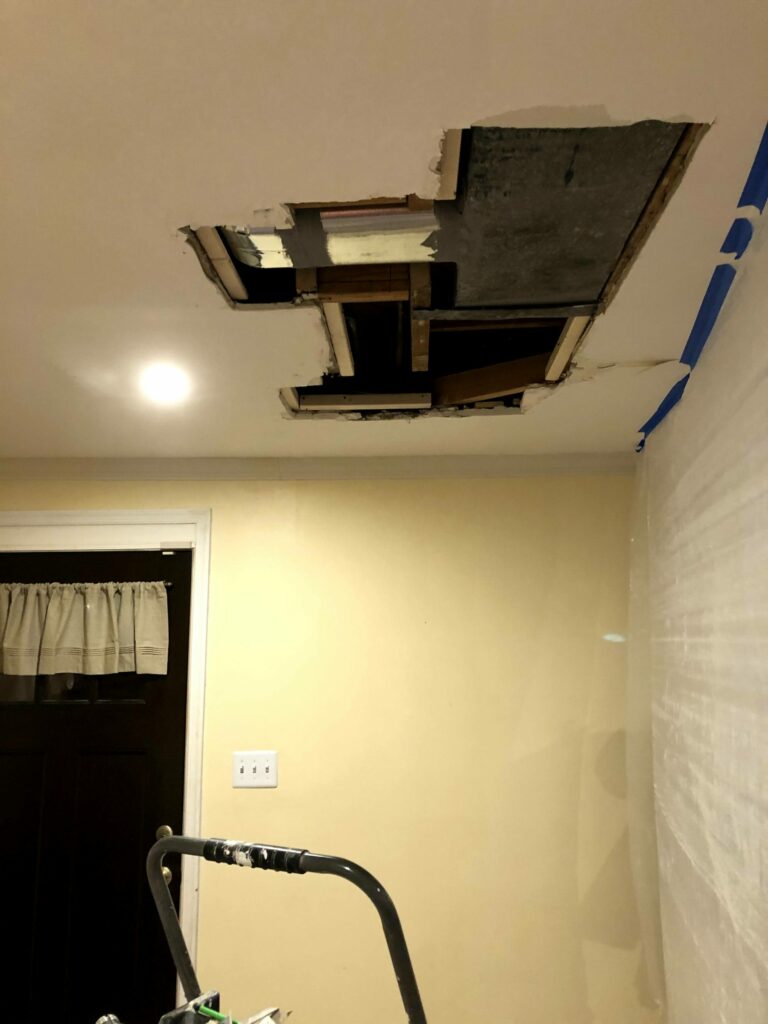
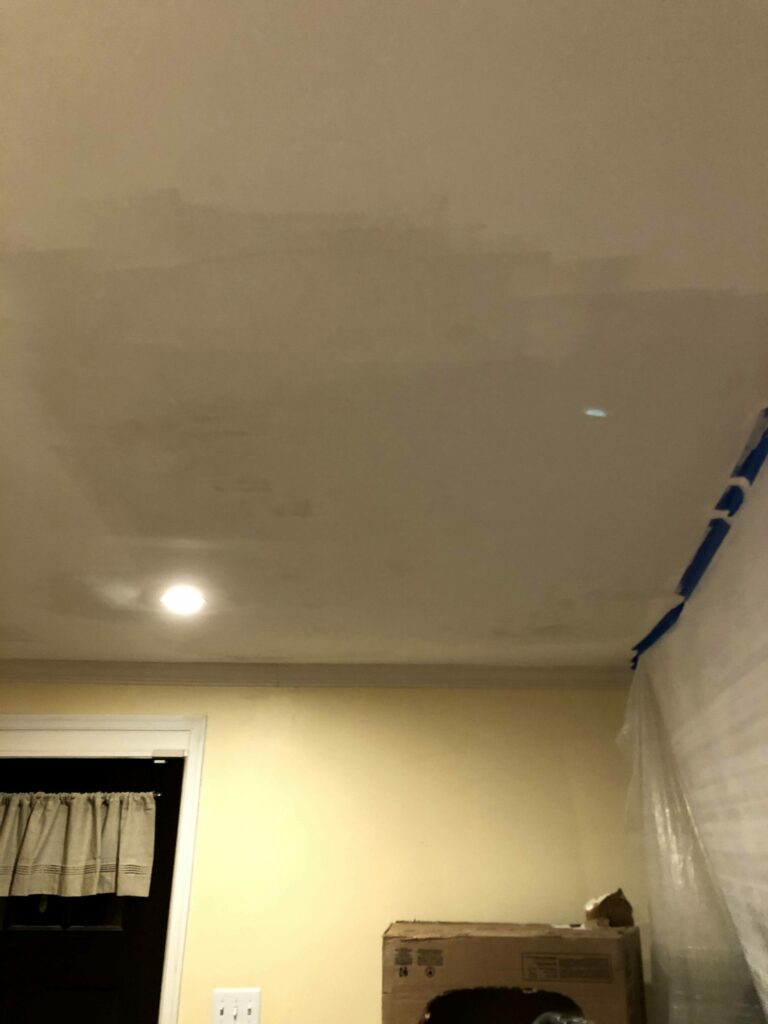
To start off this required some investigation of how the vent was run. From the basement reno I knew the vents ran up the middle of the house and then turned to run in the ceiling of the living room with a final bend going up to the bathroom wall. I was hoping the vent could be moved without cutting a hole in the living room, but alas it wasn’t meant to be so easy. In the bathroom floor there was a joist blocking access to the vent from upstairs, which meant all work needed to be done from down below. It was a good excuse to fix some paint in the living room ceiling….

This vent goes up into the bathroom wall
Nico didn’t like all the dust

I contacted an HVAC company who was coming out on Friday morning , so on Wednesday night I did some exploratory drilling to find the vent and then with a drywall saw and oscillating saw I cut a nice big opening in preparation for the move. After adding some braces and cutting a hole in the bathroom floor for the new vent I was ready for them to come. After only a little over an hour the two guys had the old vent removed and a nice new vent back in its place.

The hole for the new vent
The new vent split
New vent moved from the sink drain to behind the door

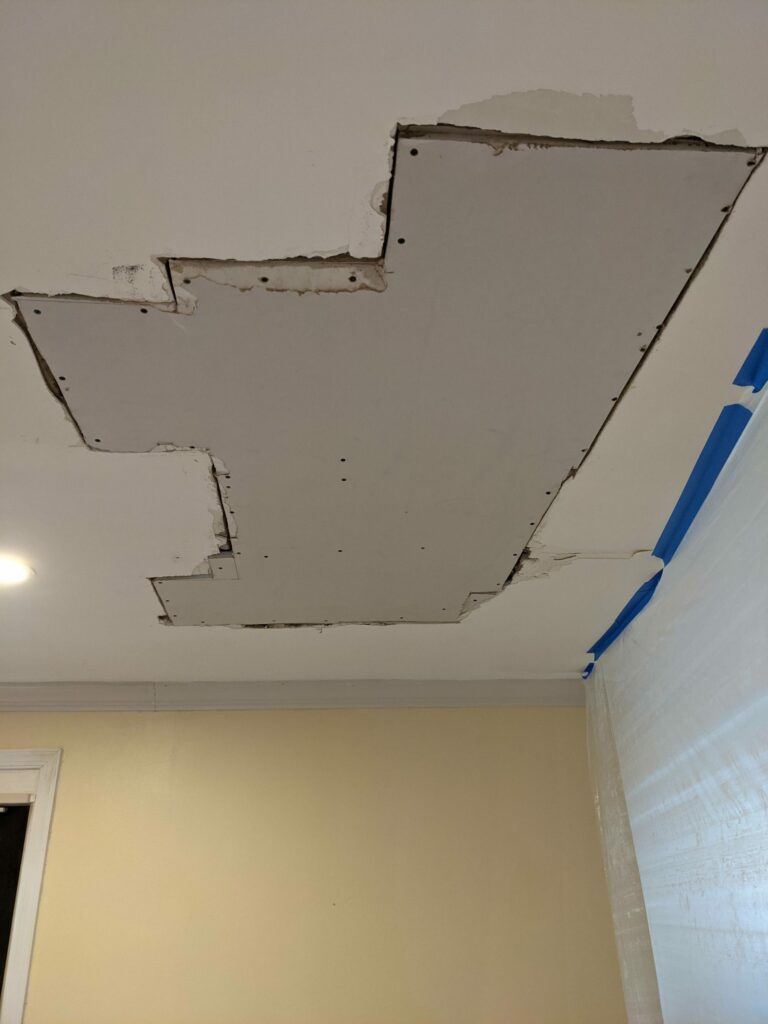
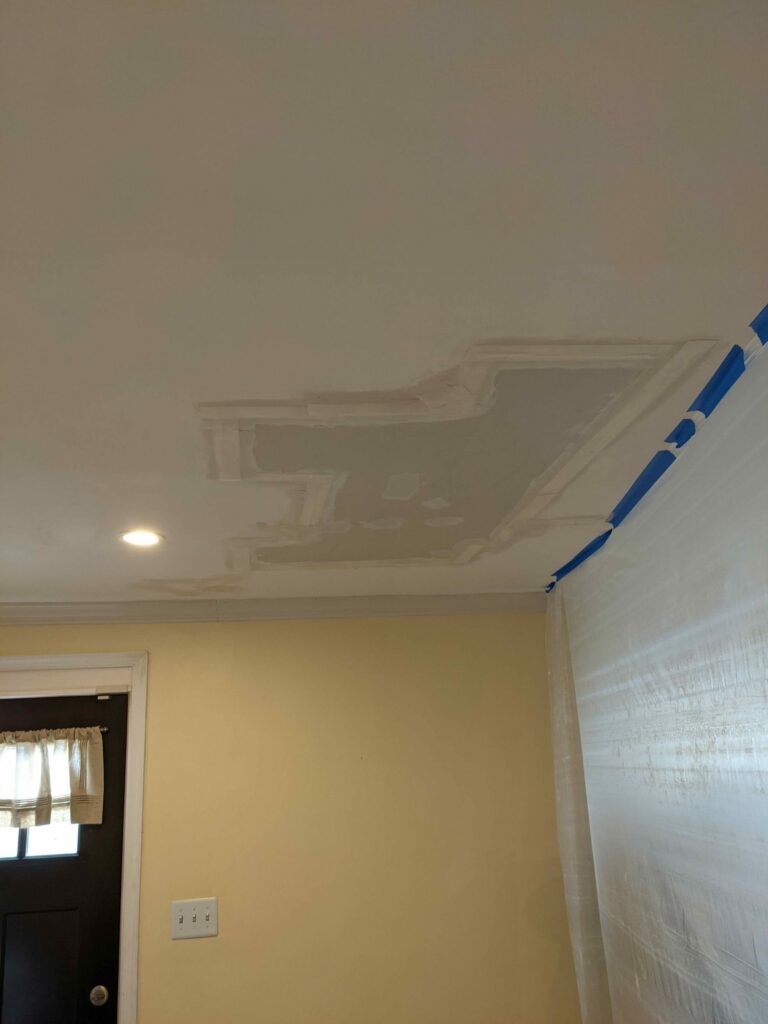
Turns out cutting the hole and moving the vent was the easy part. Now I had to put the living room back together. This involved cutting some interesting shape drywall pieces and adding in a lot of supports to attach the drywall too. Once the drywall was mounted I put my spackling skills to the test. The ceiling wasn’t fully flat and adding the new drywall made a lot of highs and lows in the ceiling. Adding lots of spackle helped to smooth everything out but it took a long time to dry.

Drywall fitted back in
Spackling drying for a long time
Sanding and Primed

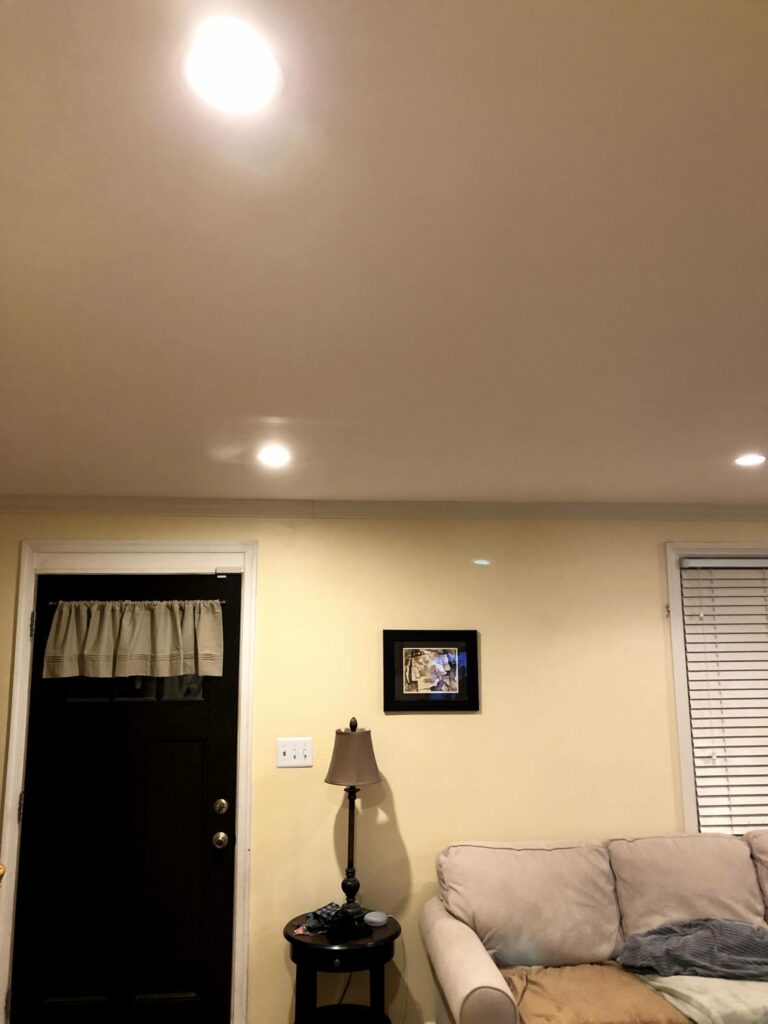
I needed to sand and spackle a few times in order to get a nice flat ceiling. This created a nice dusty portion of the living room, thankfully the plastic really helped from preventing the whole first floor from being covered. Finally after a week of the living room being moved into a corner the ceiling was painted white and back to normal. Not a bad side quest.